Hunting Percival Jet Provost T3 Airfix 1/72
|
|
|
|
 These guides are kind for beginner modelers. |
 The nose weight was this lead sheet. |
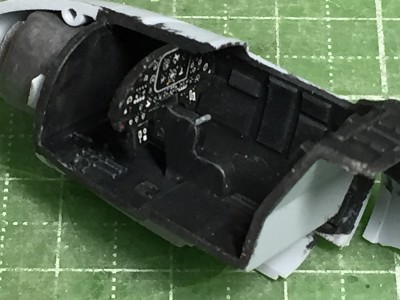 The cockpit was strait from the box. The instrument panel was kit decals. |
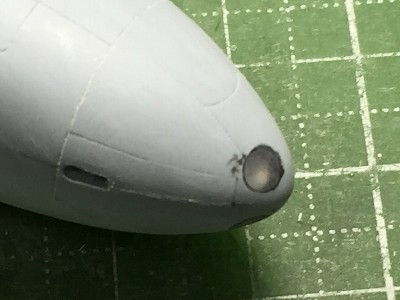
 The landing light was made of clear sprue. |
 |
 The leading edge of the tail fin should be sharpened. |
|
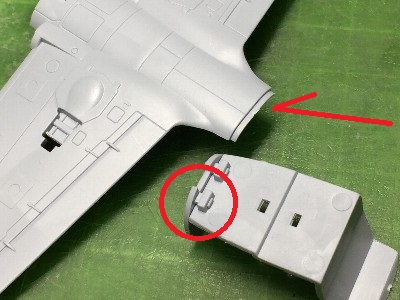
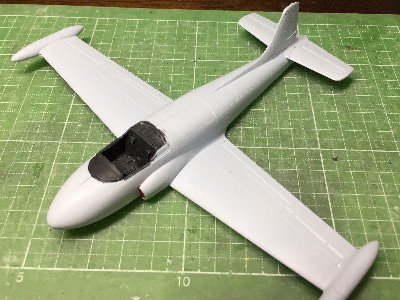
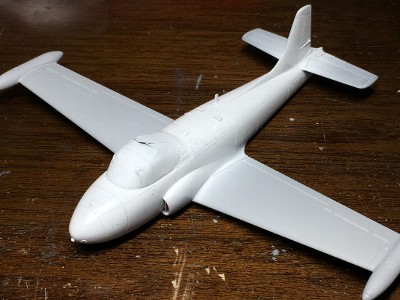
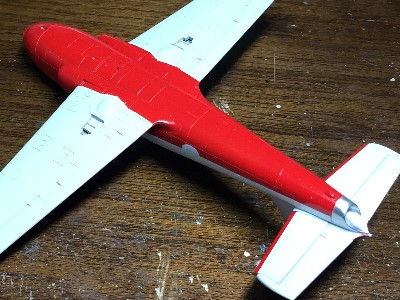
The dihedral is 6 deg.. Fitting of the wing and fuselage was tight. So the adhesion portion should be sanded. The incidence is 3 deg.(root), 0 deg.(tip). The airfoil is NACA 23015 (modified) at root and NACA 4412 (modified) at tip. The leading edge of actual aircraft looks like somewhat shaper than normal NACA23000 airfoil. Is it the meaning of modified? Convex moldings of the wing were sanded off to flat. Because, these would be interference for polishing works. After gluing the engine intake, it interfered the lower wing part. So a portion of the wing part was cut and glued on the intake. |
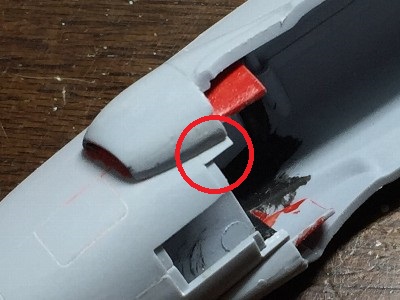 The red circle portion was cut off from the wing part. |
 The one piece horizontal fin was cut into halves. After the fuselage was sanded, each fin was glued to the fuselage. |
|
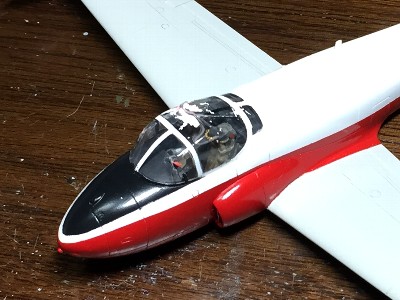
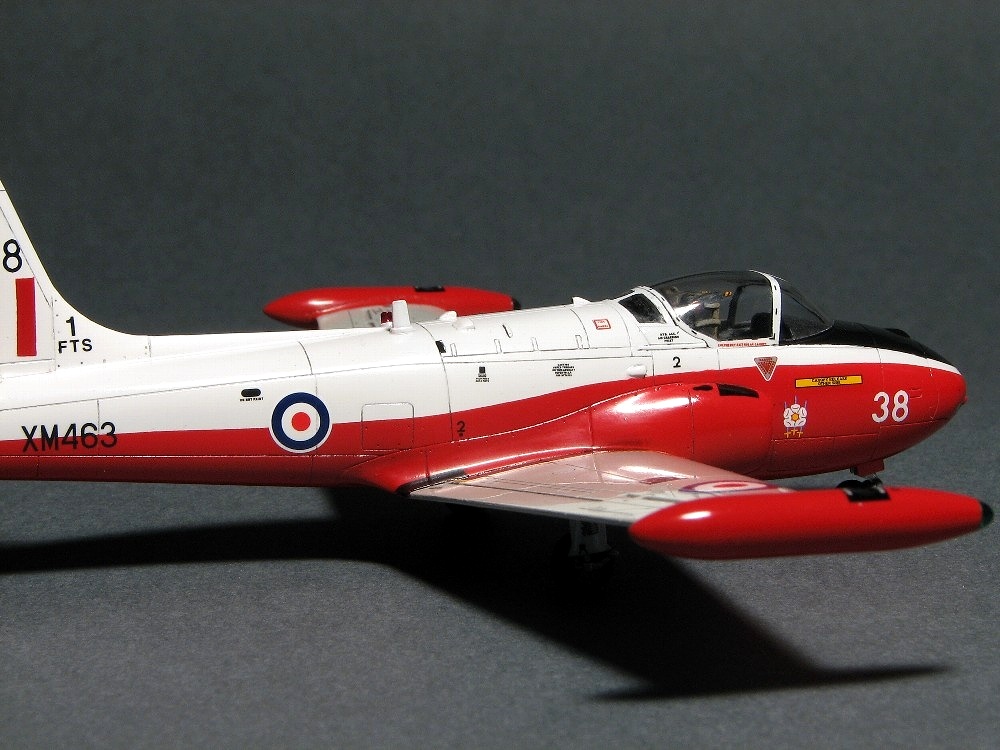
The ejection seat was Martin Baker Mk.4. Be careful that the overhead ejection handle was single type for Jet Provost. The seat was from the kit. Additional harnesses were made of lead sheet. The canopy frame was sanded off. The top center frame was located at inside of the glass. It was depicted with black decals. |
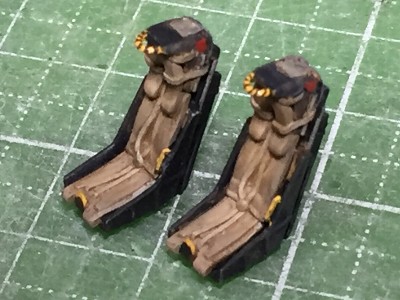 The ejection handle was thinned. But it still was thick. |
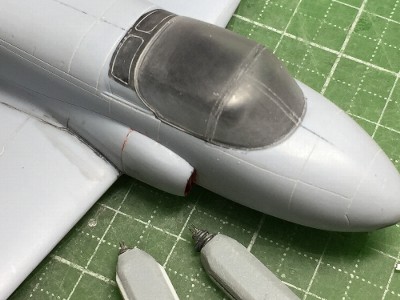 Canopy frames were engraved with handmade double needles. |
|
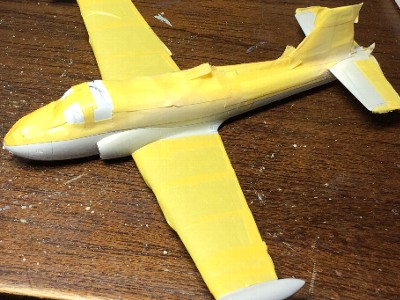
Then the surface was sanded to peel off dull molding. Panel lines were re-engraved with etching saw. |
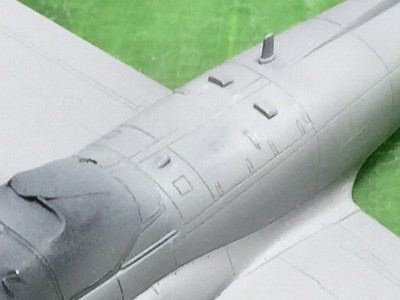 Details were added on the fuselage. |
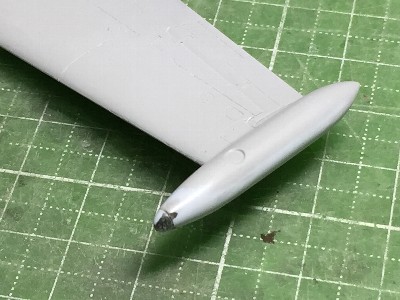 The wing tip navigation light was located at the wing tip tank nose outside. It was depicted with clear sprue. The joint plane was painted black. |
|
|
 Mr. surfacer was sprayed. Next, white was sprayed and the surface was polished with #1200 grit sand paper. |
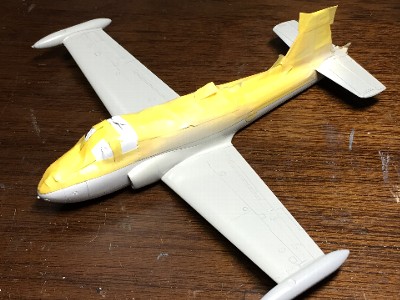 Light Aircraft Grey was painted. |
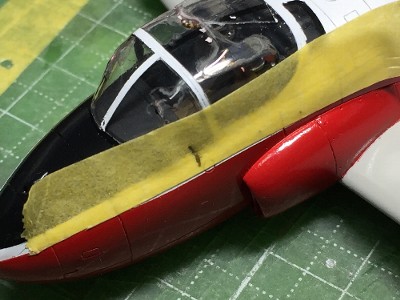
 Making for red was applied. Thin white was sprayed on the demarcation line of white for prevention from leak of red paint. |
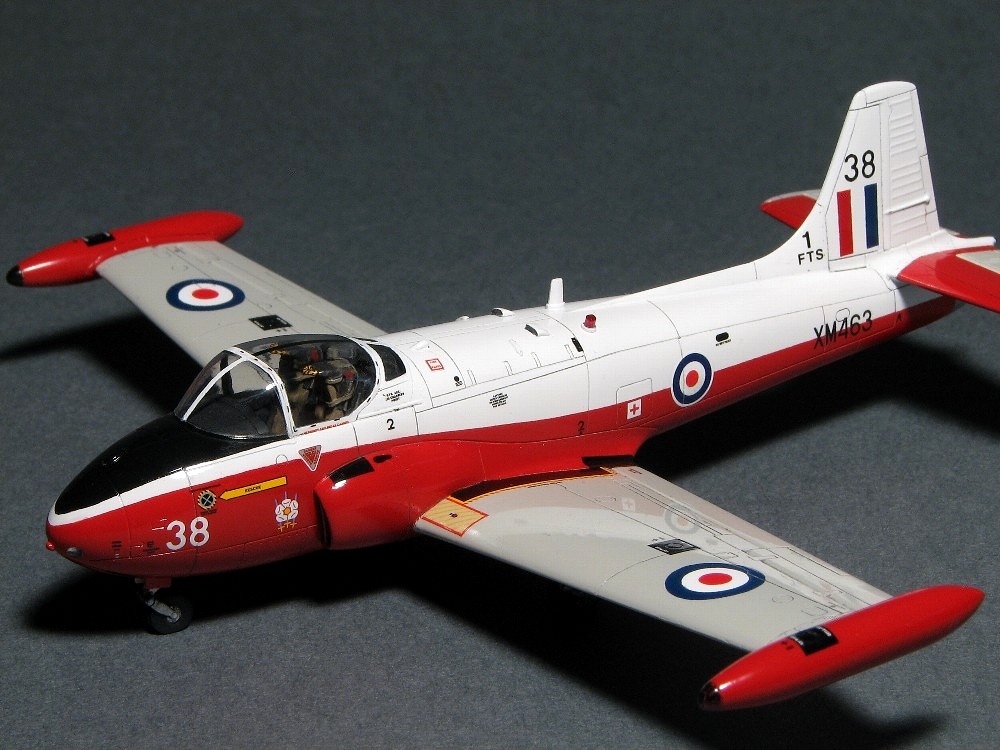
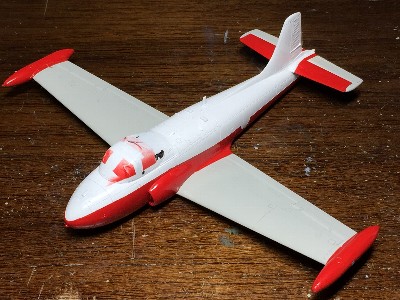 Red was painted and masking tape was removed. Take note the red portion of the horizontal fin. |
|
Be careful that the kit instruction of paint demarcation line was mistaken as for the upper horizontal fin. |
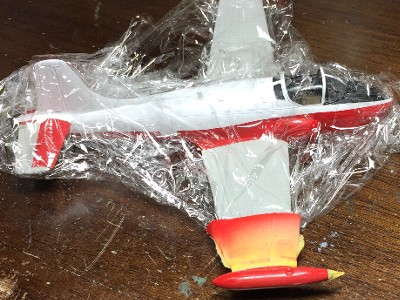
 This is masking for black antiglare. Kitchen wrap film was convenient. |
 10% of white was mixted in black. |
 |
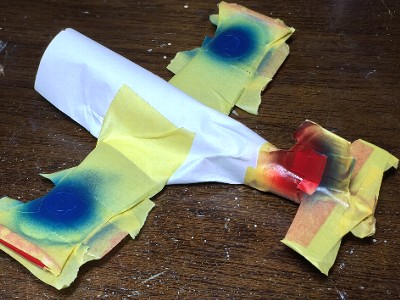
 The landing light had been masked. |
 The demarcation line was retouched with a fine brush. |
 The wing tip tank was retouched. |
|
After painting all of colors, clear paint was oversprayed. Then the gap of demarcation line was sanded. This clear paint prevented color transfer.
|
 Blue and white of the roundel were painted as well. |
 Red of the fin flash was painted in the same shade of the fuselage. |
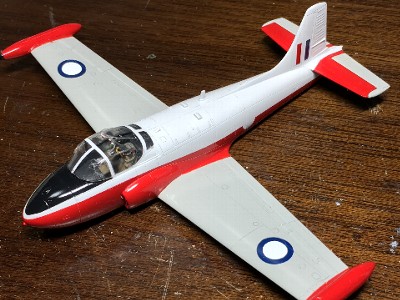 Painting works was finished. Red of the fin flash looked darker than the same red of the fuselage and stab with the illusion of surrounding white. |
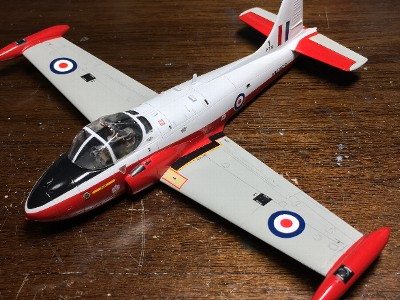 Red circle of the roundel was cut out kit decals. Caution markings were kit decals. |
|
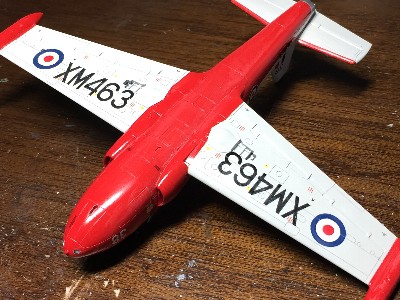
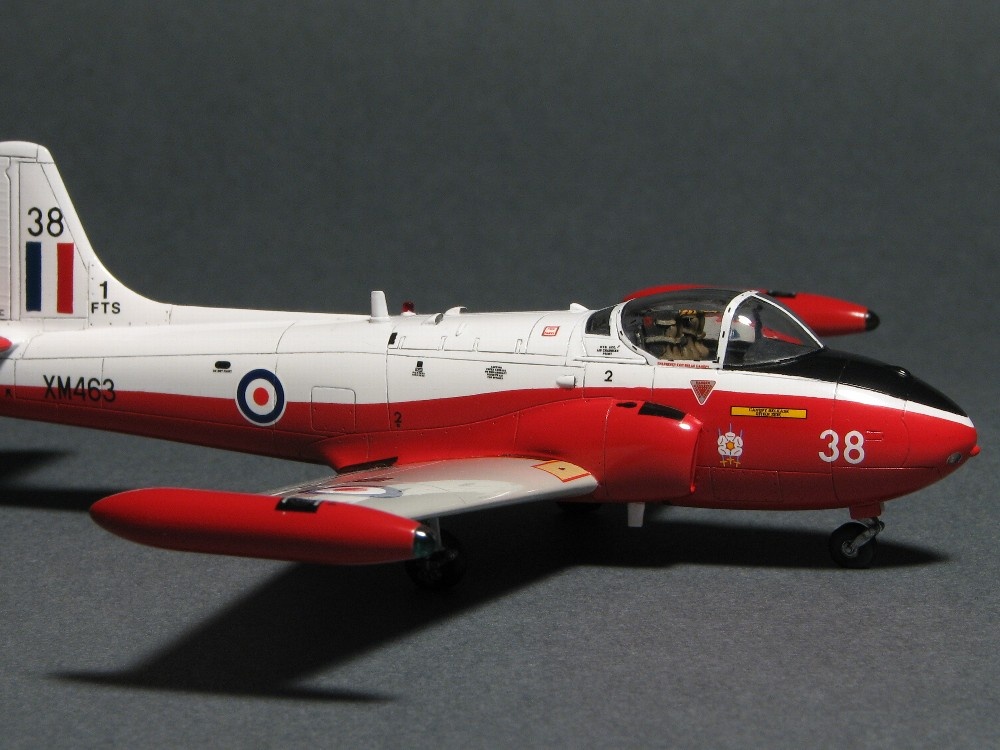
I changed the aircraft number and serial from the kit decals. I chose XM463 #38, because this serial number could be easily replicated with kit decals. The aircraft number was custom made dry decals. The height was approx. 10". |
 I didn't satisfy the shade of red of kit decals. So I touched up with the same red as the lower fuselage. |
 Clear paint was over sprayed on decals. Then the surface was polished with #1500 sand paper. Finally, it was polished with Laplos #8000. |
|
Why didn't I paint roundel red from the beginning? It was difficult to cut sharply and correctly the small circle on masking tape. Touched up paint didn't required severe sharpness. Making tape was cut as slightly small circle. This method serves a dual purpose of sharpness and accurate color. Weathering wash on the white portion was done with medium gray pastel with soapy water. Darker gray pastel was used for other portion.
|
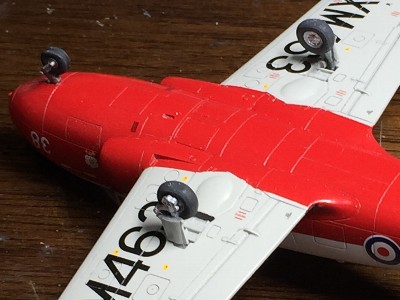 Take note the angle of the main gear leg and tire. The former is backward-leaning and the latter leans inward. |
|
|
|
|
 |
 |
 |
|
|
| 1 | Warpaint No.82 BAC Jet Provost & Strikemaster | 9780495112822 | Hall Park Books |
|
|