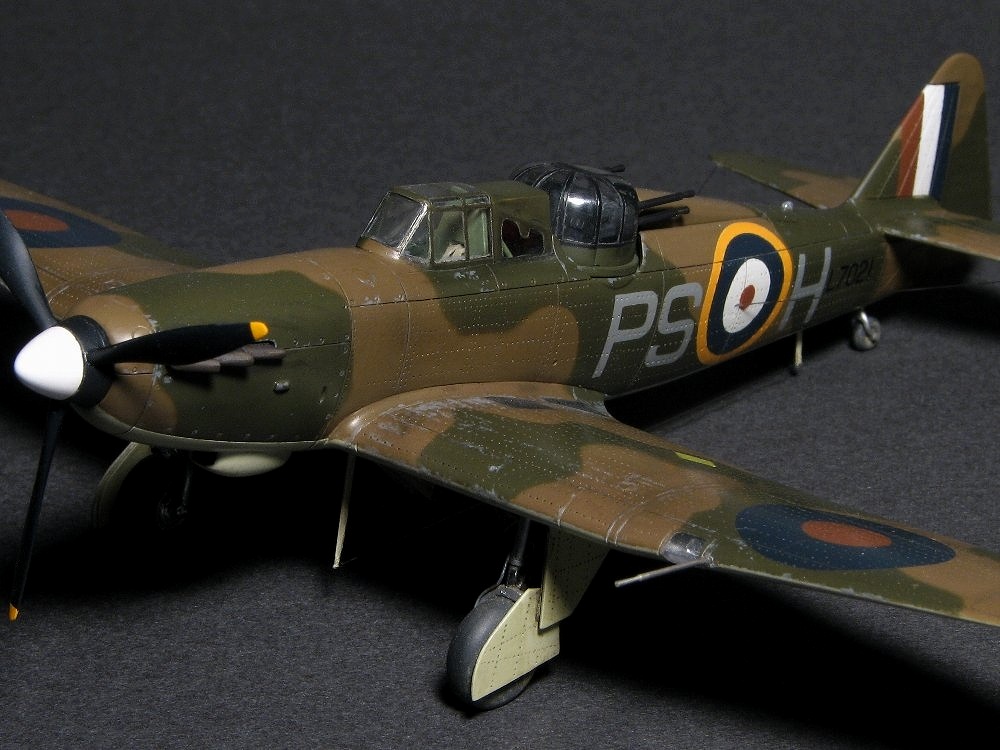
Boulton Paul Defiant Mk.I Airfix 1/72 part2
|
|
|
|
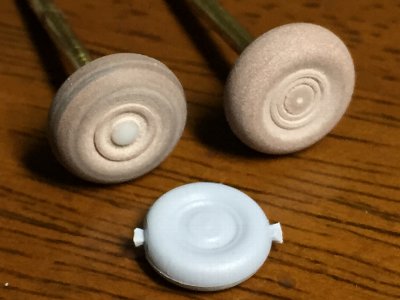 The kit gear wheel was too small. It was made of chemical wood with a hand router. The correct size was 11mm (.43") in diameter and 4mm (.16") thick. |
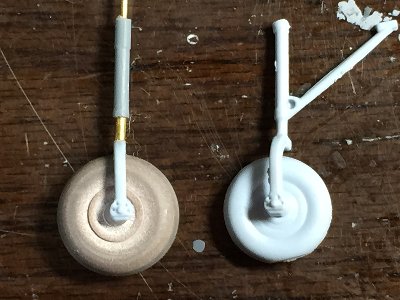 The gear leg was made of sprue. The right was the kit parts. |
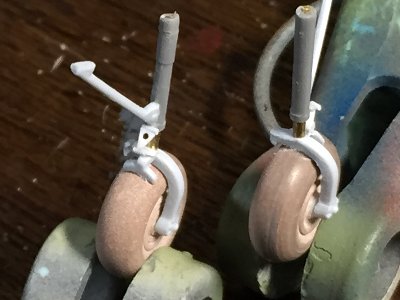 Details were added. The left was the port gear and the right was the starboard. |
 The planar view of the kit blade was good (the left), but the curve of the leading edge was not good. The right was the corrected blade. |
|
|
|
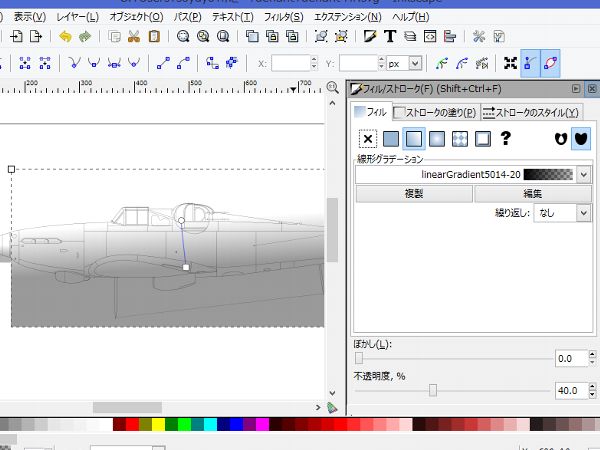
Shadow As for basic shadow, a black gradation object is input on the lower half of the fuselage. First, input black painted box, then, "Fill/Stroke" => "Gradation icon" => click "Node tool" => drag the start point of the gradation (small box) and the end point (small circle) => edit "Opacity" to 40%.
Light gradation Light gradation consists of three layers of white objects. At first, input a light object on 80üŗ to 10üŗ surface.
Fillet The fillet gradation consists of three object. One is shown in yellow and anther is in blue (they are actually painted in white).
|

|
Next tutorial is 3D details gradation.
|
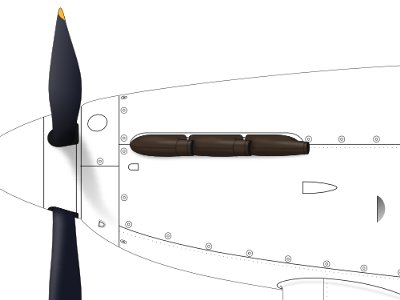
 The actuator rod was made of extended sprue. The triangle portion was cut out from kit and glued. |
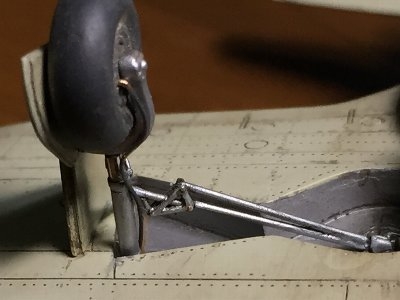 The brake line was added. |
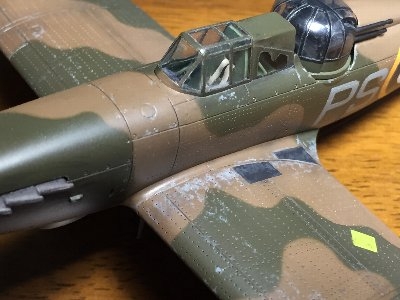
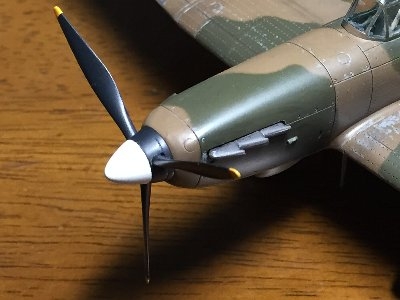 The exhaust stack was from the kit. The kit cowl nose was a little wide. So the spinner looked like too small. |
 The pitot tube was made of nickel silver line. The navigation light was made of clear sprue. |
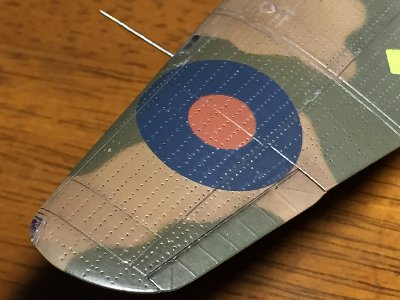
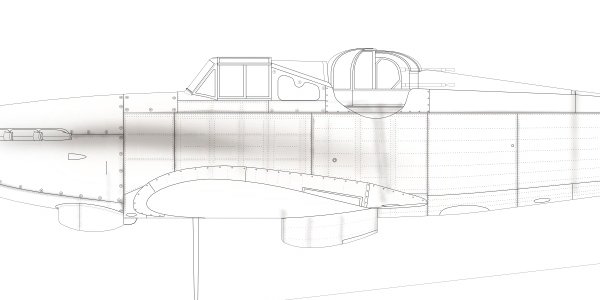
 Weathering washing was Tamiya Weathering Master with soapy water. |
 Chippings of Medium Sea Gray were painted with a fine brush. After weathering, Flat Clear was oversprayed. |
|
|
|
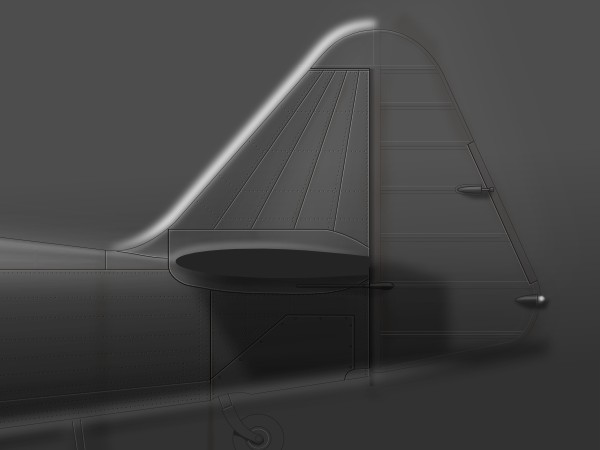
Vertical fin Highlight and shadow objects are input. Rib tapes are depicted only white and black thin lines. |
 üB |
 |
|
Additional shadow Shadow objects are added on -20üŗ to -80üŗ(shown in blue), and -40üŗ to -60üŗ (shown in red) to emphasize the distinguishing inverted triangle fuselage of Defiant. And black gradations are input on the glass portions as for the basic gradation (shown in green).
Details |
 The cylindrical form of the turret is depicted two gradation objects. These details objects are put over the highlight layer. |
 Shadow rearward the radiator is added. |
 The oil cooler and radiator sides are too dark. Then, the oil cooler and radiator portions are cut off from one of shadow objects (shown green). |
 Top highlights of glasses are added. |
|
Guns, propeller and exhaust are individually drawn and put on the top layer. |
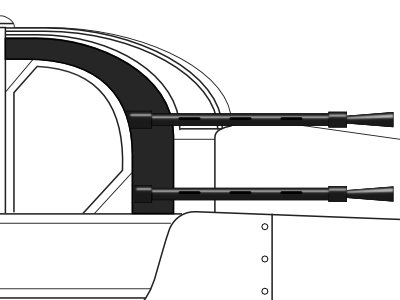 The gun is consists of three objects. They are the dark gray base, white highlight and black holes. |
 The propeller and exhaust stack consist of three layers (not object) of paints, gradations and outlines. |
|
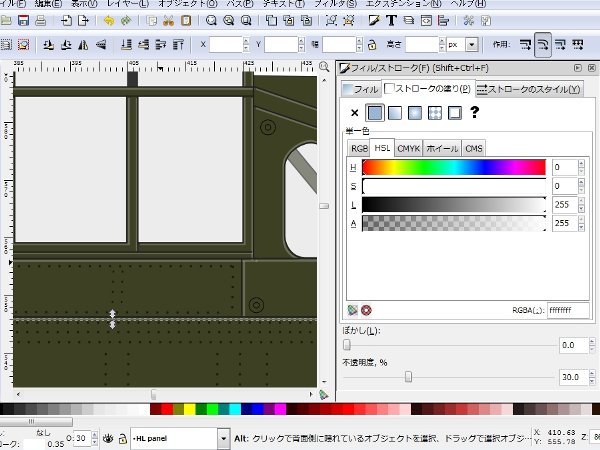
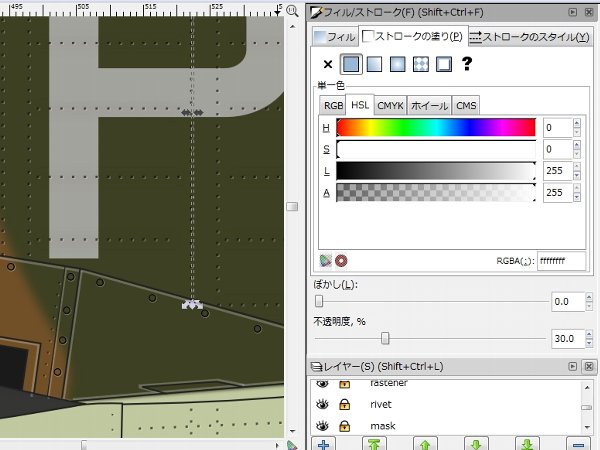
Next step is 3D depiction of panel and rivet lines. Panel lines are copied and pasted on a new layer. Copied lines are painted white with 30% opacity. Then these white lines are moved to rightward and downward a little. ü@
|
|
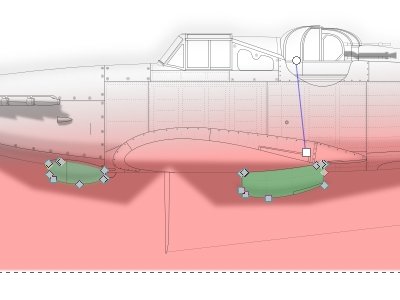
Weathering effects are added as well as modeling. This weathering layer is put over the paint marking layer. |
 |
|
The result of above works is here. This illustration is wingless. But wing and stab can be painted with the same method. |
|
|
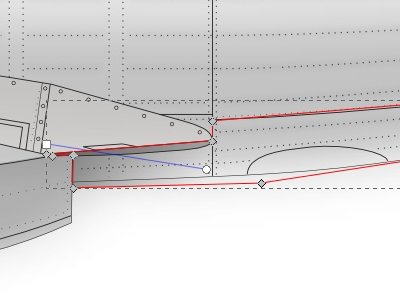
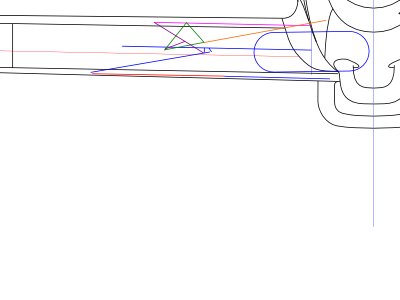
Yellow is the actuator. Pink and Purple rods are pin jointed. Green and Yellow, Green and Purple are pin jointed as well. Green can slide along pink rod. |
When Yellow actuator shortens, Green triangle rises up Pink. Then Pink and Purple bend.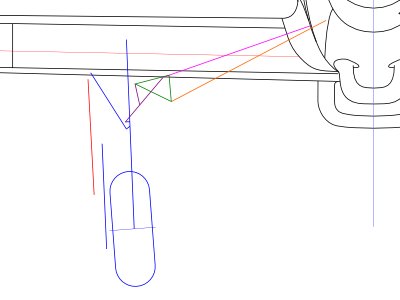 |
When Yellow shortens more, Purple pulls up Blue gear leg.
 |
Purple "y" shaped element doesn't change its shape.
|
Yellow pulls Green, and Green pulls Purple, then Purple winds up Blue. The connection point of Yellow and fuselage is important. Yellow should not interfere the tire. |
|
|
|
 |
|
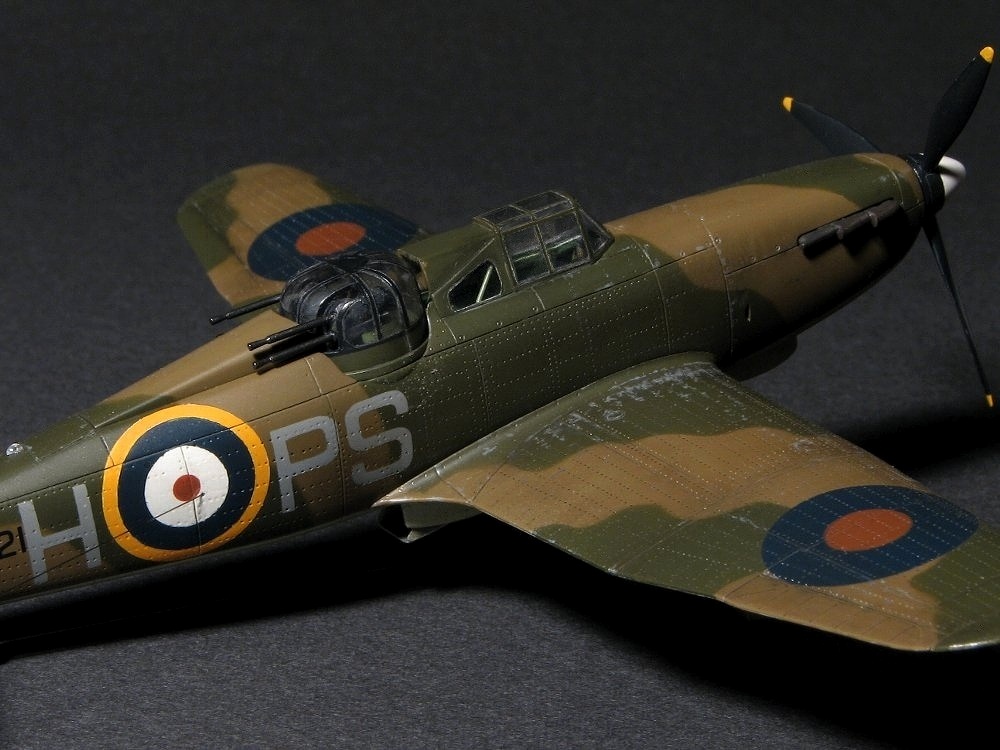
PS-X/L7006 was flown by Sgt Thorn. In this illustration, the retractable fairing is changed to the down position. This kind of change may be hard in actual modeling, but its easy in the illustration world. |
 |
|
DZ-Z/N3328 was flown by Sgt H.Bodien, No 151 Sqn, February 1941. The letter of the starboard was DZ-Z. |
 |
|
Some references describe that the letter was light gray. Well, the letter looks somewhat light in the WW2 original photo. So, I changed my illustration monotone and edited lightness and contrast value. Is it looks light gray? |
 |
|
The last is Mk.II DZ-V/AA435 of No 151 Sqn. The paint surface of this aircraft looks rather matt. This matt surface is depicted by edits of light object. The value of airbrushing effect should be increased in the "Fill/Stroke window". |
 |
|
|
| 1 | Warpaint No.42 Boulton Paul Defiant | - | Hall Park Books |
| 2 | Yellow series Boulton Paul Defiant | 83-89450-19-4 | Mushroom Model |
| 3 | The Turret Fighters Defiant and Roc | 1-86126-497-6 | Crowood Press |
| 4 | Osprey Aircraft of the Aces 105 Defiant, Blenheim and Havoc Aces | 1-84908-666-4 | Osprey Publishing |
| 5 | On Target Special 9 The Battle of Britain Comouflage & Markings 1940 | 97-81904-643364 | The aviation Workshop Publications |
|
|