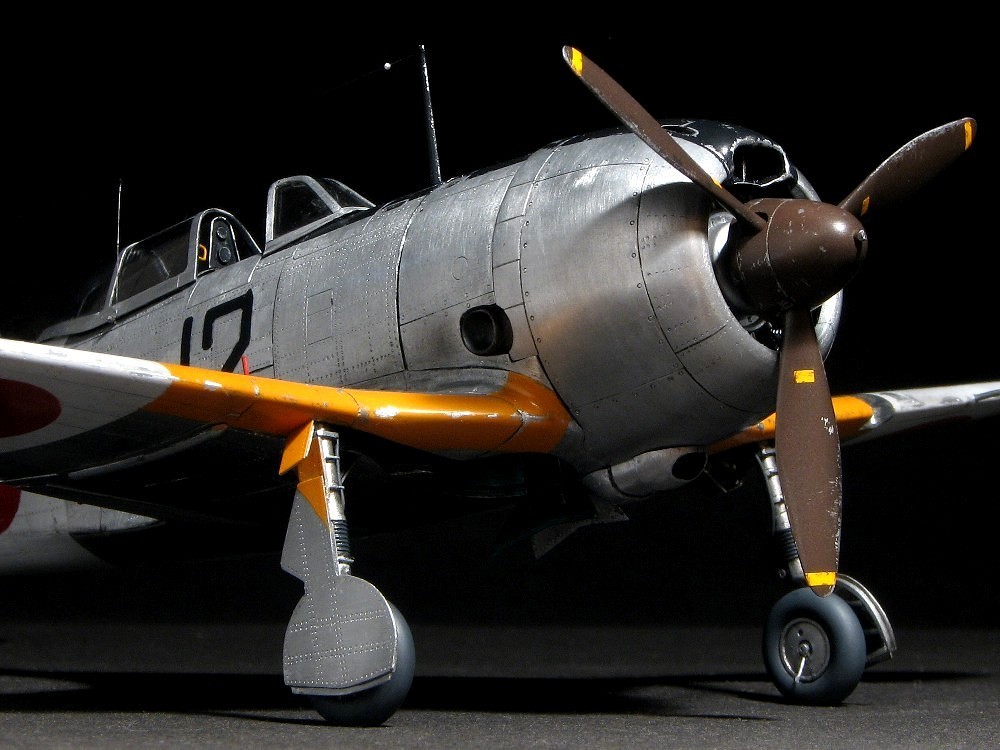
Shoki II-otsu 4
6/Feb/2009
|
|
|
|
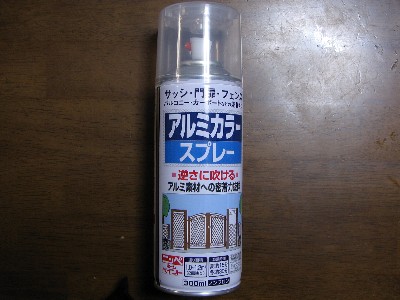 I used this spray paint for aluminum construction materials. |
|
|
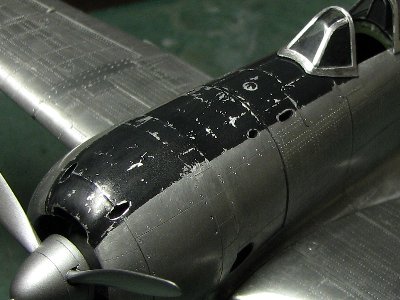
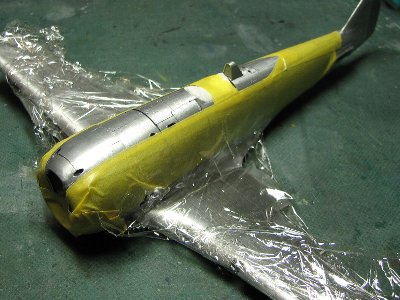 After clear paint was sprayed, the anti glare was masked. |
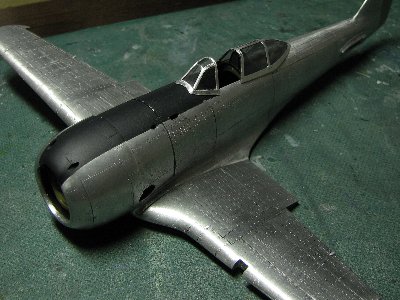 Dark gray (black 80% + white 20%) was painted. The edge was not smooth due to the peeling off. |
|
|
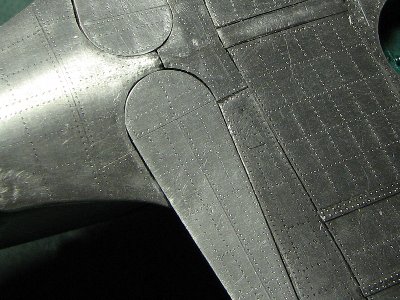
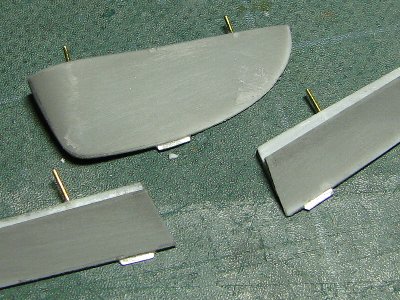 The fixed tub was from the 0.2mm aluminum sheet. The edge was excavated 0.5mm and the aluminum piece glued on. |
 Ribs were represented by brushing Mr.Surfacer. |
 Mr. hobby #8 clear + #46 clear was airbrushed. |
 The rudder and elevators received the same treatment. |
|
|
 The paint surface was scratched with the some stiff and sharp object (for example tweezers). This process of chipping was exactly same as the actual A/C. |
|
|
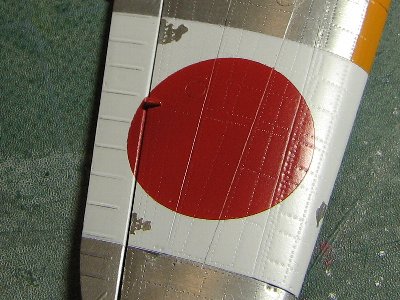
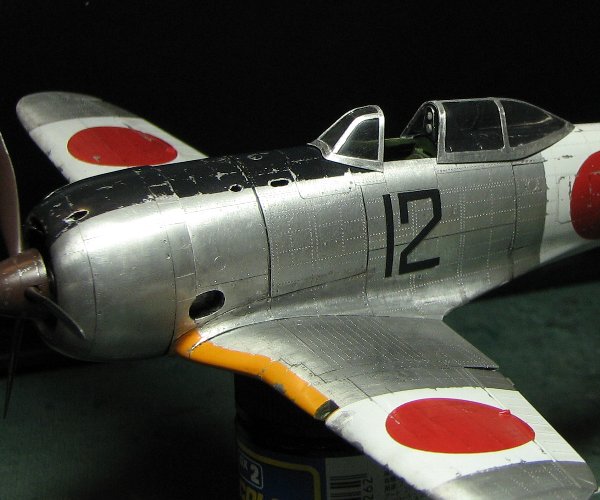
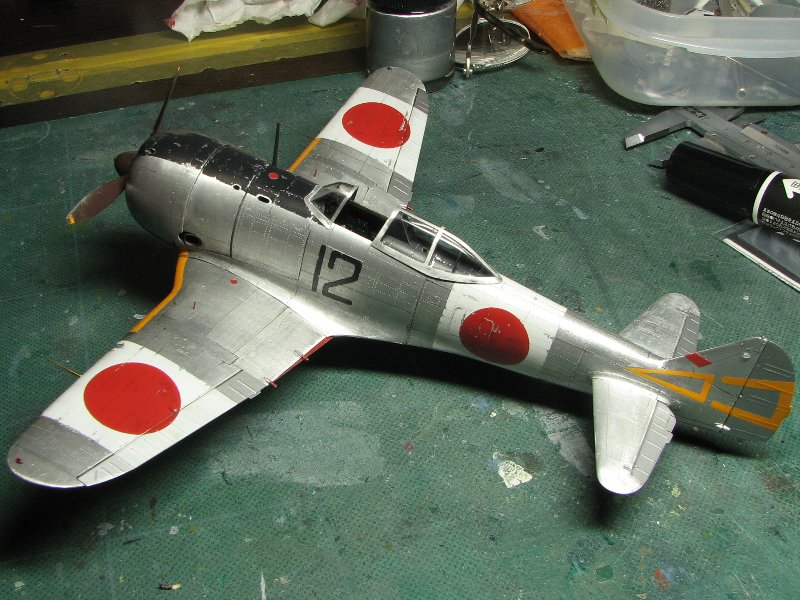
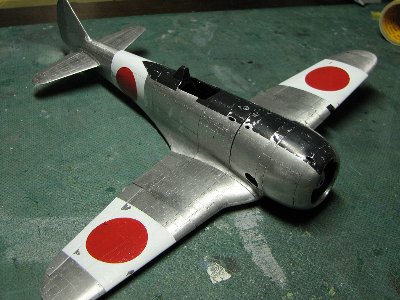 The white air defense band and hinomaru ( = the circle of the sun ) were painted. The paint peeled off again. orz |
 IFF band was painted on. This time I used paper masks. |
 There was peeling again. orz |
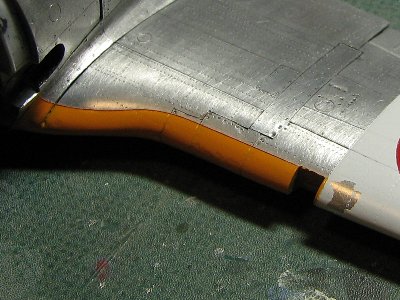
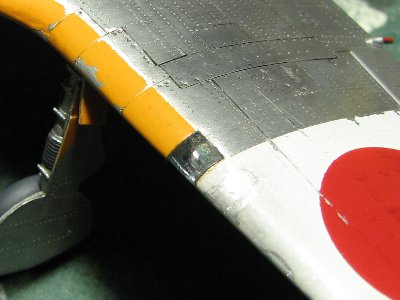
 Gear covers were painted. The IFF bands didn't match. It was probably caused by the position of wing bulge and wheel wells. |
 During the paint peeling off repair the paint coat built up and almost concealed the rivets. |
 Here is the result after chipping and weathering. |
|
For the home defense bands I added a few drops of black to pure white. Red was a mix of #GX3 red, #114 RLM23, #15 dark green in the ratio 75:20:5. For IFF bands I used #58 orange yellow with a few drops of red.
|
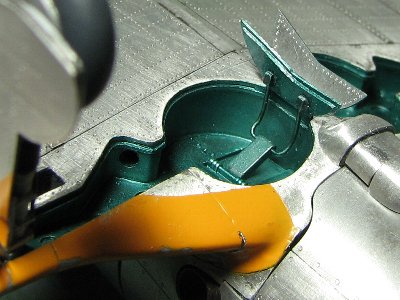
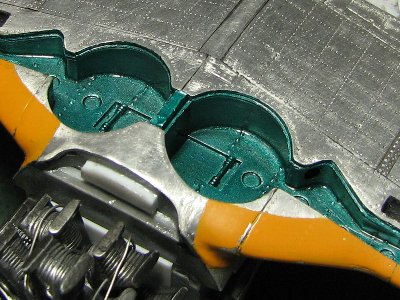 Aotake ( clear blue ) was achieved by airbrushing #50 clear blue ( + small quantity of clear yellow ) on the dark silver base coat. |
 The inside of the gear cover and gear leg were painted with #SM01 super fine silver followed by flat clear top coat. |
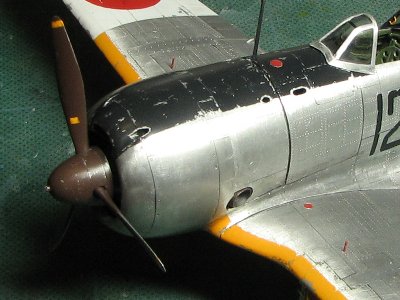
 I adjusted the shape of propeller blades and painted them in super fine silver as a base of chipping. |
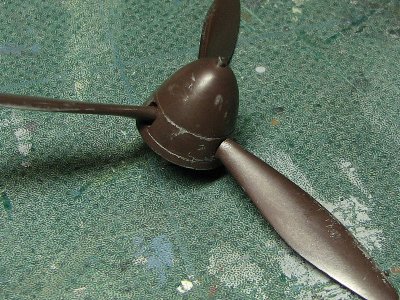 The propeller was painted with #131 red brown to which I added 30% of #13 neutral gray. |
|
|
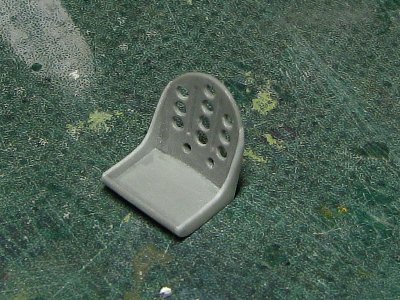 The pilot seat was basically kit part. The frame behind the seat was from kit too. |
 Seat belts came from Finemolds photo-etched set. |
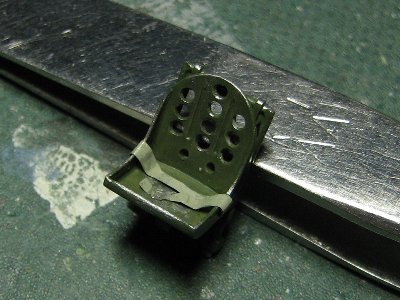
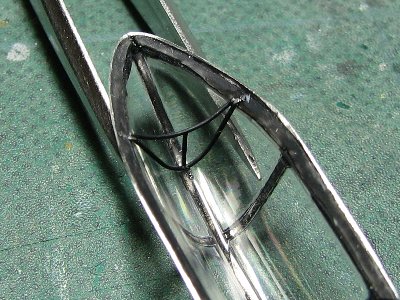
 The type 100 gunsight found in Shoki II-otsu and -hei was completely scratchbuilt. For reflectors I used Evergreen 0.13mm clear plastic sheet. |
 The bases of reflectors were made from 0.14mm plastic sheet. The opening was drilled out first and final shape cut. |
|
|
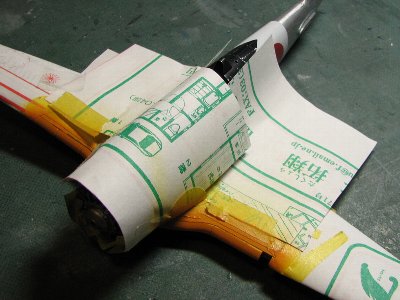
 Masking tape was laid on the drawings and cut. |
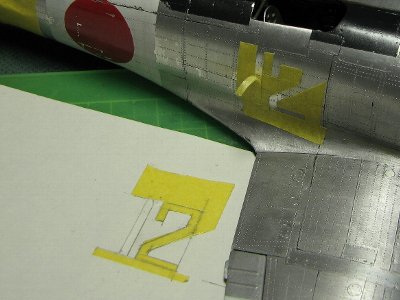 Tape was cut into small sections. |
 The markings of 70th sentai ware airbrushed. The edges of the markings are to be sanded down. |
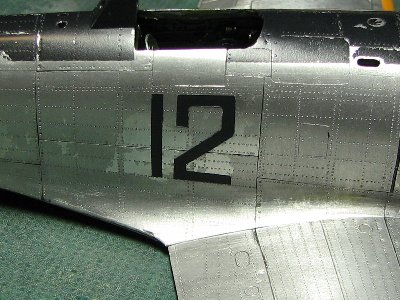 I used the same procedure to paint the aircraft number. While removing the masking tape the clear coat peeled off again. |
|
|
 |
|
|
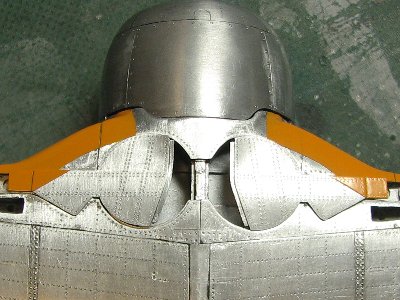
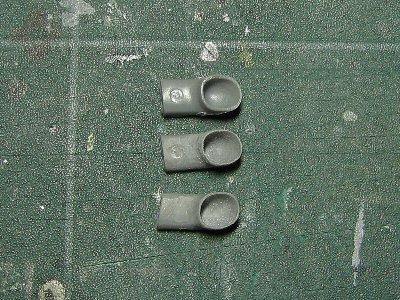 The exhaust pipe was hollowed and the edges thinned. The kit part is on the top. |
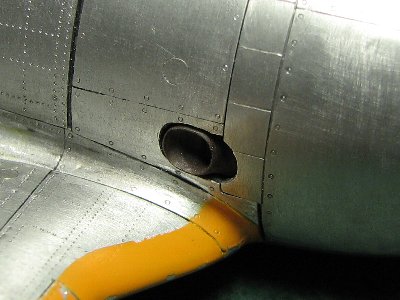 The exhaust was painted and glued. |
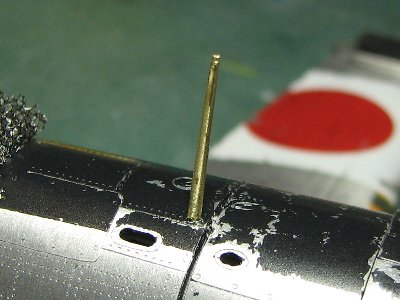 The antenna mast was scratchbuilt from the brass rod. |
 The hinge cover was made from the aluminum rod and 0.1mm sheet. |
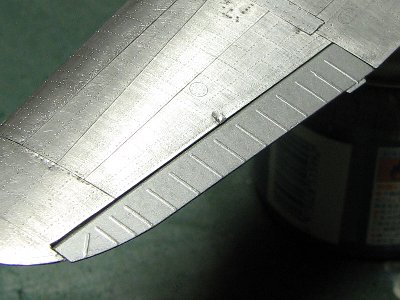
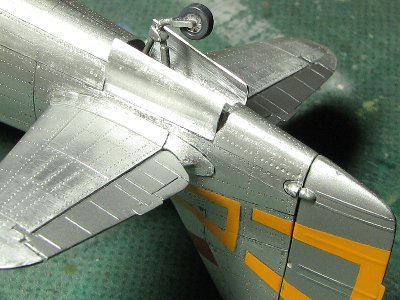
 The "butterfly" flaps were glued on the wing. |
 The upper side of the flap trailing edge was painted red but only the portion visible when flap was retracted. It was confirmed by original photos. The painting guide in the new 1/32 Ki-44 kit is wrong. |
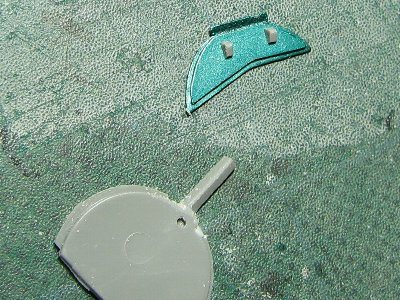
 The tail wheel covers were made from 0.3mm aluminum sheet. |
 Oops, I didn't notice that this small cover popped off. |
|
|
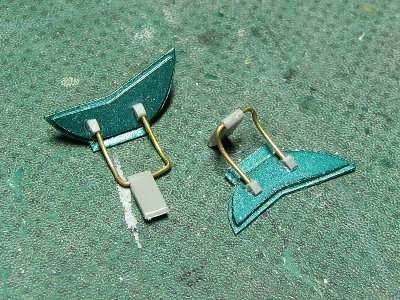
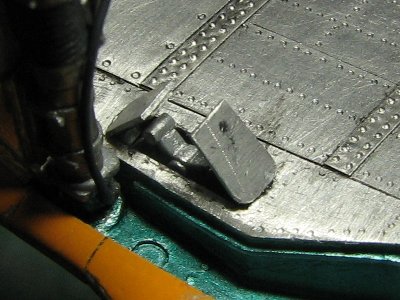
 The aluminum sheet was pressed on the original kit's part. |
 The rail was bent into a pre-drilled hole to strengthen the joint. |
|
|
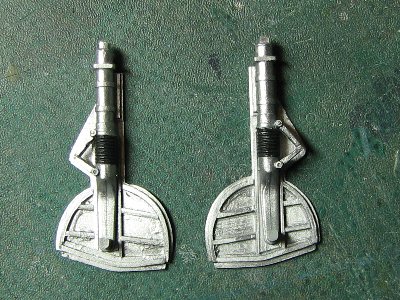
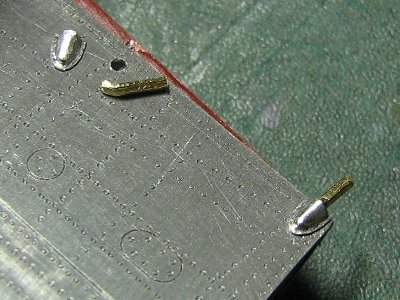
 The bar on the wheel was made of 0.3mm metal rod. |
 The brake line was annealed 0.35mm brass rod. |
 Bases of the wheel cover link were cut from triangle shape rod. |
 The link was 0.35mm brass rod. |
 The cover and link were installed on the lower wing. |
 The tail. I did not find out what the color of inside cover was. |
|
|
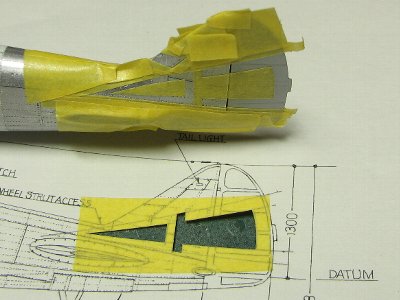
 The transparent light cover was made from the heat-pressed 0.2mm clear styrene sheet. |
 The landing light was sourced from the aftermarket parts for 1/43 car models. |
|
|
 The windshield and gun sight were glued on the fuselage. |
 The inner frame was made from the stretched sprue. |
 The frame looks distorted due to the thickness of canopy clear styrene. |
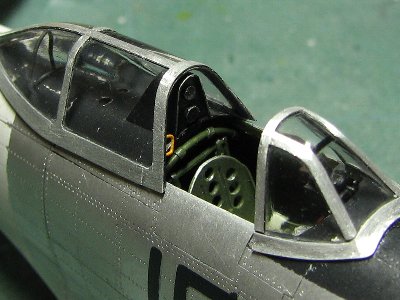 The handle was also made from the stretched sprue. Application of yellow color is conjectural. |
|
|
 The small doors were made from 0.3mm aluminum sheet and for the inner plates I used 0.2mm aluminum. |
 These parts were also installed on the wing. |
 Yellow caution lines are custom-made dry decals. |
 The navigation lights came from Hasegawa 1/48 P-40 and were glued on using Dufix. |
|
|
 |
|
|
 |
|
|
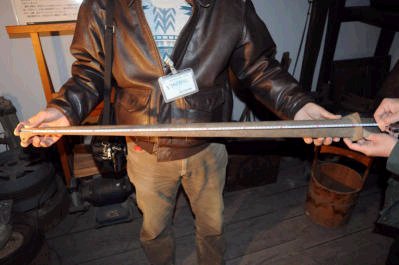 The antenna mast of Type 97 fighter |
|
|
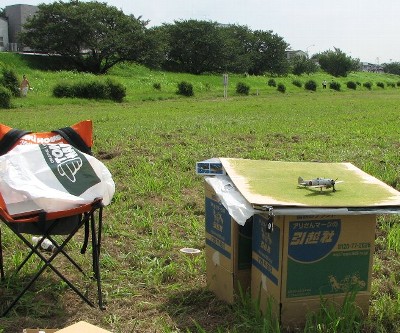 This was the set up for the outdoor photography. |
 This is the shot of the left location. |
|
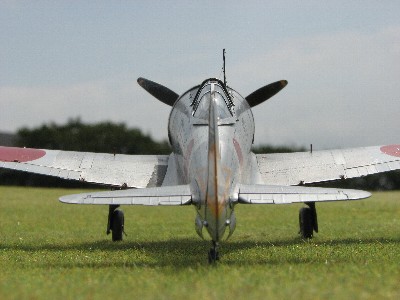
I noticed some minor errors. The cross section shape of tail fuselage near tail fin is not perfect. The gear cover is flat. It should be curved to follow the curvature of the wing and lower fuselage. But these things are easy to correct. Anyway, any flaws are minor and this new kit is the best Ki-44 in any scale.
|
| 1 | The famous aircraft in the world No.16 Army Type 2 Fighter Shoki (new edition) | Bunrindo |
| 2 | The famous aircraft in the world "Shoki" (old edition) | Bunrindo |
| 3 | Shoki Fighter Group
ISBN978-4-499-22982-1 |
Dainippon-kaiga |
| 4 | Mechanism of Military Aircraft No.12 "Hayabusa"/"Shoki"/Type 97 fighter
ISBN4-7698-0921-2 |
Kojinsha |
| 5 | Koku-fun illustrated No.79 The record of IJA airwings vol.1 | Bunrindo |
| 6 | Koku-fun illustrated No.80 The record of IJA airwings vol.2 | Bunrindo |
| 7 | Koku-fun March 1995 | Bunrindo |
| 8 | Model Art separate volume No.329 Marking of IJA fighter | Model Art |
| 9 | Model Art separate volume No.416 IJA fighter Aces | Model Art |
| 10 | Type 1 fighter Hayabusa
ISBN4-05-604181-4 |
Gakken |
| 11 | Type 3 fighter Hien and Type 5 fighter
ISBN978-4-05-604930-5 |
Gakken |
|
|