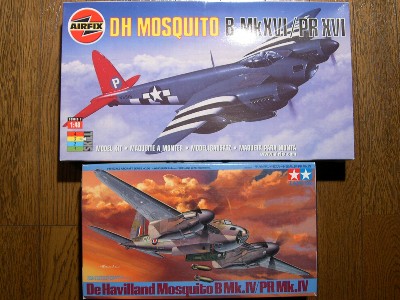
Mosquito PR.XVI (Tamiya 1/48)
16.Nov.2006
|
|
|
|
Construction |
|
|
| Wing span | 54ft 2in (16.51m) | |
| Airfoil | RAF.34 with modified camber | |
| Attack angle | 1.5 degrees | |
| Aspect ratio | 6.7 | |
| Dihedral angle(upper side of front spar) | 1.4 degrees | |
| Chord (root) | 12ft 3in (3.733m) | |
| Chord (wing tip) | 3ft 10 in (3.658m) | |
| Flap | 45 degrees | |
| Aileron | Up 26.5 degrees, Down 11.5 degrees |
|
* Data sources : several web sites (see references)
|
 The black reinforcement bar was carbon fiber which was a gift of my friend who is a mechanic of a Formula Three racing team. |
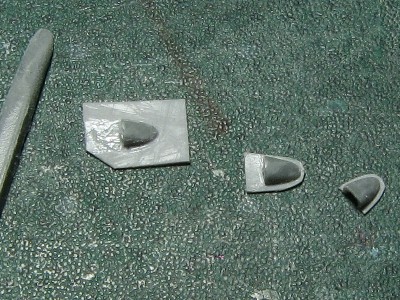
 The landing light was kit clear part with aluminum sheet. |
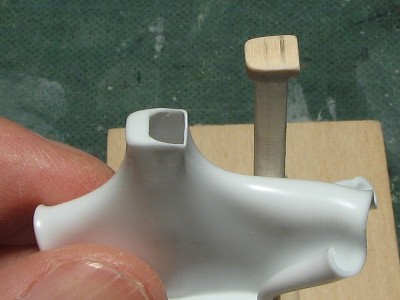
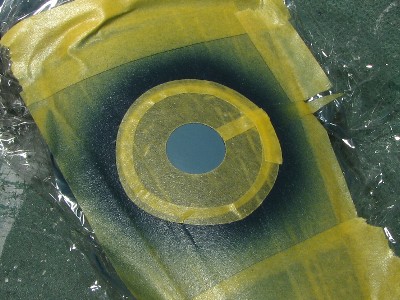
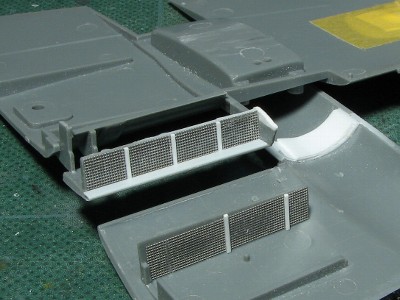 The shape of the radiator was rectangle. Photo-etching mesh was glued. |
 The upper and lower lip of the radiator intake were to be parallel. (See this photo.) |
|
|
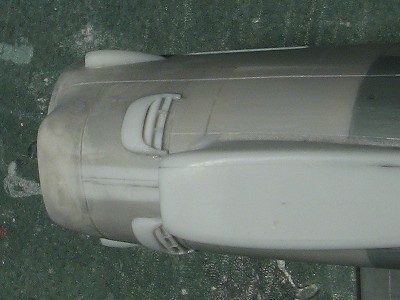
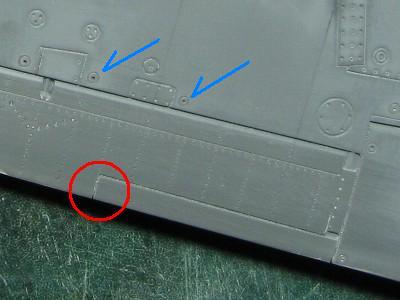
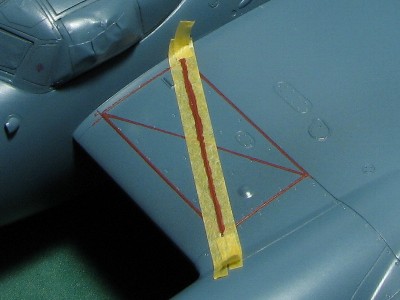
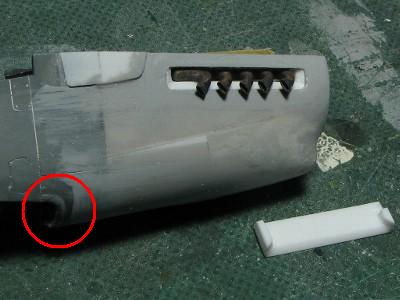 The fairing of the exhaust was added by plastic sheet. The edge of the gear bay ( the red circle ) was corrected. |
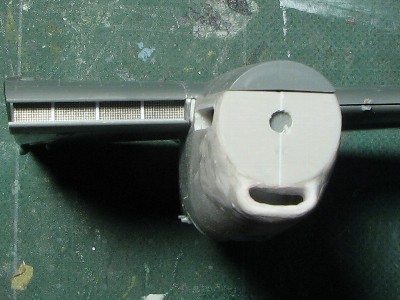
 The shape of the cowling was adjusted little by little. Please note the kinked line at the corner of the air-intake ( the red arrow ). |
 The intercooler outlet fairing was made of heat-pressed 0.5mm plastic sheet. The width of the outlet was 6mm. |
 The outlet fairing was cut out. The arch was twin bladed outlet vanes. |
 The outlet fairing and vane were fixed on the cowling. The electric generator air-intake on the side of the cowling was made of 2mm X 2mm plastic square bar. The width of the intake was 2mm and the length was 7.5mm. |
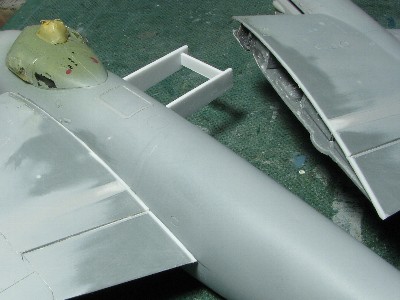
 The backward reinforce plate was omitted at the kit main wing. Then it was depicted by 0.1mm thin plastic sheet. Also, the kit mold of the front reinforce plate was changed to 0.1mm plastic sheet to equalize the depiction. |
|
|
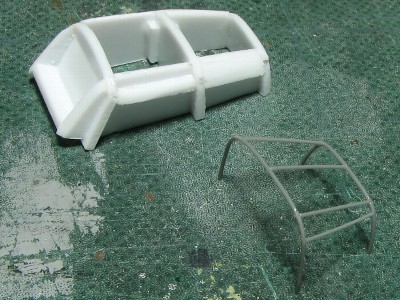
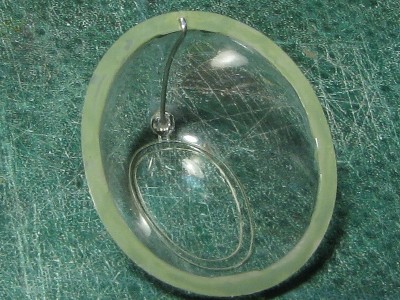
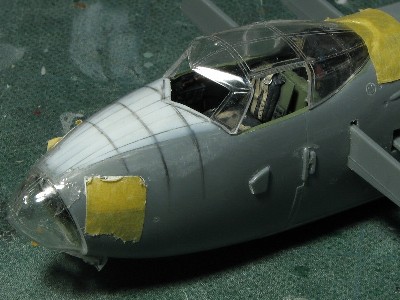 Shredded plastic sheet was glued on the top of the nose to be rounded cross-section shape. The new clear canopy part was prepared. |
 Side blister windows and front windows were newly re-created. To rise the height of the canopy, clear plastic was glued on the lower edge of the front quarter window. |
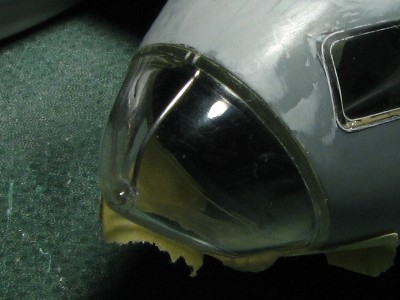
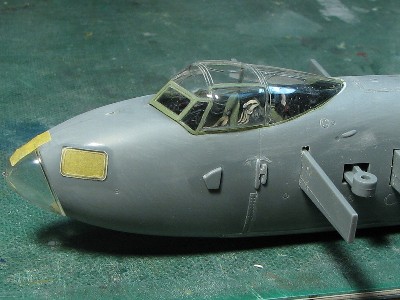 This photo is previous status. Please compare to above photo. |
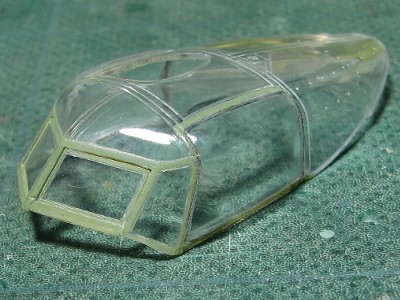 Also, previous canopy. The height and the angle of the front window were different. |
|
|
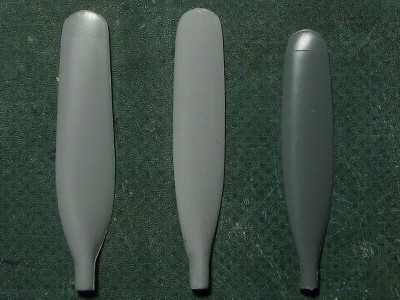 The left : Airfix (original), center : Airfix (corrected), right : Tamiya (original). Tamiya is good in shape but 2mm short in diameter. |
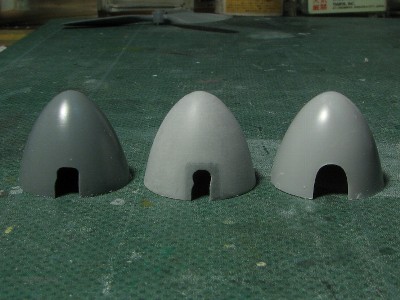 The left : Tamiya, center : Airfix (corrected), right : Airfix (original). |
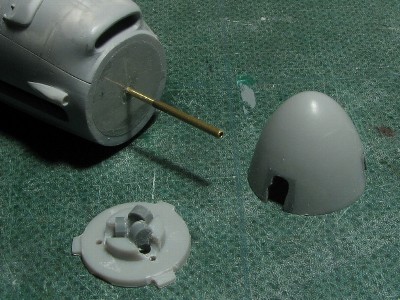 The center shaft was 1.0mm brass rod (fixed) and 1.2mm brass pipe (free). |
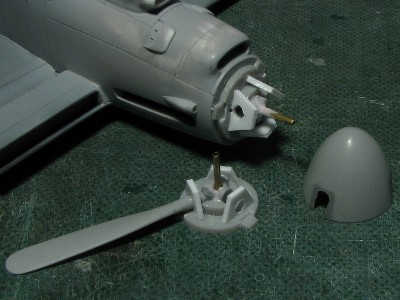 The 1.2mm brass pipe was fixed on the base plate of the spinner. Then propeller blades were glued. |
|
|
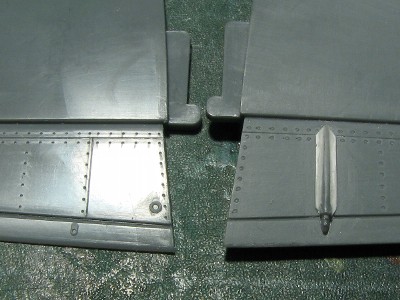 The trailing edge was sanded to be sharp. So the tab rod was cut before sanding and glued again. The left was Tamiya original part. |
 The wing tip was sanded to be thin. |
|
|
 This is the actual aircraft. |
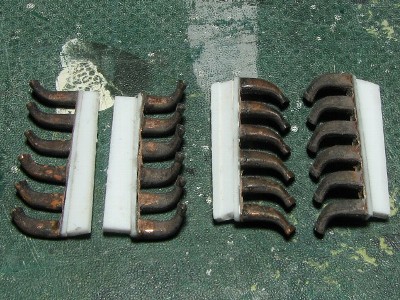
 The plastic rod (left) was sliced in equal thickness (0.2mm) by this handmade jig. |
 The sliced fastners were glued on the cowl. |
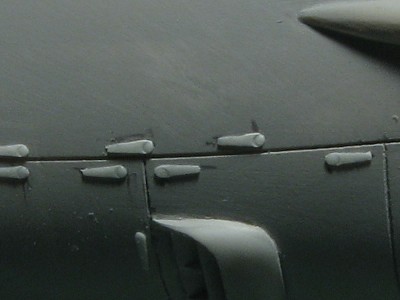 Close up. |
|
|
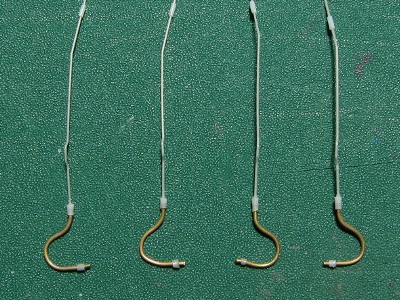
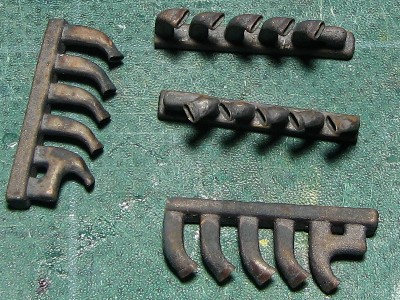 These are Moskit exhaust parts for single stage engine. |
 Two sets of Moskit parts were combined. |
 The tread pattern was engraved with photo-etching saw. The left was kit original part. |
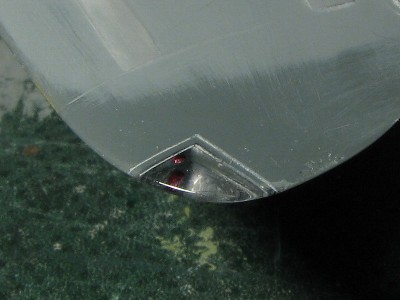 The navigation light was of a clear sprue. |
|
|
 Extended sprues were set on the jig and put into hot water. |
 Please be careful that the frame works of B.IV and PR.XVI are different. The inside frames which weren't visible from out side were omitted. |
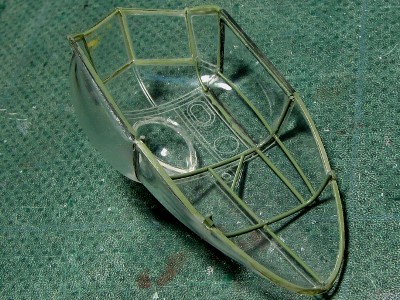 The frames were painted and glued on the clear parts. |
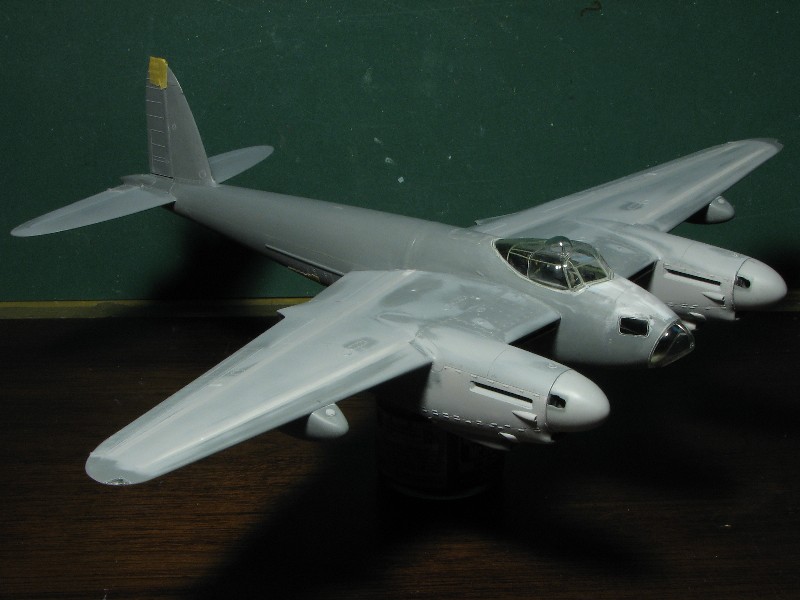
 All process of works was finished. |
 Details were added on the cockpit. |
 The control column was shortened by 2mm. The break lever on the center of the column was carved out. |
|
|
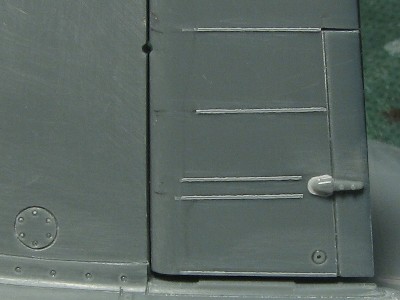
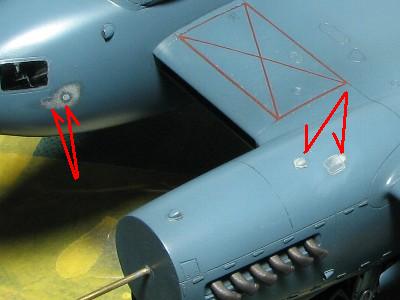
 The demarcation line of the aileron tub (red circle) differs depending on the type. The drain holes were engraved (blue arrows). |
 The rib tapes on the rudder were depicted with Surfacer. |
 PR.XVI's of the 680 Sqn. equipped 50 gal. drop tanks. |
 The fuel cap was of 0.14mm plastic sheet. |
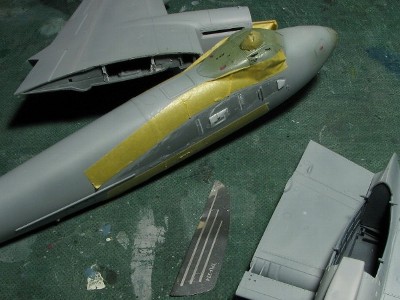
 The electrical cable of the navigation light was added on the inside of the nose windshield. |
 The late subtype of glass nose Mossie didn't have the top frame of the nose windshield. |
 The small fences of 0.2mm plastic sheet were put on the front of each camera windows. |
 The small air-intakes on the left side of the cowling were made as this photo. |
|
|
 The wing and fuselage were glued together, but..... |
|
The angle was less than 1 degree, so I tried to ignore it at first, but after all I can't stand it. |
 The wings were cut from the fuselage by etching saw. |
 The new spar of 1.2mm plastic sheet was glued on the fuselage side and the shim was glued on the wing root. |
|
|
Painting |
|
|
 |
|
|
 After base coat of Mr. Hobby Surfacer was sprayed, the first coat of PRU Blue was sprayed. The surface was like orange peel. |
 The surface was polished by 1,500 grid sand paper. Then the second coat was sprayed and polished again. |
|
|
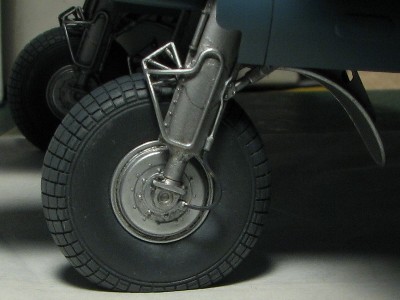
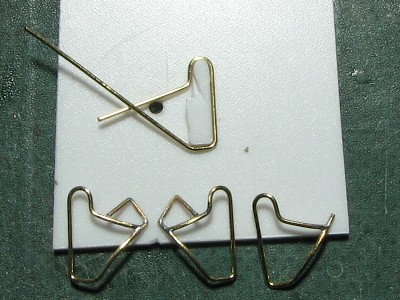 The fender was made of 0.5mm brass rod using this handmade jig. |
 The fenders were glued on the gear. Three small rods were extended sprues. |
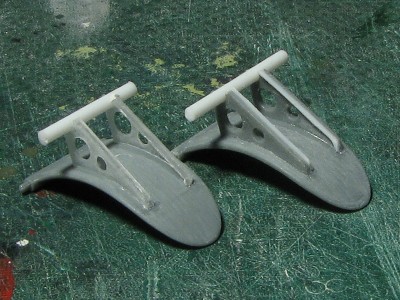 Detail was added on the mud guard. |
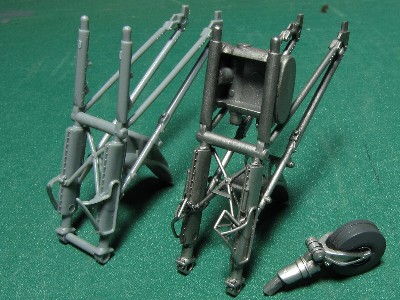 The landing gear was finished. The left was kit original. |
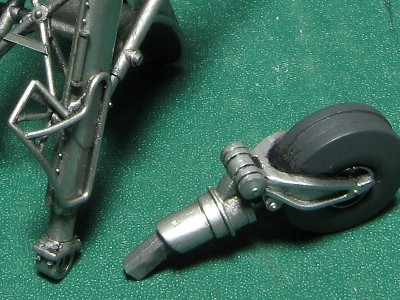 Please note the small bolts on the strut bottom. |
 Other details were almost finished. |
|
|
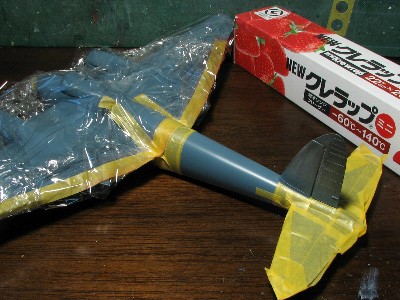 The kitchen wrap is convenient for masking. |
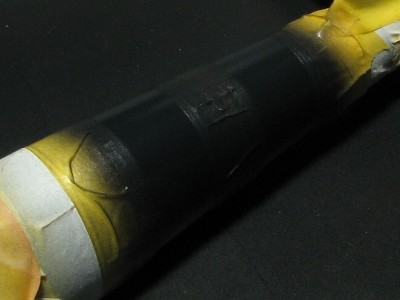 After White was sprayed, Black bands were sprayed. |
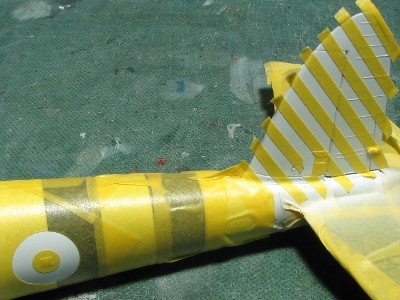 Dull Blue for the roundel and Dull Red for stripes were masked. The angle of the stripes was 52 degrees. The width of the red stripe was 2.8mm and the white stripe was 3.0mm. |
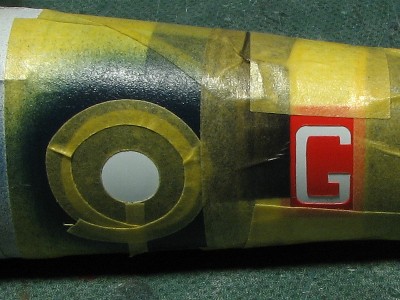 Then, Dull Red of the roundel and the letter "G" were sprayed. The masking sheet of the "G" was cut by cutting machine. |
 Dull Blue and Dull Red of the main wing were mixed a little of White and depicted the color degradation. |
 Marking was finished. |
 These lines were Dull Red. |
 The serial was masked by machine cut sheet. |
|
|
 The brake line was annealed 0.4mm brass rod and extended sprue. The connectors were made of heat extended plastic pipe (a rod of a cotton swab). |
 I forgot something. The Pitot-static head of late version changed the shape (oval) and position. |
|
|
 The airbrush and drybrush were used to weathering of the tire. |
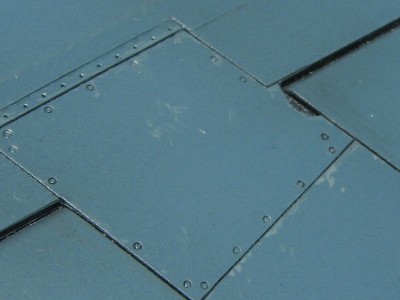 Medium Gray chippings were depicted by fine brush on the metal panels. |
|
|
Completion |
|
Anyway, I think the PRU Blue costume and candy stripe tail PR.XVI is the best-looking of all Mossies. Don't you think so? |
 crick photo
 |
|
|
 crick photo
 |
References |
|
|
 |
|
|
| 1 | The famous aircraft of the world | Bunrindo |
| 2 | Aero Detail 23 De Havilland Mosquito | Dainippon-kaiga |
| 3 | Osprey series 42 Mosquito Bomber / Fighter Bomber Units of World War 2 | Dainippon-kaiga |
| 4 | Mosquito in action part-1 Aircraft No.127 | Squadron/Signal Publications |
| 5 | Mosquito in action part-2 Aircraft No.139 | Squadron/Signal Publications |
| 6 | Walk Around Mosquito Walk Around Number 15 | Squadron/Signal Publications |
| 7 | De Havilland Mosquito | Crowood Press |
| 8 | Mosquito Photo-Reconnaissance Units of World War 2 | Osprey Publishing |
| 9 | Mosquito Fighter/Fighter-Bommer Units of World War 2 | Osprey Publishing |
| 10 | Mosquito at War | Ian Allan Publishing |
| 11 | Modellers Datafile 1 The De Havilland Mosquito | SAM Publications |
| 12 | War Eagles in Original Color | Widewing Publications |
| 13 | The Royal Air Force of World War Two in Color | Arms and Armour |
| 14 | Warbird Legends | MBI Publishing |
| 15 | 2nd Tactical Air Force vol.1-3 | Classic Publications |
| 16 | Warpaint Special No.3 De Havilland Mosquito | Warpaint Books |
|
Web sites |