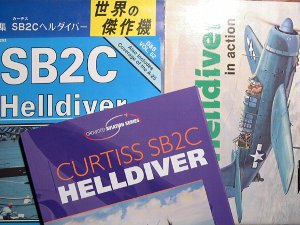
SB2C-3 Helldiver (1:48 Revell Monogram)
|
|
|
|
Introduction |
|
I don't know why, but I like Curtiss made aircraft. Especially, the Beast of the Pacific SB2C Helldiver is my favorite. Revell-Monogram released excellent kits. All I have to do is construct. However....
|
 The first type. Early released Revell. It's perfect! (But it's not mine. Picture only.) |
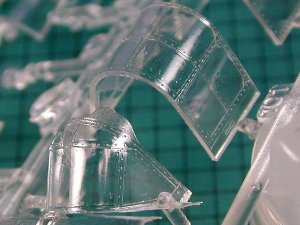
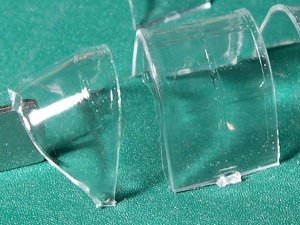 Hasegawa - Monogram version. Some window frames are melting. |
 The last half of the canopy of Hasegawa=Monogram is not damaged. |
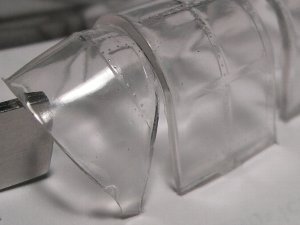 Accurate Miniature brand version. Transparency is lower than Hase-Mono. |
|
We want immediate repair of the mold !!
The shape of the lower edge of the sliding canopy for gunner is different from -3, -4 or -5. Two pieces of trim tab on the rudder. The shape of the beam after the main gear is different. |
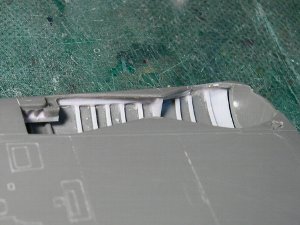
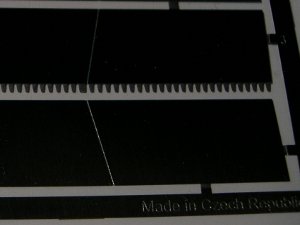 Unperforated dive brakes have not saw-toothed edge. |
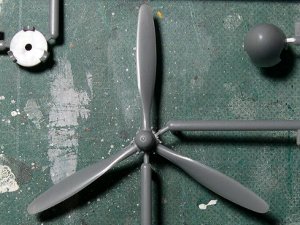 The -1's propeller is not Hamilton. Ha, ha, ha. |
|
|
Construction |
|
|
 |
|
This method was not so bad. But it still remained a problem. Hasegawa-Monogram canopy part has the distortion of thickness. This method cannot solve the distortion. Then I tried next method "Heat press".
|
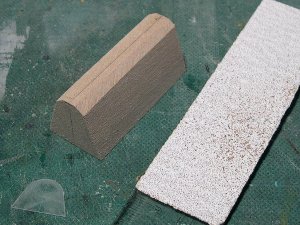 At the beginning, wood block was cut and sanded to correct cross-section shape. |
 The template was used to keep correct shape. |
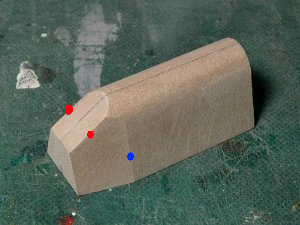 Next, front edges were cut. Each two side of red point is parallel and the side of blue point is accurately vertical. |
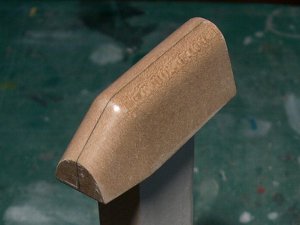 Corners were rounded and the surface was coated with superglue and polished. |
|
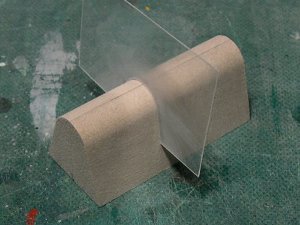
Cut 0.4mm thick Tamiya Clear PRA-PLATE (transparent styrene sheet) to B6 size (10cm x 15cm). Heat PRA-PLATE 10cm above the stove burner of the kitchen at lowest heat. Move PRA-PLATE slowly above the flame. Then the center of PRA-PLATE begins to shrink. Hold PRA-PLATE (don't pull) and still heat it for a little. Then quickly cover PRA-PLATE on the wooden former. |
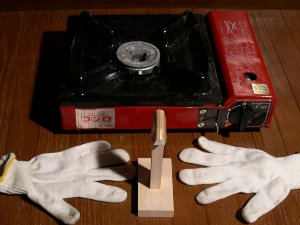 Tools for heat pressing. Gloves are necessity. |
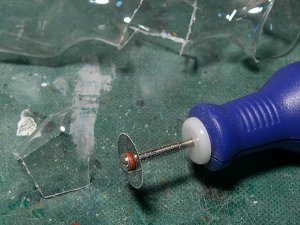 Transparent styrene sheet is easy to crack. The nipper can't be used. The motor tool is useful. |
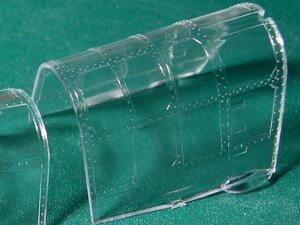
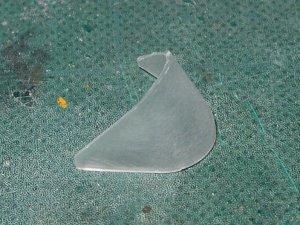 Surfaces (both front and back sides) were sanded with #800 - #2000 grid sandpaper. |
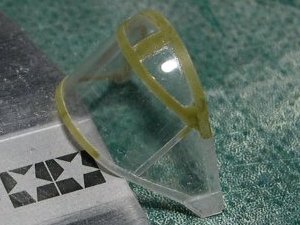
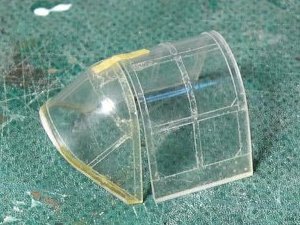 After polished the surface, frames were glued. The window frame was made from Evergreen 0.13mm Sheet Styrene. |
|
|
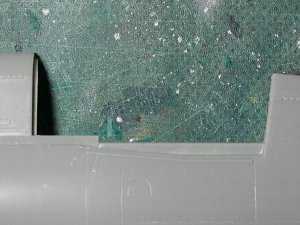
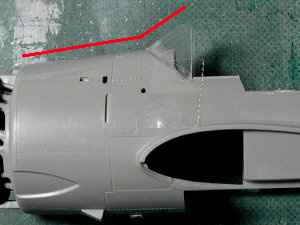 The angle of kit's windshield is incorrect. |
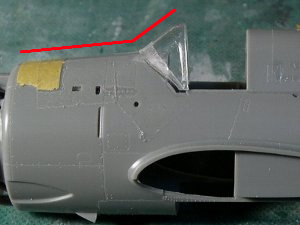 Here is the correct angle. Of course, my scratchbuild windshield is correct. |
 The nose is a little thick. So the red portion was cut. |
|
|
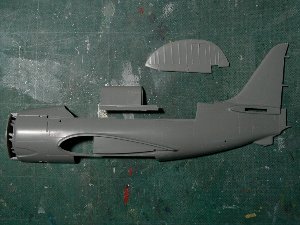
 This is kit fuselage part. |
 Two fuselage parts from two boxes were cut like this. |
|
The width of the fuselage was adjusted a little. The width of gunner's cockpit of the kit was expanded up to the width of pilot's cockpit (each width was equal). So the width of cockpit floor part was 0.3mm expanded, the center bulkhead and turtle back parts were expanded 1.0mm. |
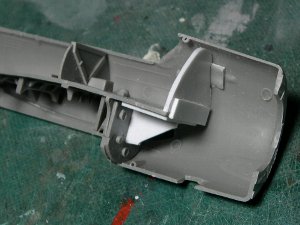 The cockpit floor was extended by two floor parts. The front bulkhead was added. |
 The floor of gunner's cockpit (left) and turtle deck (right). |
|
|
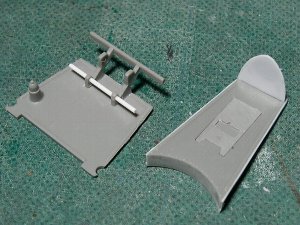
 These are kit parts. |
 Frames and stringers were made of 0.2mm prastic sheet. |
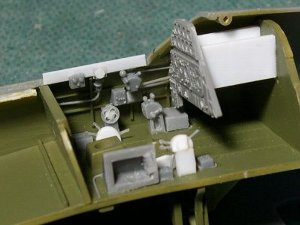 Some parts were from Tamiya P-47D or Hasegawa P-40 etc. |
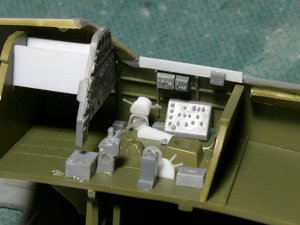 |
 The gunner's cockpit. |
 |
 Before. |
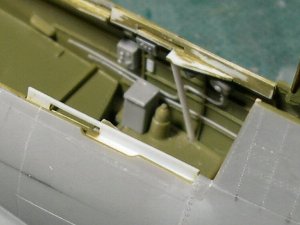 After. |
|
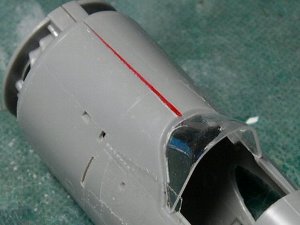
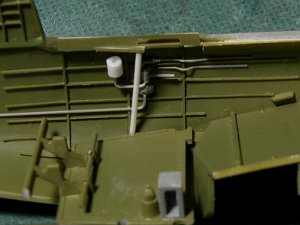
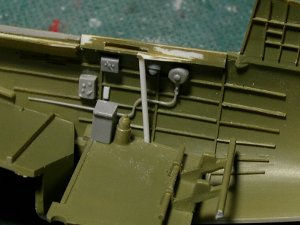
The upper edge of the gunner's cockpit was corrected. |
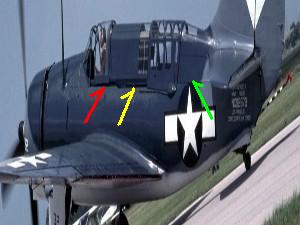 Please note the connection of each red, yellow and green line. |
|
|
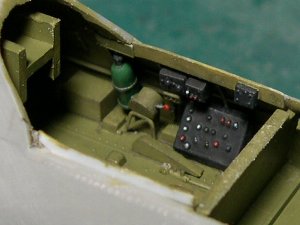 Some parts were added and painted. Then the fuselage parts were glued together. |
 The leading edge of the tail fin was sanded to be sharp. |
|
|
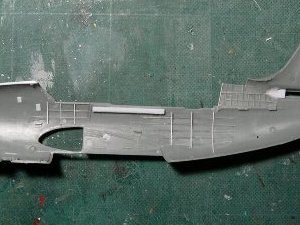
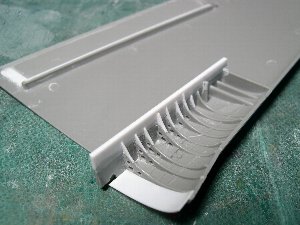 Ribs were extended with 0.3mm plastic sheet. |
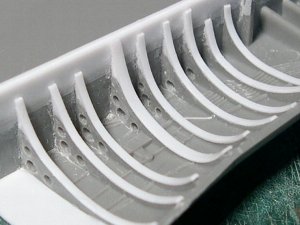 Flanges of ribs were added. |
|
|
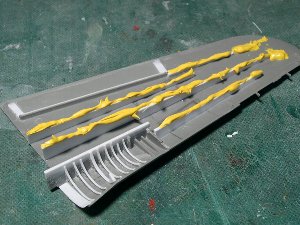 Spars are glued on upper wing part. And polyester putty was expected to hold the thickness of the wing. |
 The front side was like this. |
|
|
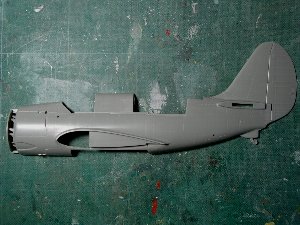
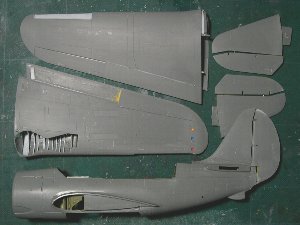 The fuselage, main wings and tailfins were glued and sanded. |
|
|
To be continue...