SB2C-3 Helldiver (1:48 Revell Monogram)
|
|
|
|
construction |
|
|
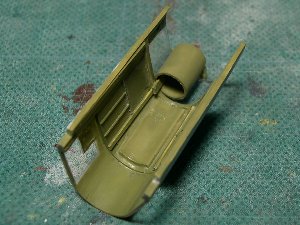
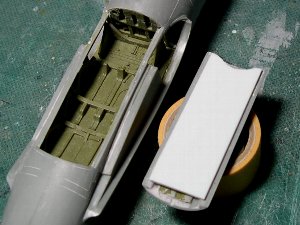 The left and right bomb bay doors were glued together so as to be detachable. |
 The door section was set into the bomb bay. |
|
|
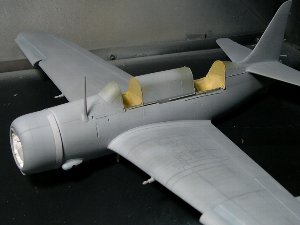
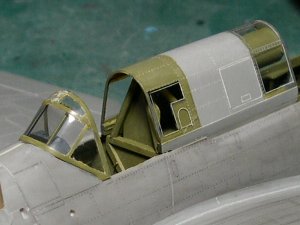
 The rear pilot window is part of the character of -3 model. I used kit's forward gunner window part for this window. |
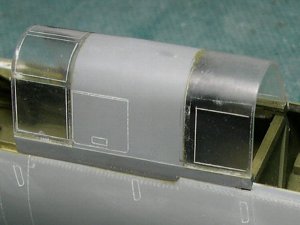 The shape of the left and starboard rear pilot window are different. The starboard window is a rectangle . |
|
|
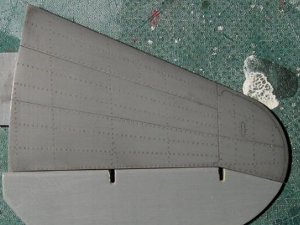 Rivet lines of the horizontal stabilizer is nearly identified. |
 The vertical stabilizer is the same. |
|
|
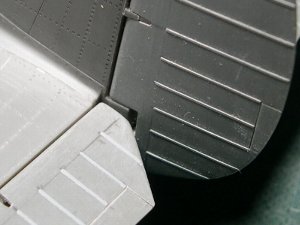
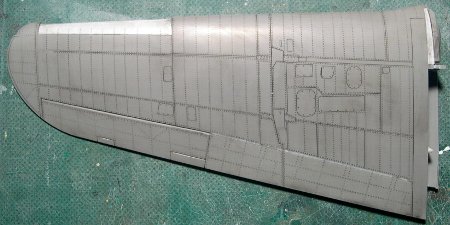 The upper wing. Please note the aileron ribs. The kit is mistaken about the angle of ribs. Also, the kit mistakes the number of the hole of the perforated dive brake. |
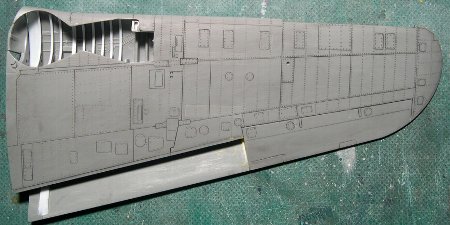 The lower side. The lower side of the aileron is fabric. Rectangle access panels were re-scribed. |
|
|
 Kit mistakes some panel lines (below the tail fin). This photo is revised. |
|
|
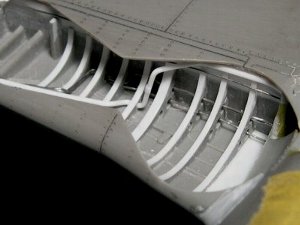
 The plastic plate wing spar was strongly fixed on the fuselage. |
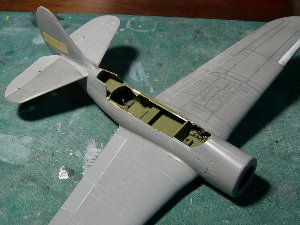 The dihedral angle is 6 degrees at the leading edge. |
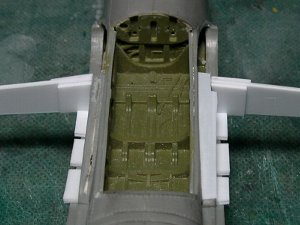 The opened bomb bay was the weak points in strength of structure. |
 Triangle members are reinforcements. This is the same structure as the actual aircraft. |
|
|
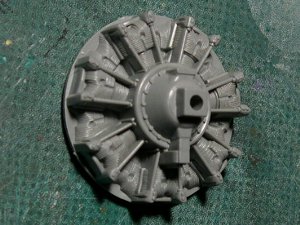 This is the kit original Wright Cyclone R-2600 engine. The gear case is combined with the cylinder block. |
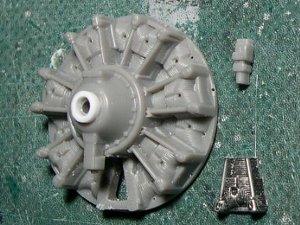 The gear case was trimmed from behind. The new cylinder block was from another kit. The equipment on the gear case is from Hasegawa P-47. |
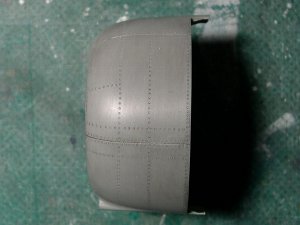 Rivet lines are as shown. |
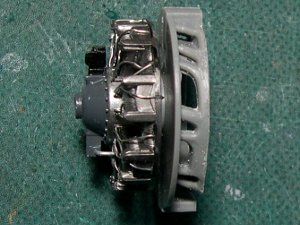 The backward section of the engine was cut out from another kit. |
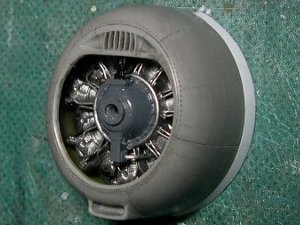 Ignition harnesses were added. Slits of the supercharger intake were opened with the knife and drill. |
|
|
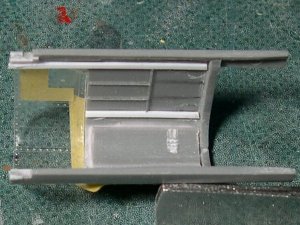
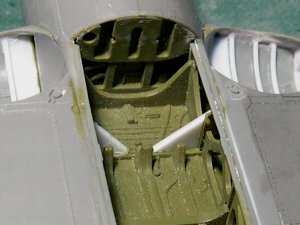
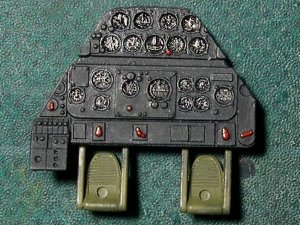 The instrument panel is kit part. Rudder pedals are from Tamiya P-47 kit. Sorry, they are different form SB2C. |
 The fuselage fuel tank was made of the drum can. Unfortunately, I don't know exact shape. |
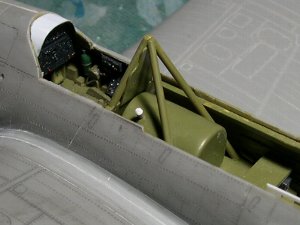 The fuel tank and the roll bar were assembled. Please note the bulletproof armor behind the pilot. |
|
|
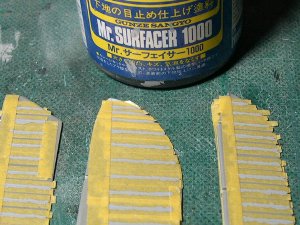 Rib tapes on fabric covering were depicted with surfacer. |
 Finished. |
|
|
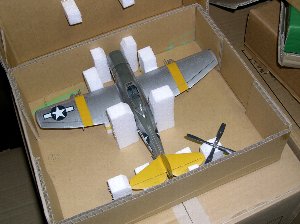 Completed models were set into the boxes. |
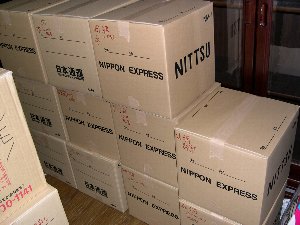 These were a dozen of boxes with books of aircraft. Very heavy. |
|
|
 This was the first work of restart. |
 It was very difficult to set the slut to accurate position. |
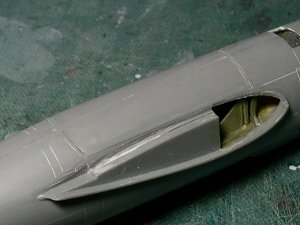
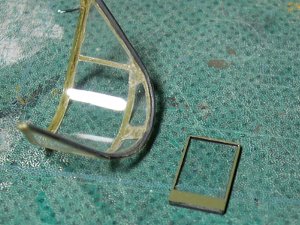 The bulletproof glass was cut out from compact disk case. |
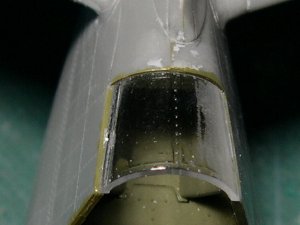 The fuselage width was slightly widen. So, kit clear part wasn't fit (see this photo). Therefore, two kit parts were joined and the window was widen. |
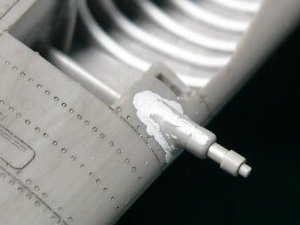
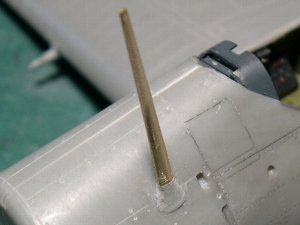 The antenna pole was from the brass rod. |
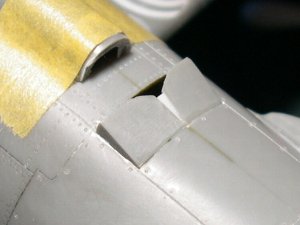 The small triangle plate was set between air-outlet doors. |
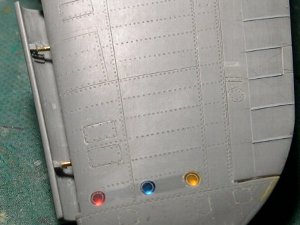
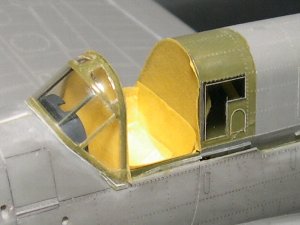
 Construction of the intermediate portion of the canopy was completed. Please note to the shape of the portside pilot rear window. |
 The windshield was glued to fuselage. The window frame and the bulletproof glass are parallel to one another. |
 Piping works was done. |
 The trapezoid fairing made of clear plastic sheet was fixed on the bottom of the windshield. (Sorry, it's hard to see.) |
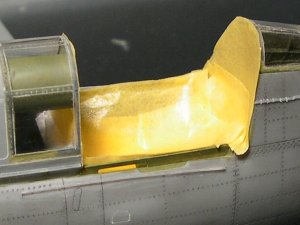 The hinge of the turtle deck and the slide canopy rail were added. Then the cockpit was masked. |
The first coat of surfacer was sprayed. |
To be continued...