Supermarine Spitfire Mk.Ia Tamiya 1/48 part-2
|
|
|
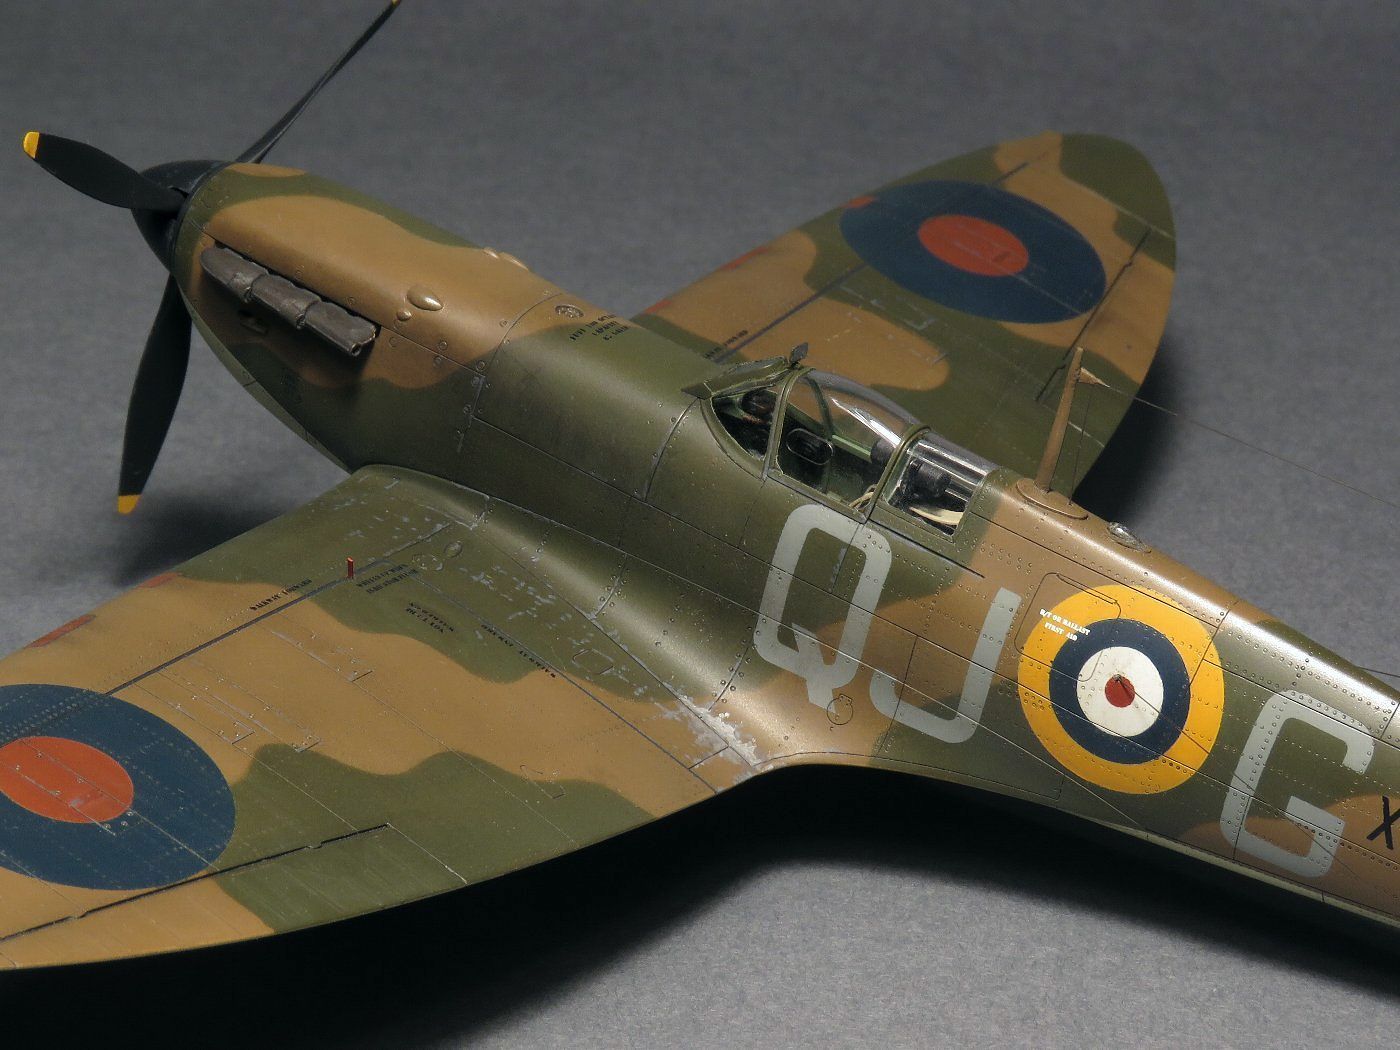
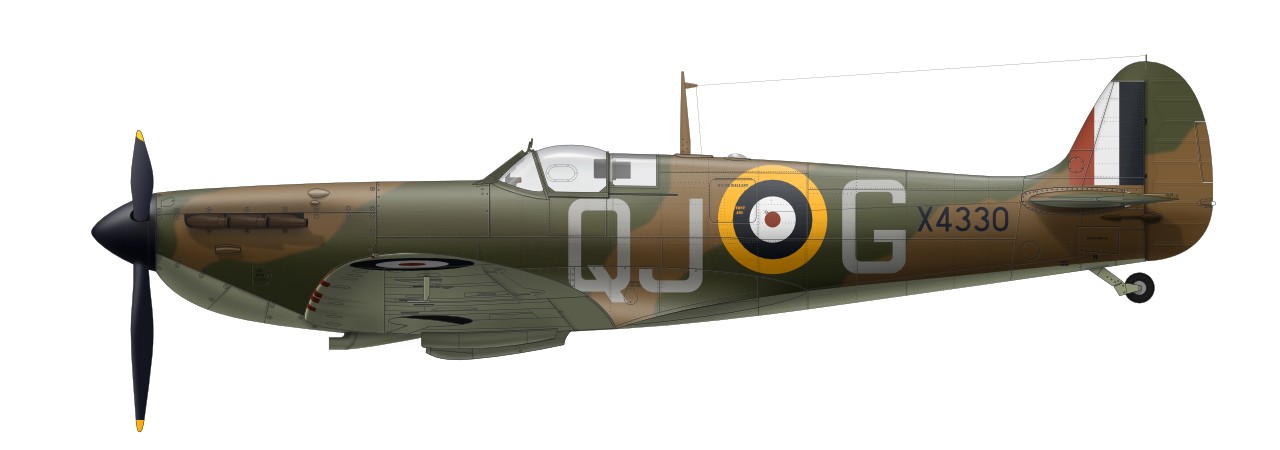
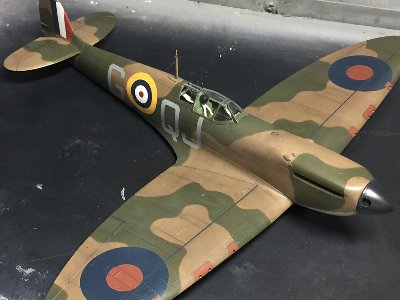
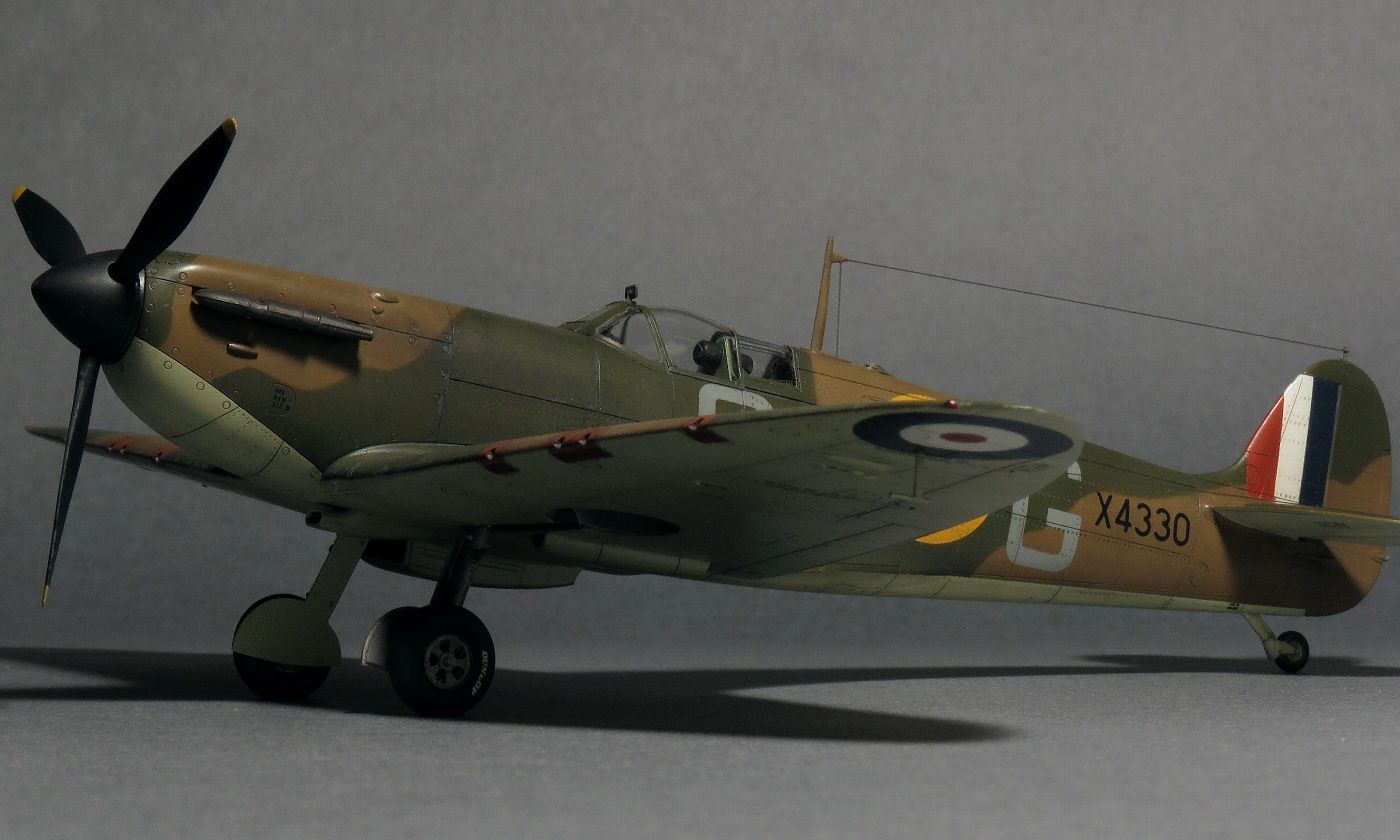
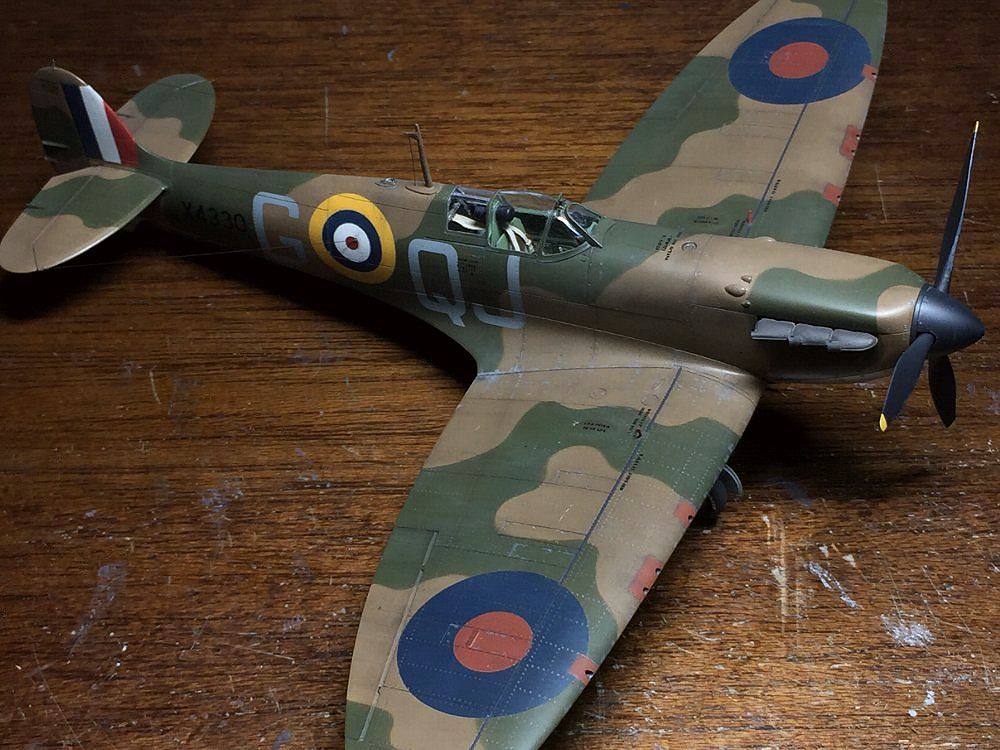
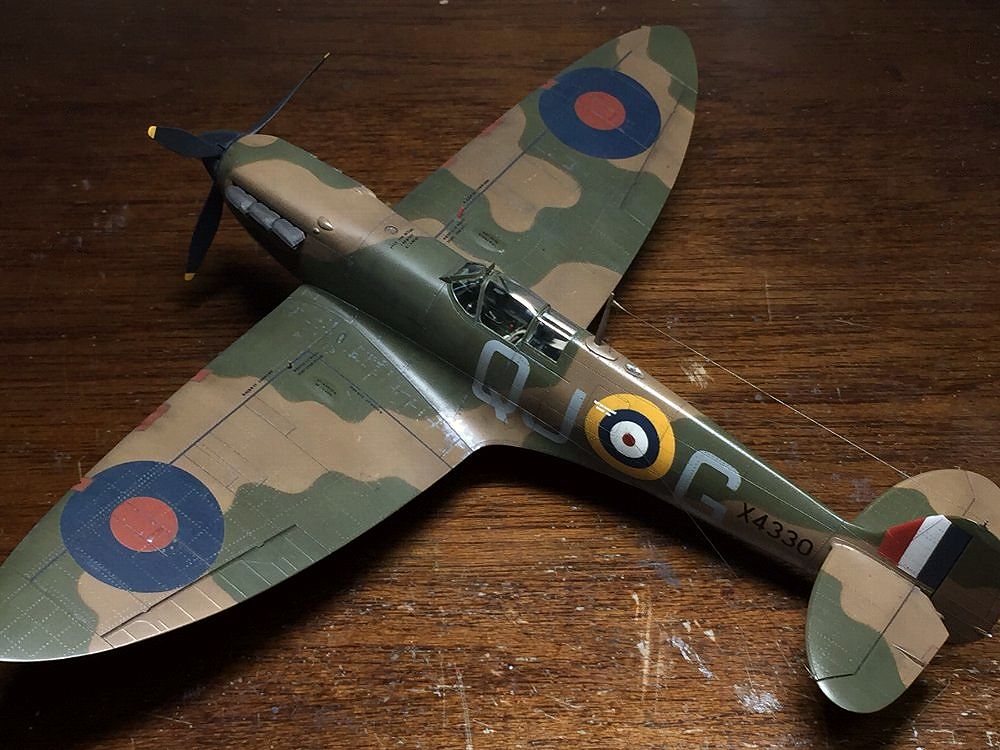
Code letter QJ was used by No.92 Scordron in addition to 616 Scordron. So these were confusing. Moreover, the font, size and position are similar. 616 Sqn used QJ from April 1939 to July 1941, and then changed to YQ. 92sqn initialy used GR from April 1939 and changed to QJ in May 1940 and used through the postwar period. At the time of Battle of Britain, both used QJ. |
 |
|
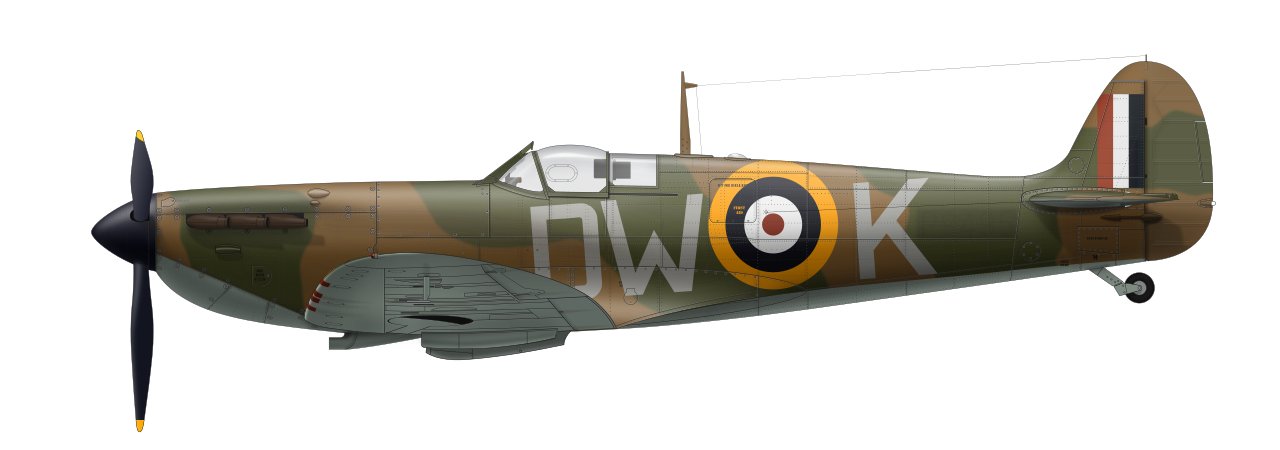
By the way, as I wrote before (see my 1/72 Mk.Ia article), the underside colors of Spitfire Mk.I in Battle of Britain are difficult. There were many aircraft that look like Sky but are not actually Sky. Or maybe genuine Sky was a minority? The kit-designated marking DW-K was not Sky but Sky Blue, and its shade was blue gray which was darker and less green than sky. In addition, there were Eau de Nil (green gray which was darker and more greenish than Sky) and Sky Gray (grayish white used in FAA). The position and size of the lower roundel were also irregular. It is surprisingly difficult to verify the BOB aircraft. Source is On Target SP9 (Reference-62). |
 The under surface color of this aircraft was said to be Blue Gray instead of Sky. |
|
Then painting work. I wanted to avoid overpainting as much as possible to prevent the rivets from being filled. Marking paint was not layered on top of previous paint. The fuselage Roundel was directly painted on top of the surfacer. Moreover, each marking color was painted side by side (except for red). As for wing roundels, Dull Blue and Dull Red had enough hiding power, so they were painted on Dark Earth. However, the area of roundel was masked so that there would be no paint step under the roundel. As a result, the number of layers was generally two or less (some of the letters on the DG are three layers). |
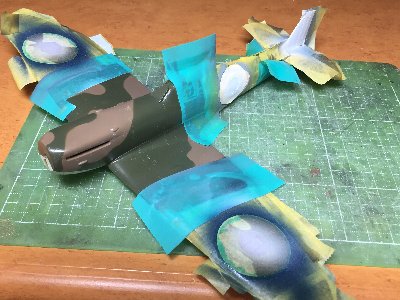
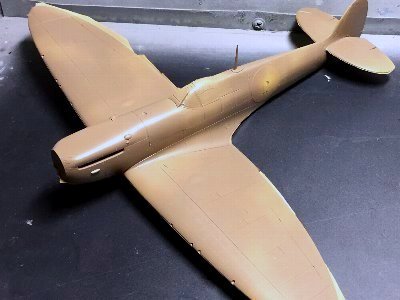 First, the underside was painted and masked. Then DE was sprayed. The fuselage roundel area was masked for side-by-side painting. |
 The bottom surface was masked like this. |
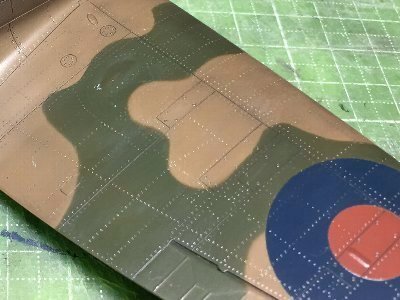
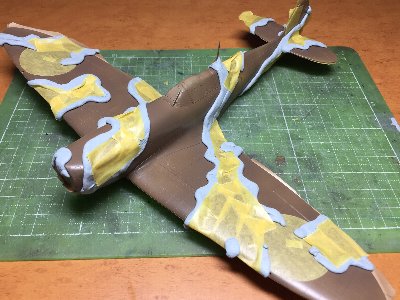 Dark Earth was masked with Blutac. The wing roundel and fin flash areas were masked to avoid the step between the DE and DG camouflage boundaries. |
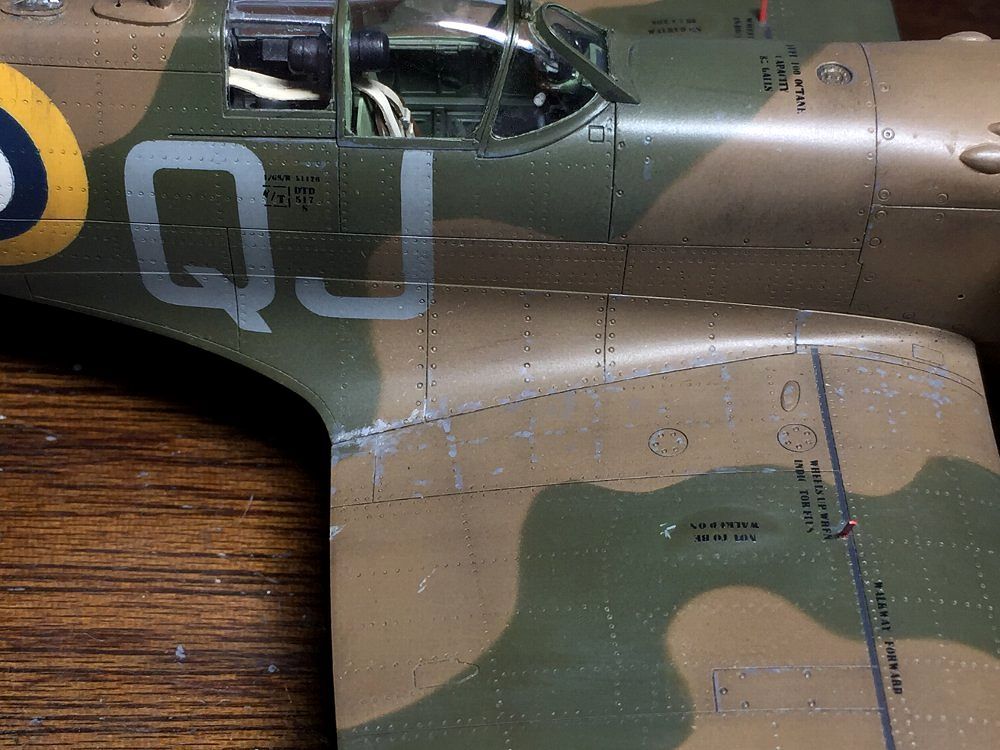
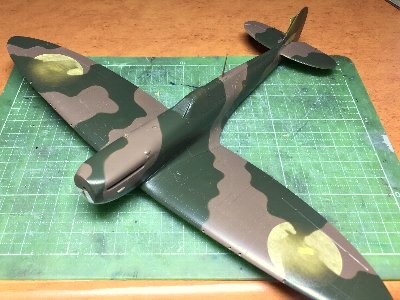 I was reasonably satisfied with the soft edge finish. The camouflage defects were touched up with a fine brush. The orange peel surface was polished with Lapros # 6000. |
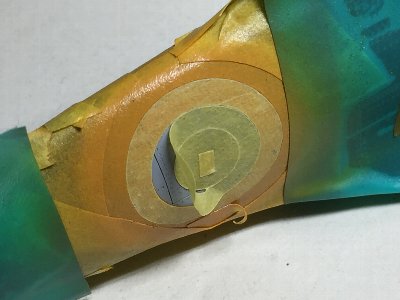 The markings were in the order of yellow �� blue �� white �� red. This masking is for blue after yellow. Thin flat clear was sprayed to prevent bleeding of marking color in advance. |
 I sprayed blue, masked it, and sprayed white. White on the wing was a base for red. White was very thinly and powderly sprayed in order not to appear on the edges. |
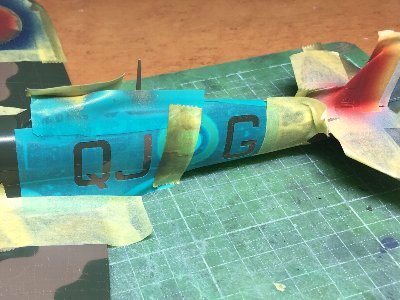 Red was sprayed, and then masking for the letter was applied. |
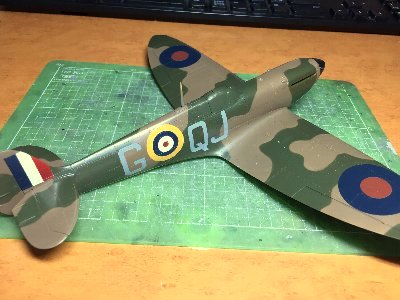 Basic painting was finished. |
|
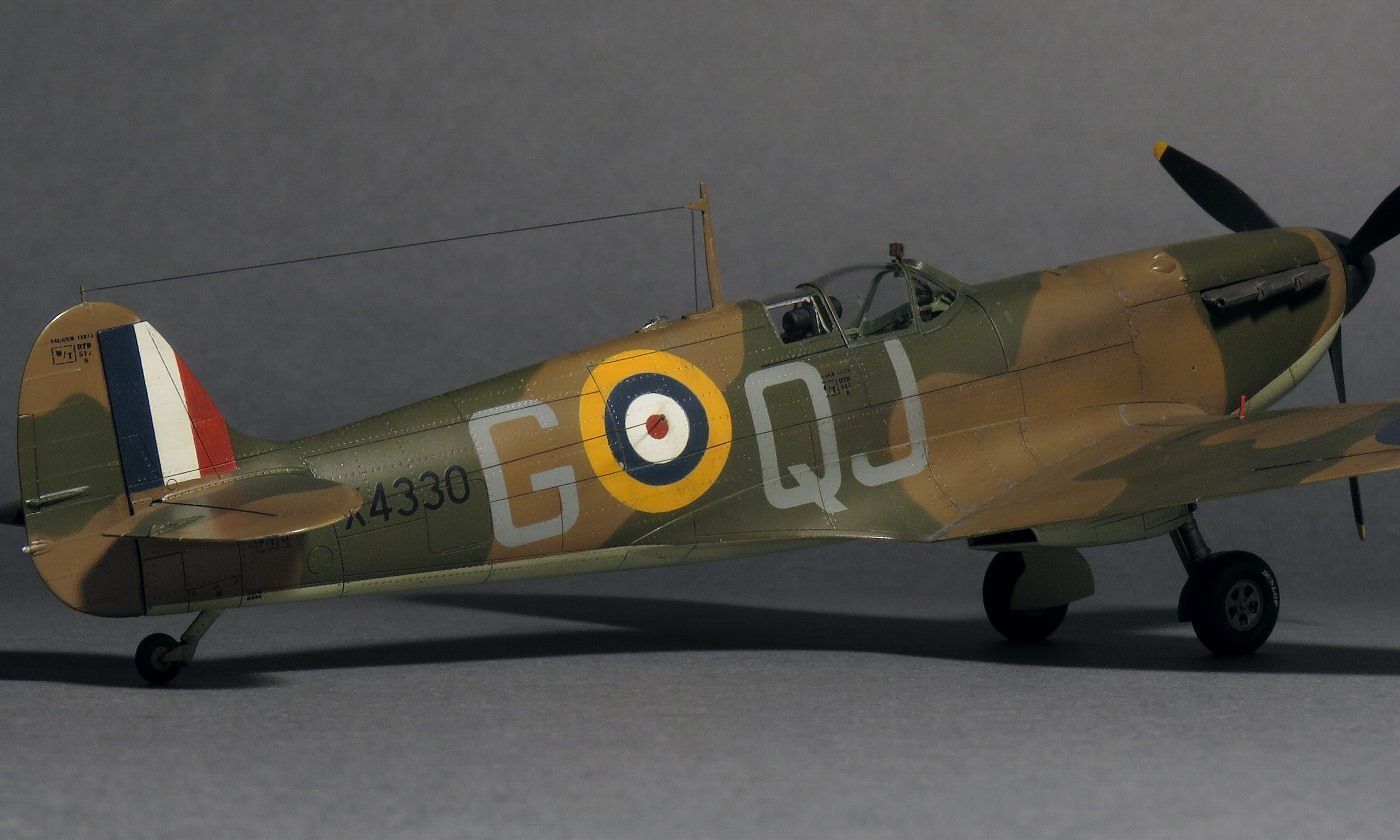
Dull Red of the fuselage roundel (2.6 mm in diameter) was also masked by masking tape cutting out with a circle cutter. As for the code letter, masking sheet was cut with a cutting machine. The cutting data could be used as it was in the illustration. This was easy. Dull Red on the upper wing has less redish than fuselage and recipe is 1:1:1 of red, yellow, and gray. In fact, recent my works (1/48 Spitfire Vb, 1/72 Spitfire XVII, Ia, etc.) were used this faded Dull Red. It looks almost brown when looked alone, but it's strange, it looks genuine Dull Red when placed next to Dull Blue. After painting of markings was completed, flat clear was sprayed around the boundary of each color. And steps and orange peel surface were polished off with Mr.Laplos #6000. This polishing process is very important in my painting method. By polishing, I can get a realistic and moist paint texture. On the other hand, it is not possible to add the gradation effect before polishing. This is because if I polish the orange peel with gradation, fine dot patterns will occur. So up to this polishing step, the gradation effect of the color tone was not applied, and it would be done in the next weathering process.
First, washes of Tamiya Weathering Master Black + Brown were applied. This alone was not effective enough. Tamiya Enamel Black was diluted very thinly with petrol and airbrushed around the panel line and rivet line. The excess was wiped off with petrol. Then, Mr. color lacquer thinner was oversprayed for fixing. Nest, Tamiya Enamel Buff was similarly diluted and sprayed entirely. This was an expression of fading and dust. But when I noticed, I made overkill. Apply petrol to the tissue and wipe it off. Let's say that some of the unwiped parts are dirty expressions. Tamiya Buff was sprayed again. This was a fading expression. This time to be modest. Once fixed by thinner overspray. By this time, the surface was shiny. Therefore, the flat base (not flat clear) was diluted very thinly and sprayed, and the surface became semi-glossy. When the luster changed, so did the dirty tone. Looking at it again, I wanted a slightly darker accent. The dark color of the dry weathering master was rubbed with a brush around the rivet line and panel line. |
 Tamiya Enamel Buff was sprayed and then wiped off. Buff partially soaked into the painted surface and could not be removed by wiping. |
 Flat Base (Mr.Color) was over sprayed and the paint surface became matte. Weathering Master Black was rubbed. The walkway line and red patches on gun muzzles were also painted. |
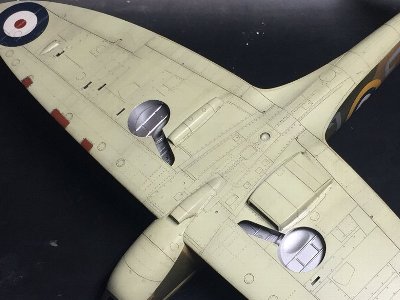 The underside looks like this. The washing (black + brown) was partially left unwiped. Tamiya enamel black was sprayed along the panel line. |
 The masking of the canopy was also removed. The mood was complete. |
|
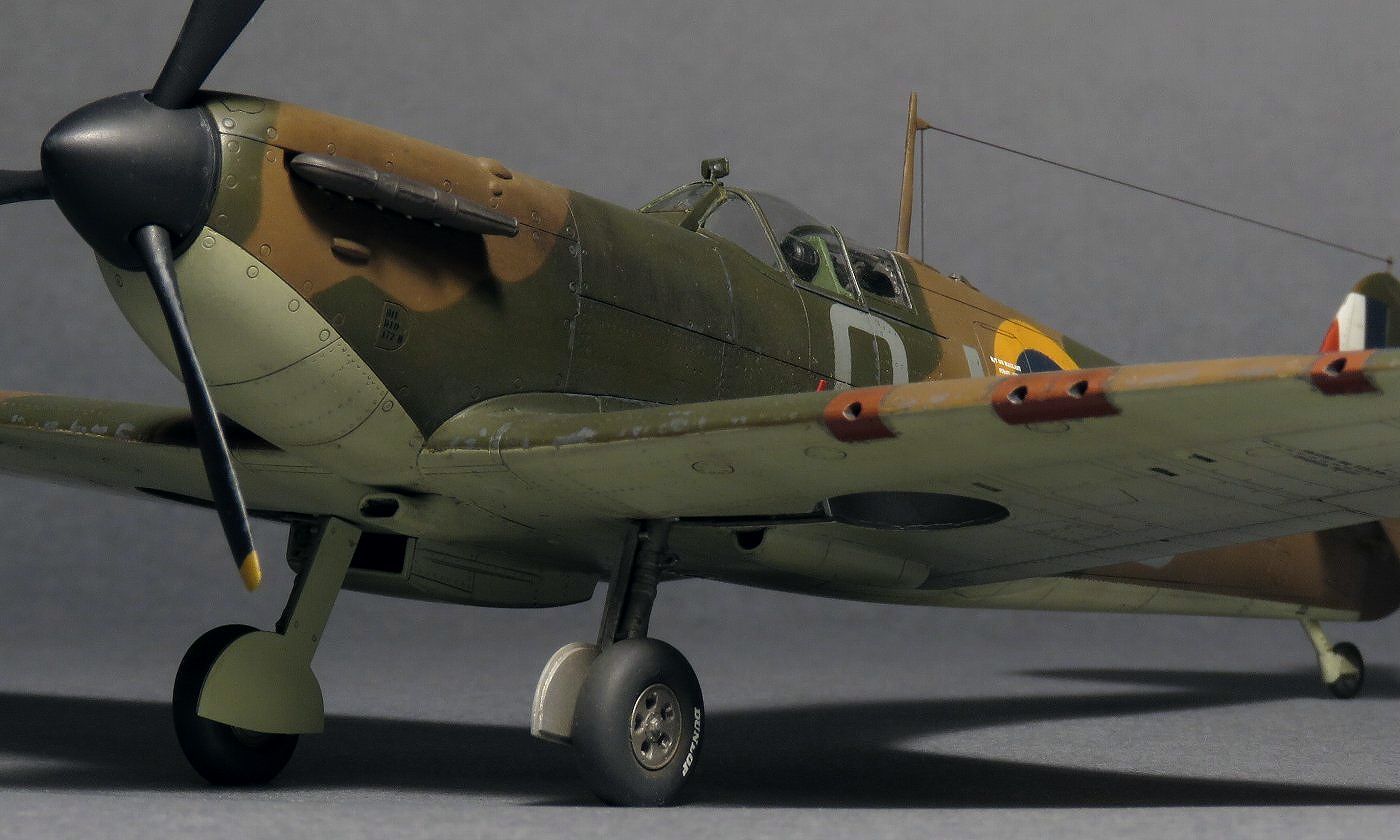
The paint color on the gear well and the inside of gear cover was a difficult issue. Both are Sky in the kit paint designation. On the other hand, there is also the theory of Silver. In the color photographs at that time, it was completely indistinguishable whether it was Sky or Silver. As I heard from experts when I built Mk.Vb, I chose silver for both of them. The spinner and blade were semi-gloss black with 20% white added. A small amount of black was mixed with silver. |
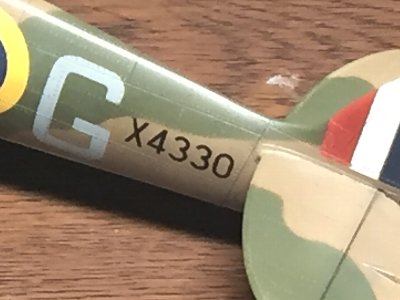 The serial number is custom made dry decals I made before. |
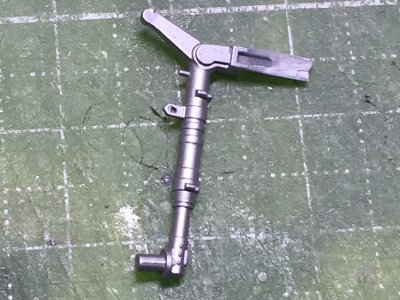 The main landing gear can be attached later by separating the left and right in this way and cutting the dowels. The additional work was just to make a hole in the catch ring. |
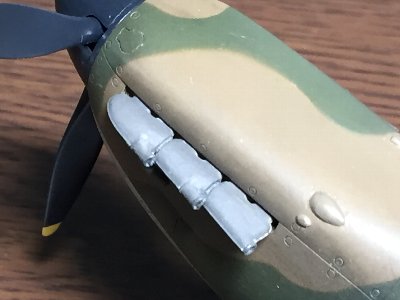 As for the exhaust pipe, steps of the adhesive part were filled with melted putty and holes were made at the rear end. Tips of the propeller were thinly sanded. |
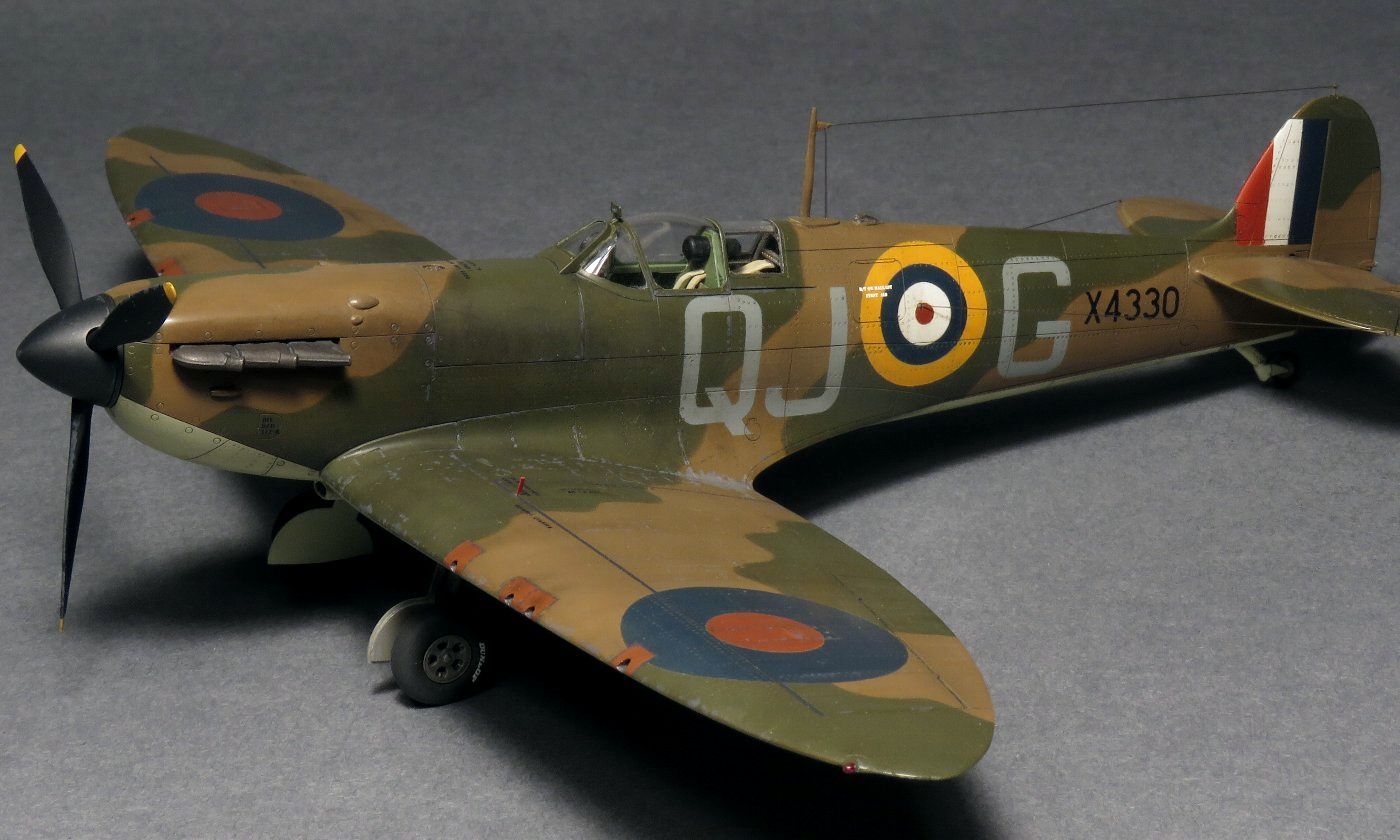
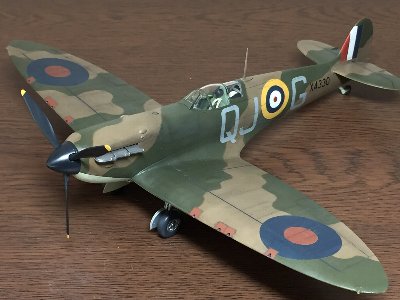 The Spitfire stood on her feet. Even in this picture, the inside of the gear cover looks like both Silver and Sky. |
|
|
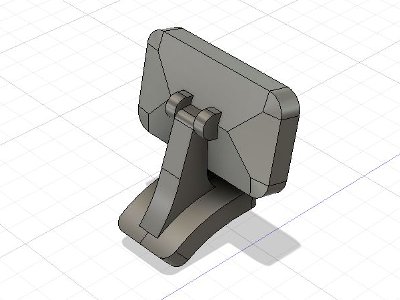 The basic shape design is completed. The width of the mirror is 2.6mm. The semi-circular details of the mounting part are not reproduced when printed. |
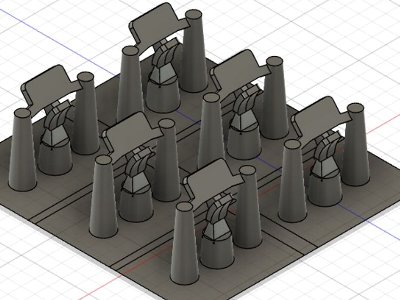 As a result of trial and error, it seemed better to output in this direction. |
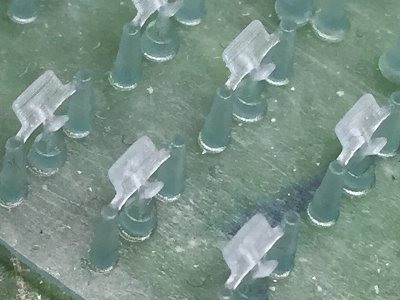 They were printed with Tough Resin. |
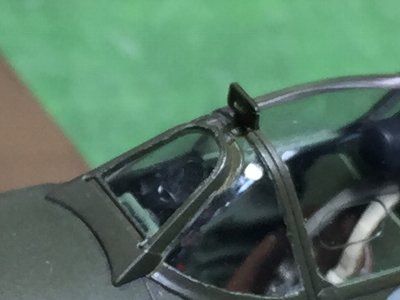 The color was painted, the mirror finish was applied. And then it was glued on the top of the windscreen. It was a "one-shot game" of CA glue. |
|
When I glued it, the angle of the mirror was not good enough. Oops, a pilot could not see directly behind. In the data, it was made to lean backwards properly. The cause might be that the angle of the bottom plate changed due to the thickening at the time of output, or the angle of the windscreen top of the kit was different. But it was bothersime, so I would not start over on my model. The mirror angle was corrected in the download file, there is no need to change the angle before using it. Rear view mirror�@download file
|
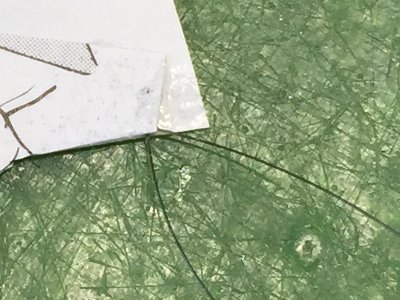 It's hard to see, but nylon string was sandwiched between two sheets of paper. |
 The pennant was glued. The navigation light was a kit part. Hasegawa Mirror Finish Film was stuck on the bottom of the clear part. The base was made of 0.14mm thick plastic paper. |
 Adhesion of the nylon string on the fuselage is as described above. Caution stencils were custom made dry decals. |
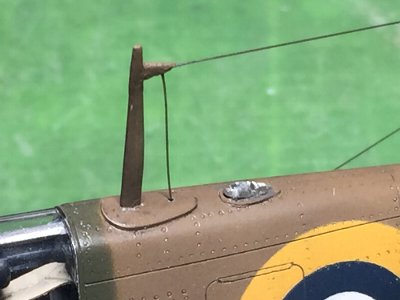
 On the tail side, the string was tied to a brass rod. "More haste, less speed". |
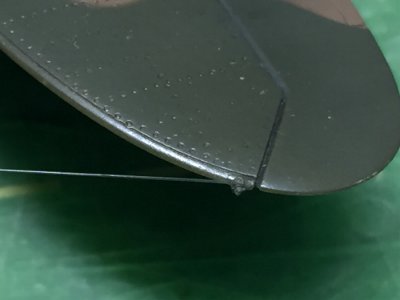
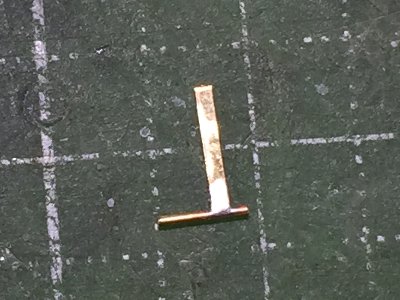 The pitot tube was made of brass strip and brass rod. |
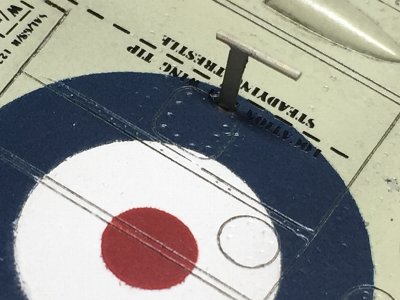 The pitot tube was glue to the wing. Caution stencils around here were also custom made dry decals |
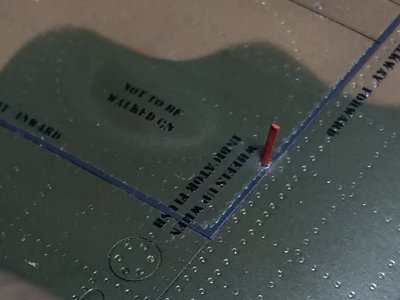 The gear indicator was made of 0.5 x 0.2 mm nickel silver strip. The walk way line was painted with dark gray but it was a little bit brighter. |
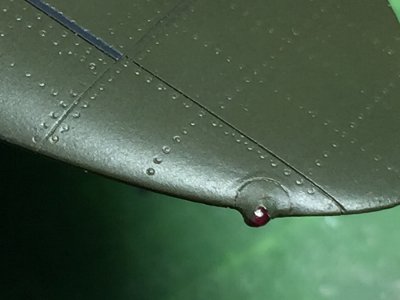 The wing tip light of the clear runner was painted together with the wing in dark green without masking. Then dark green paint on the light part was scraped off with a knife, then clear red was painted on the light. |
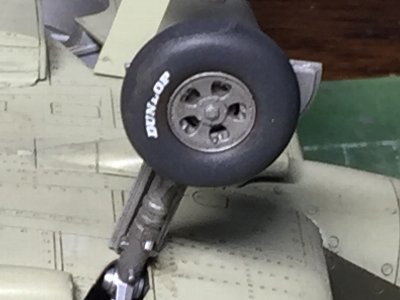 The DUNLOP logo was dry decals as well. |
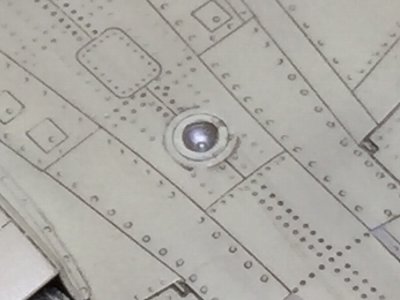 The navigation light is a kit part. It should be painted in umber. |
|
|
 |
 |
 |
 |
 |
|
|
|
|
 |
 |
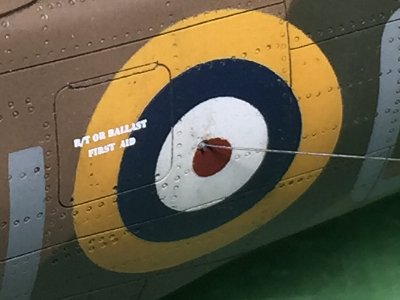
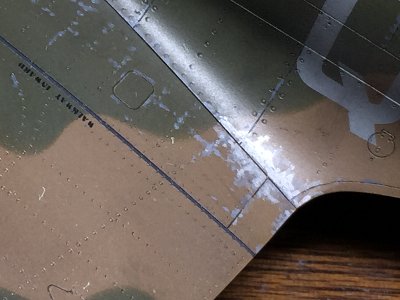
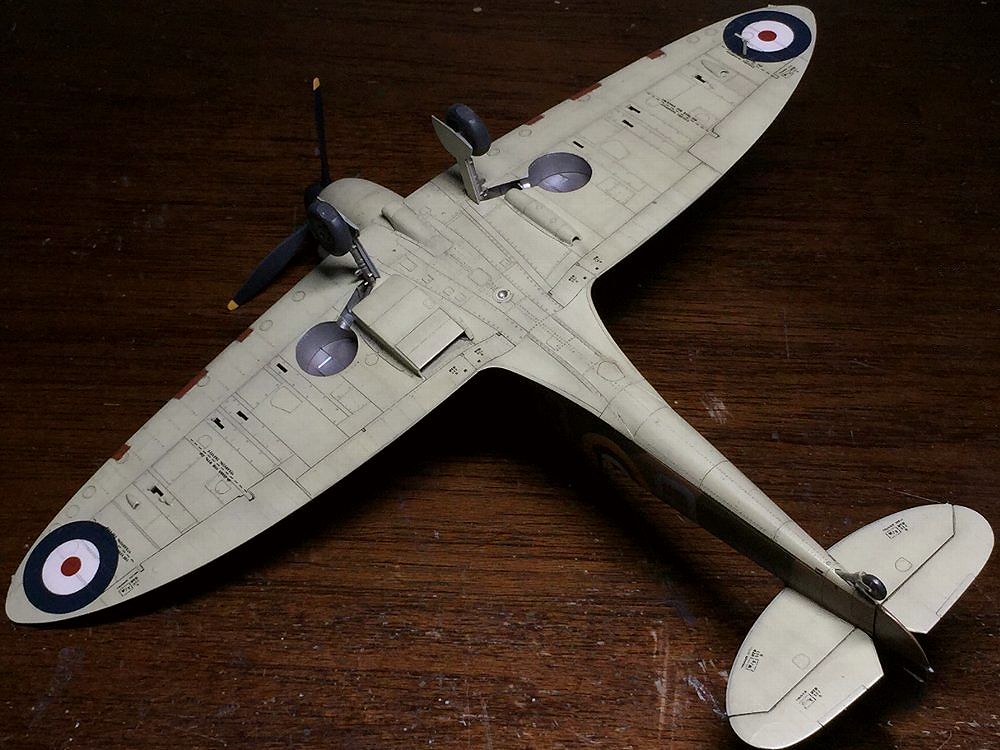 The size of the lower roundel was correct, but the position was a little more outside. The roundel edge should touch the outer edge of the wing. |
 |
|
|
|
|
|
|
|
|