Phantom FG.1 Airfix 1/72 part 2
|
|
|
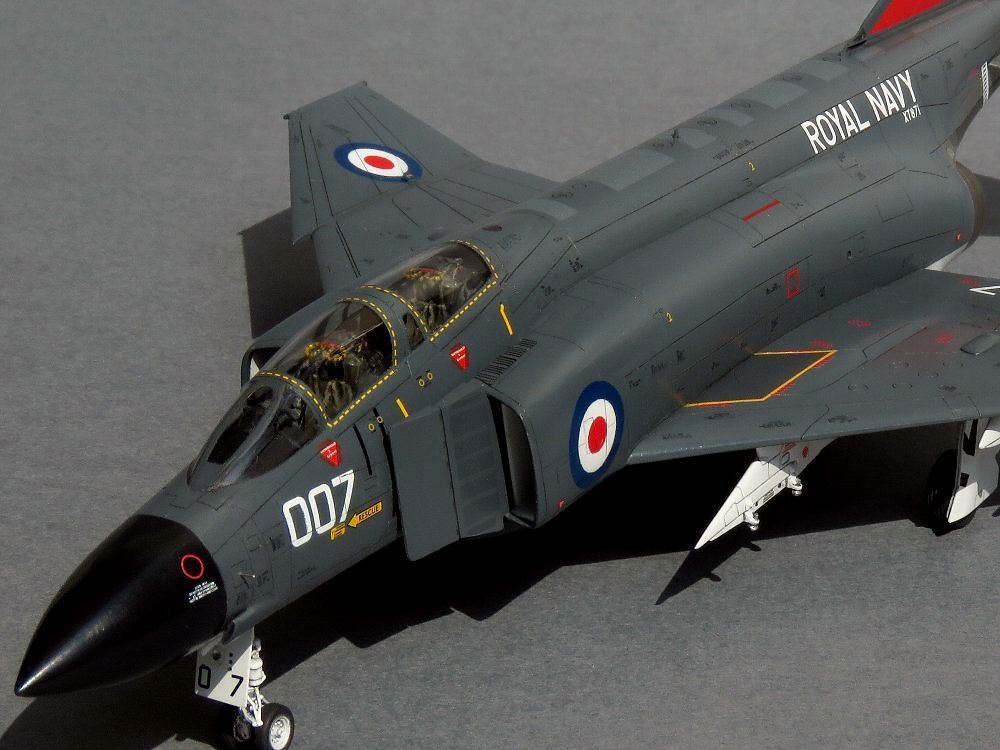
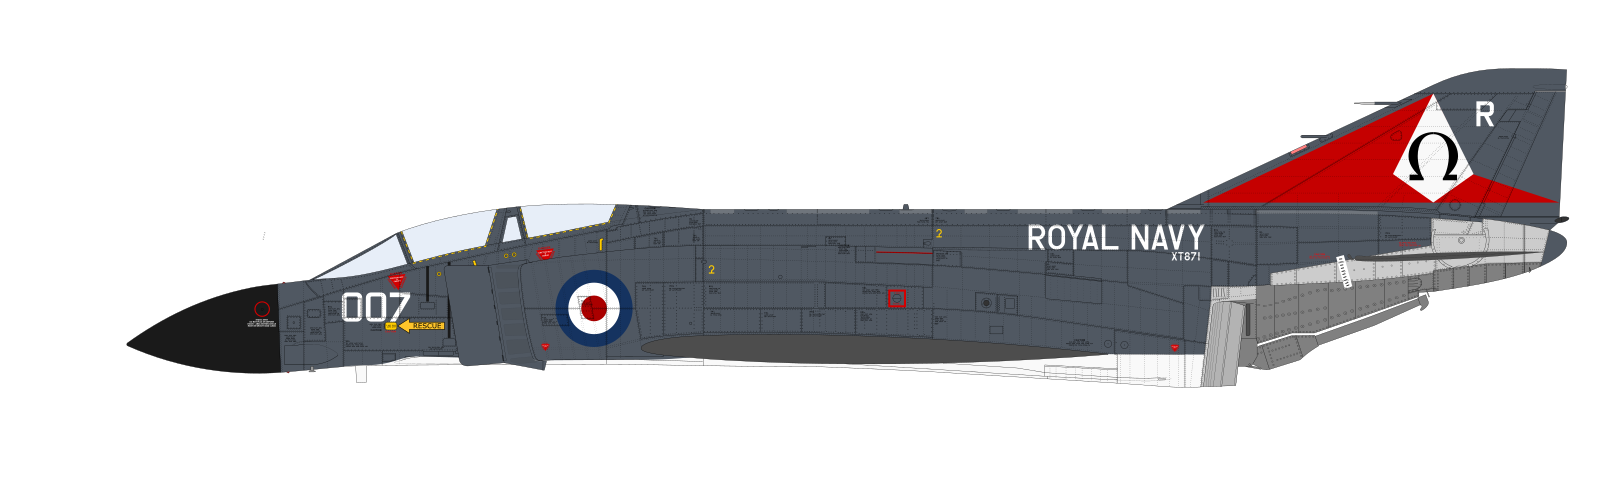
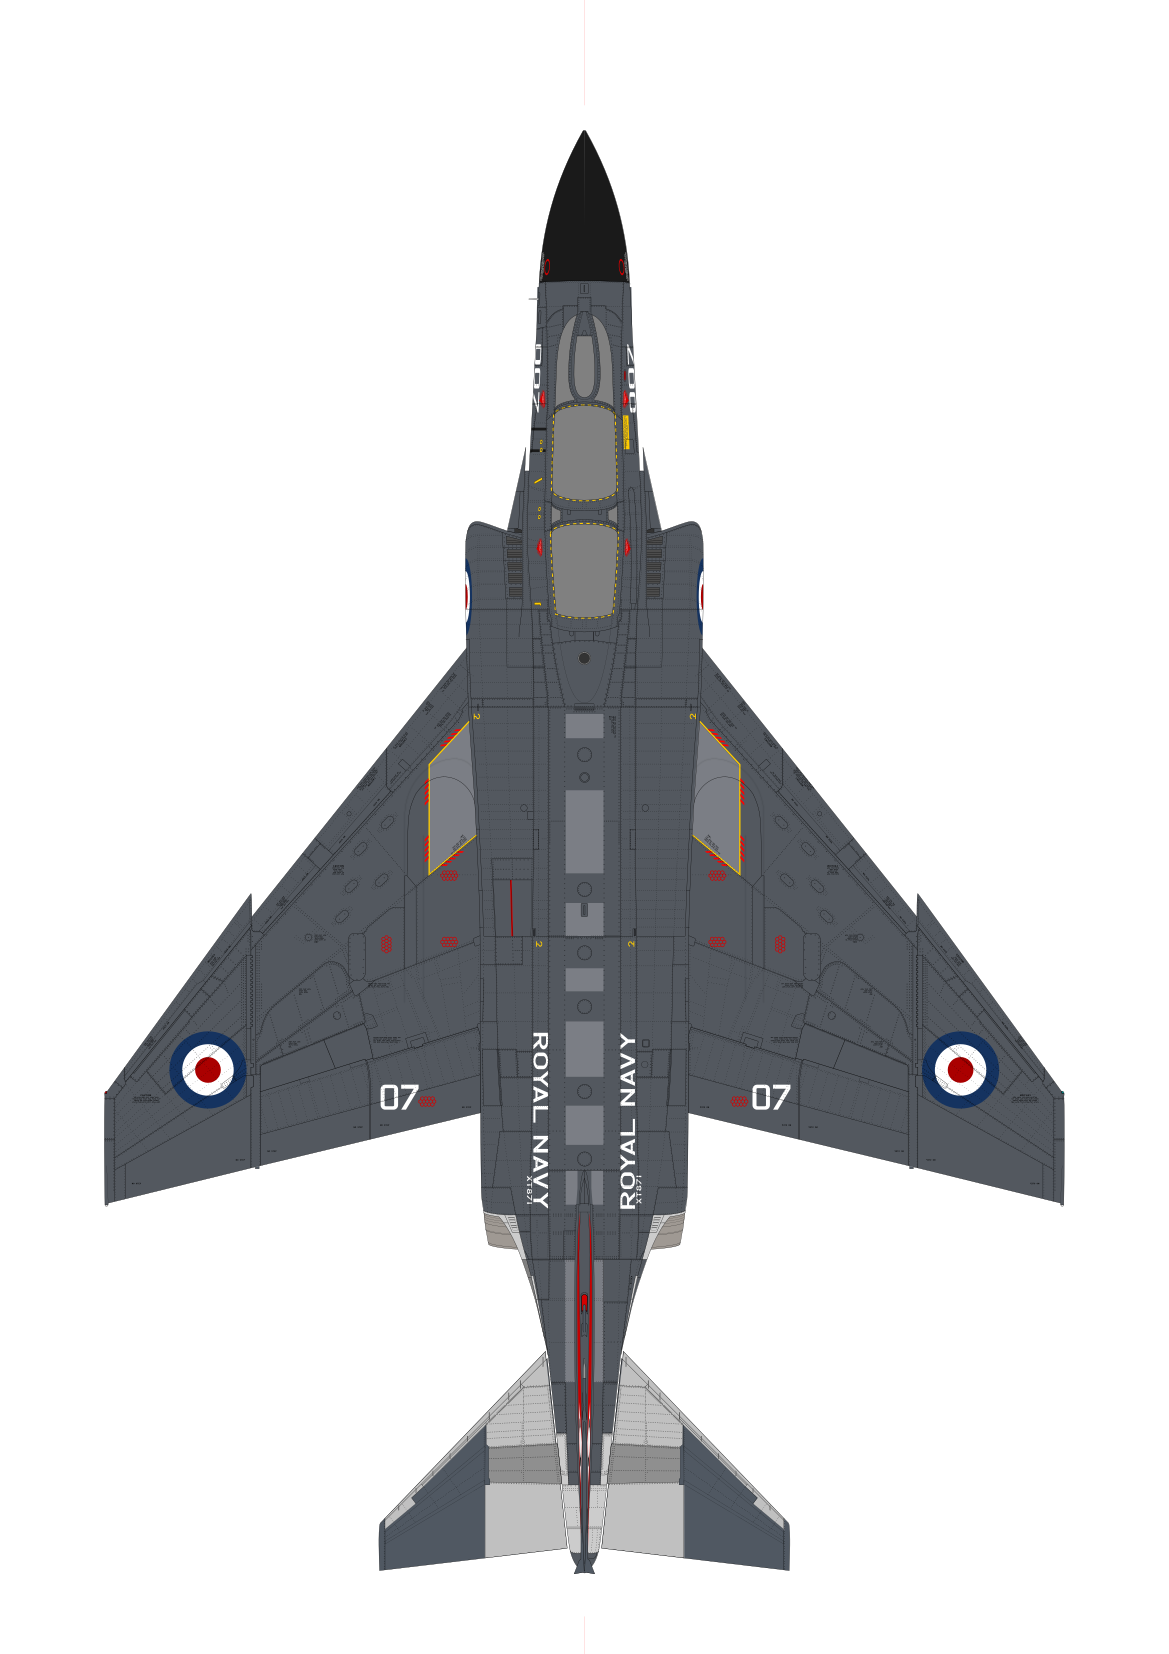
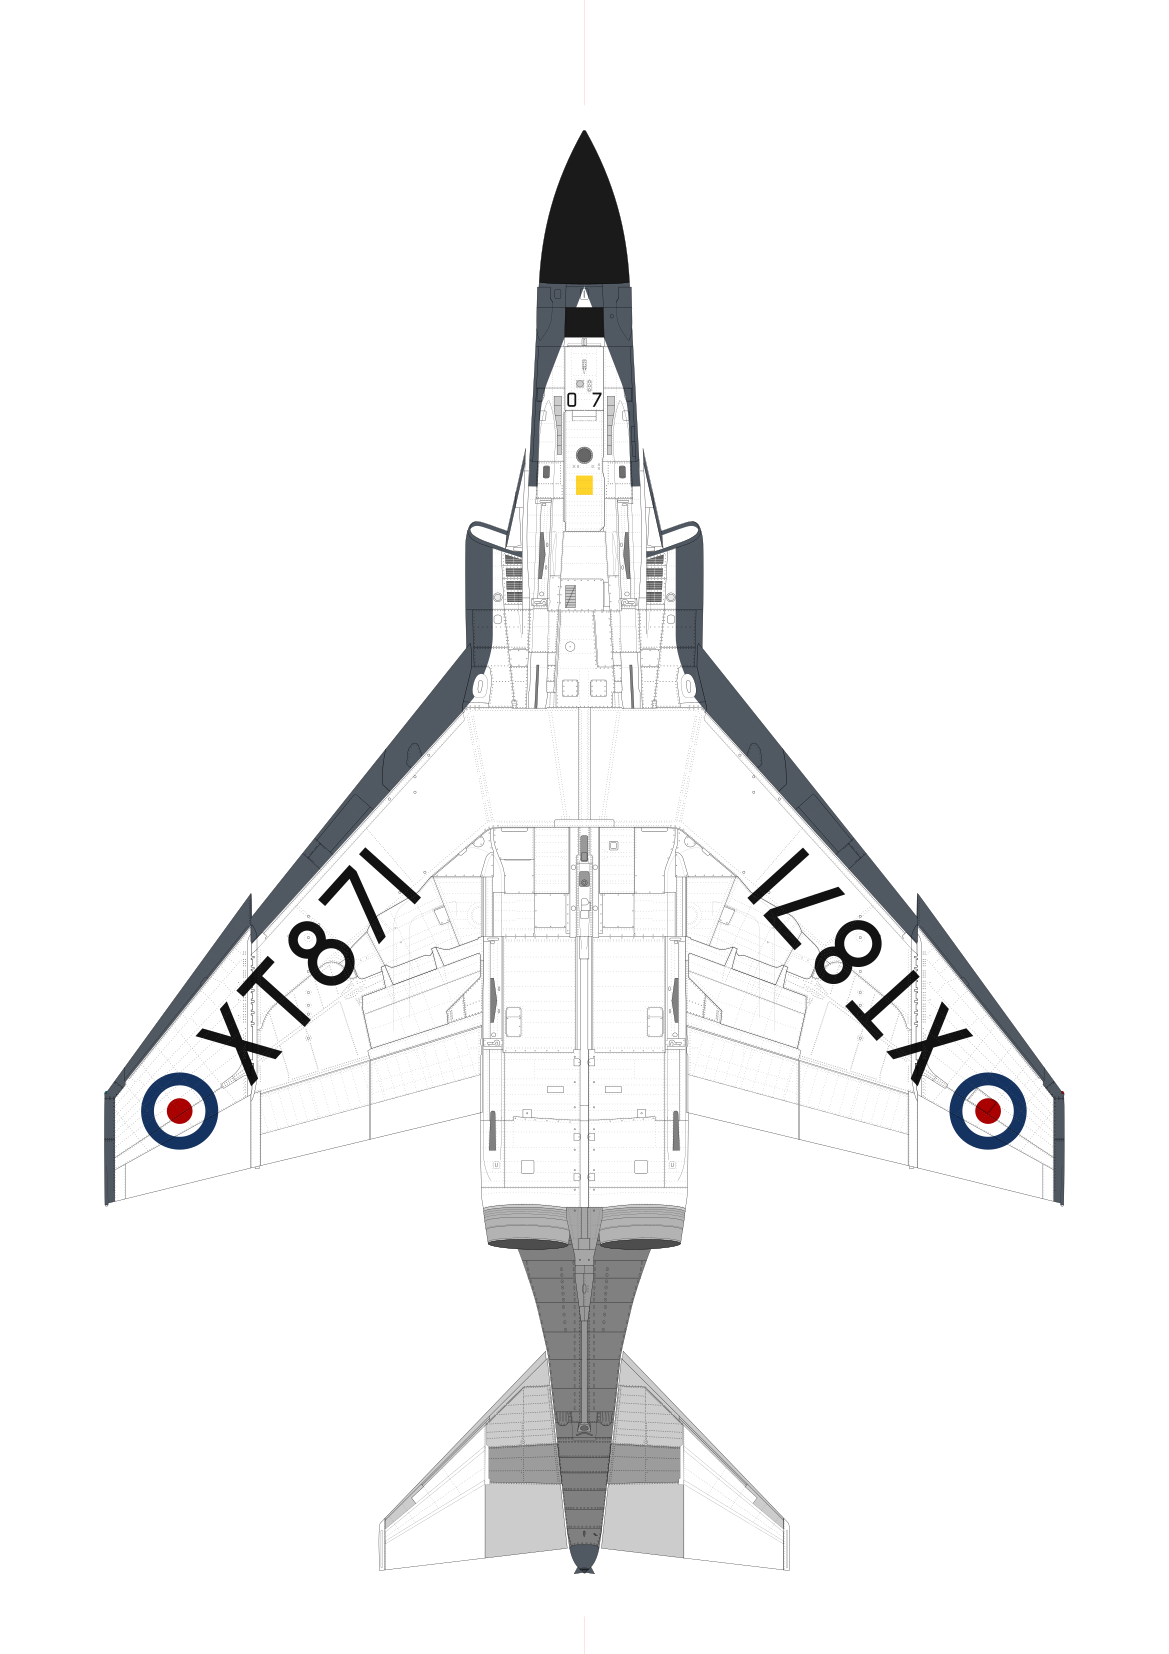
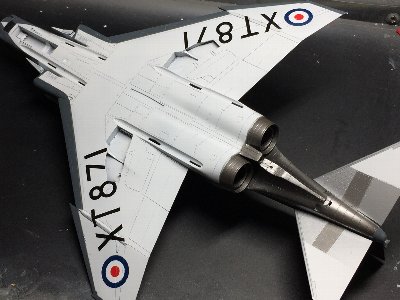
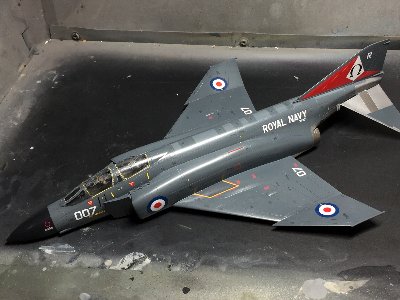
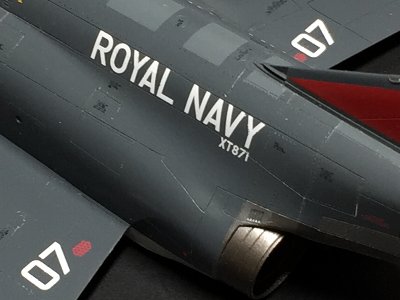
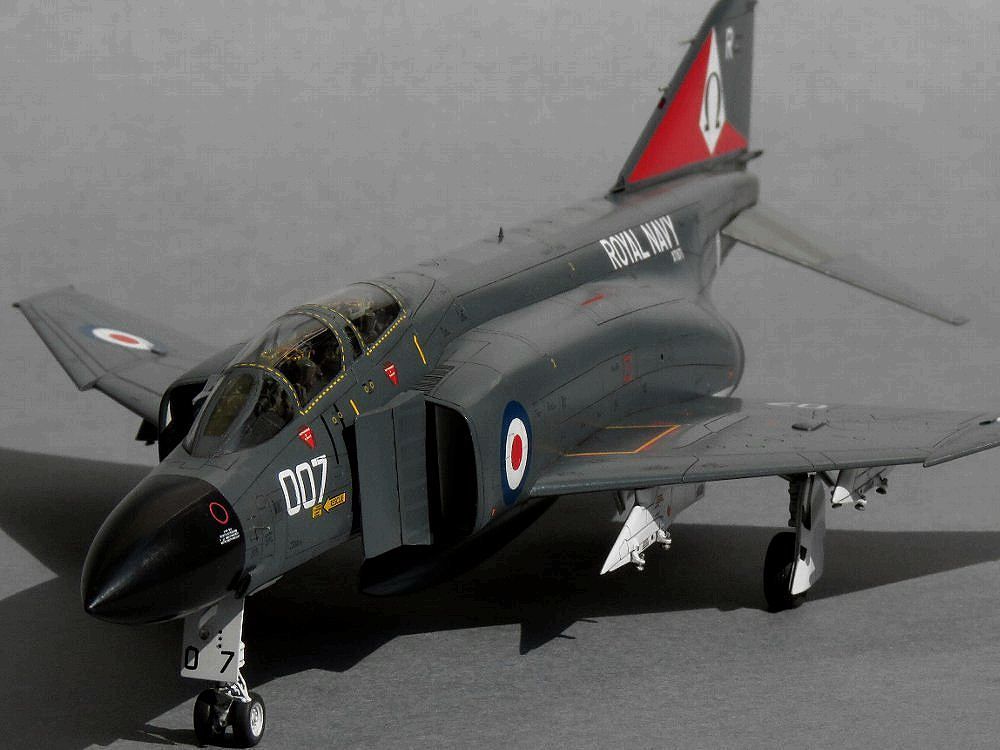
The aircraft number 007 is the same as the kit specified marking, but the serial is different. I make color profiles to check the marking position etc. The tail marking and the letter are traced from photos so as to be correct position and shape. Be careful that some color profiles in the existing books are not so correct. In my color profile, the letter of ROYAL NAVY and serial are not adjusted by the inclined surface so that they can be used as data for dry decals. Therefore they are a little high as a picture. The roundel is 36 inches, ROYAL NAVY and R on the fin is 12 inches high, the aircraft number 007 is 14 inches, and the fuselage serial is 4 inches. As for top and bottom profiles, the roundel is 36 inches and lower surface serial is 36 inches as well. This serial is painted in paralell with the flap hinge line. |
|
|
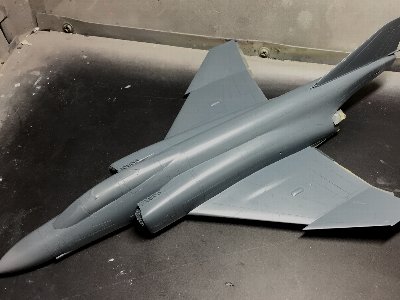 First, white with 10% of black is painted lower surface, then extra dark sea gray toned with small amount of blue and white is painted. |
|
|
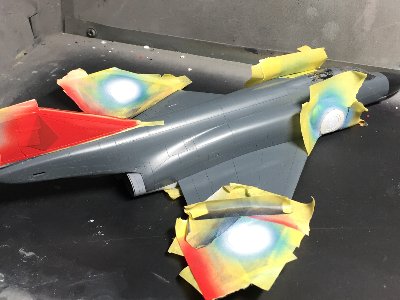
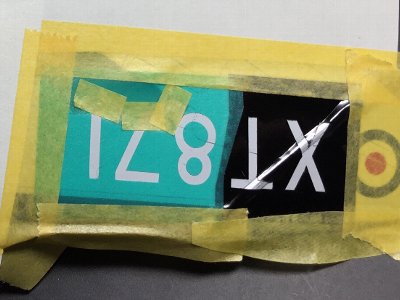
 At first, the masking sheet of the mark part is applied for deciding its position, then the surroundings are pasted. Then remove the marking part. |
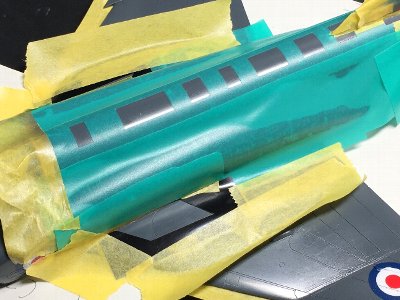
 White is sprayed and then masking for red portion is applied. |
 Mr.color GX3 Red with 5% of sail color is painted. Roundel blue is #322 phthalocyanine blue. |
 GX1 white (without black) is painted. |
 Red of roundels are masked and painted as well. The basic markings are finished. |
 Clear paint is oversprayed. Then the gaps on color bounderies are polished. |
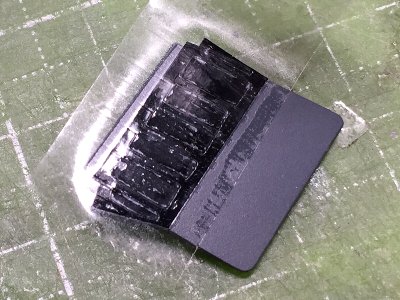
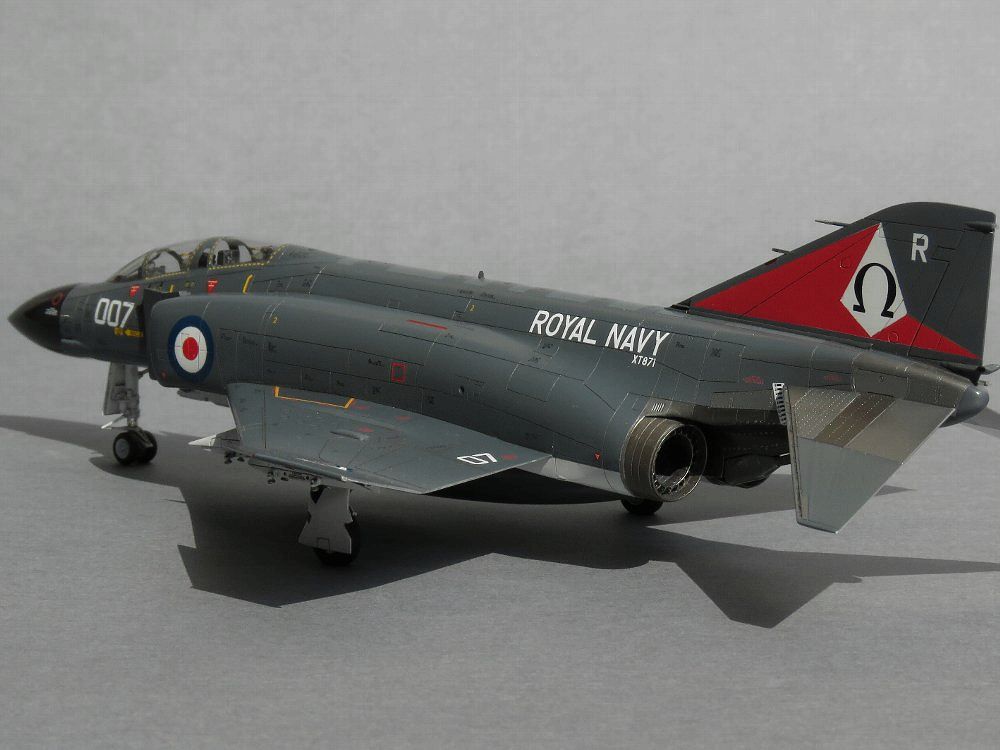
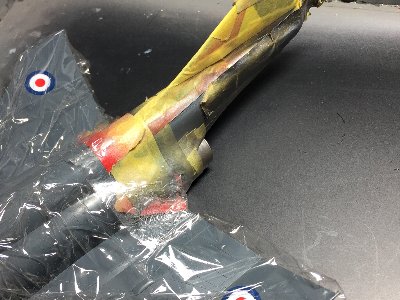 Metal portion is painted. Kitchen wrap is useful. |
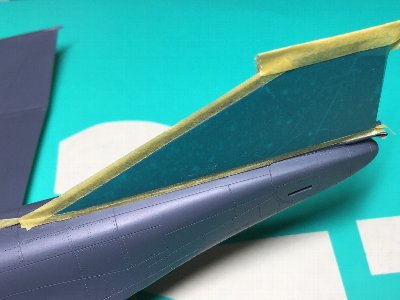
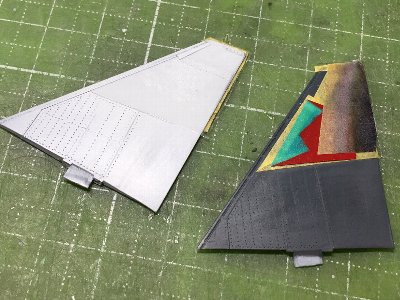 Masking for the stabilator. |
 Scotch tape is convenient. It is pasted and cut with an art knife. |
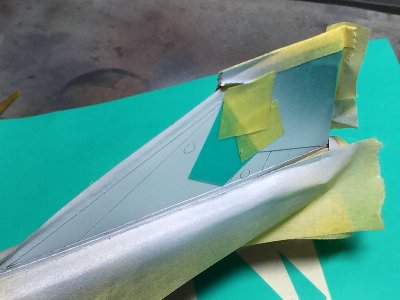
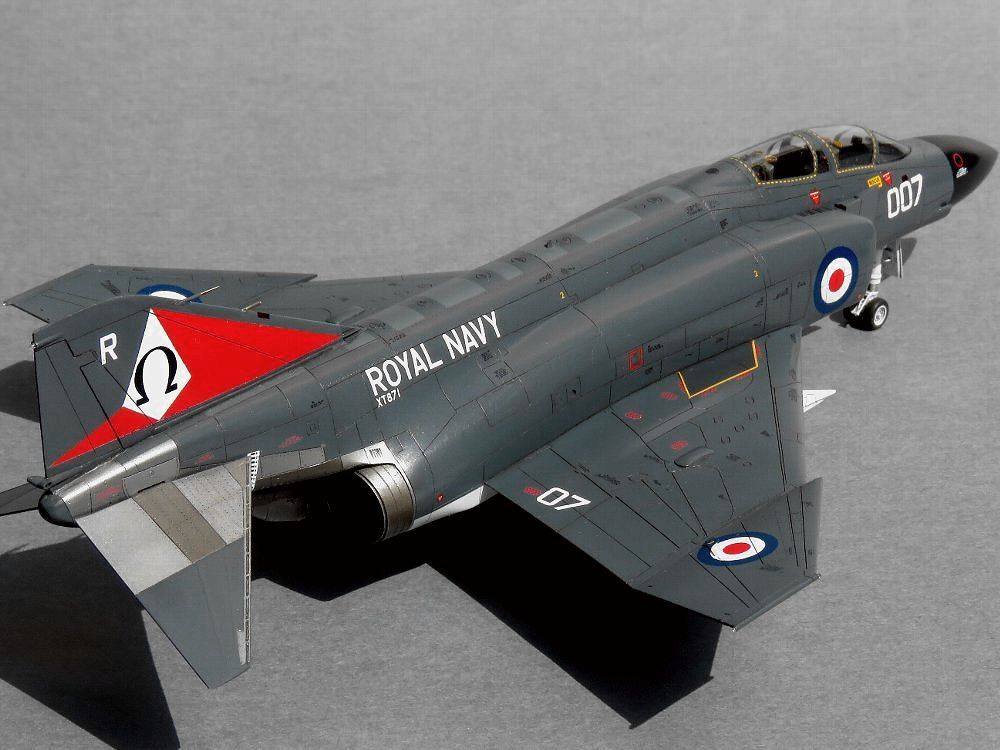
 The bare metal portion is painted with five tone colors. |
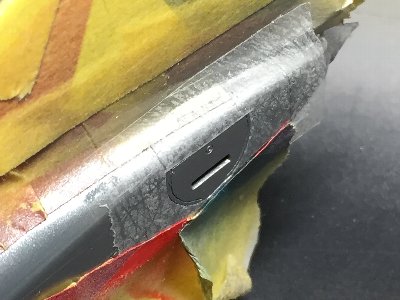
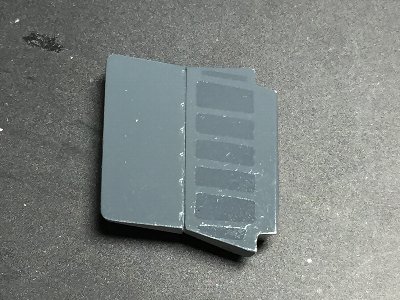
 The walk way is masked with machine cut film. |
 The serial number on the lower side is masked as well. Black film is for bent portion. |
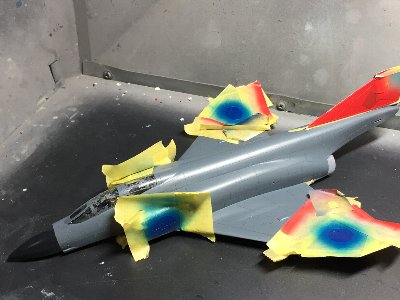
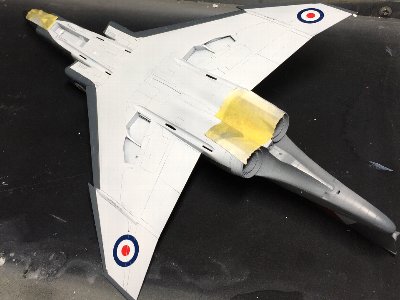
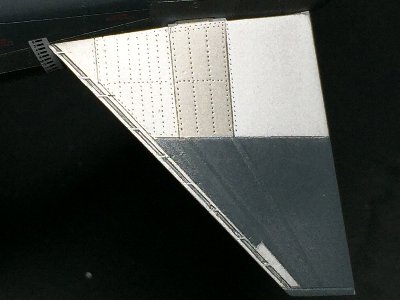
 Boundary layer drainage holes are expressed by painting. Apply the masking sheet temporarily fixed with Scotch tape. |
 Masking sheet is removed. |
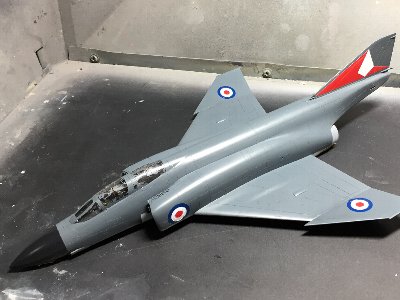
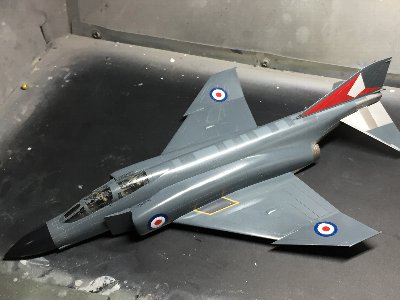 Painting process is almost finished. |
 |
|
|
 Dry decals are applied. |
 These markings are all dry decals. |
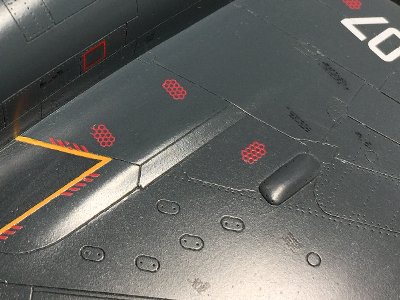 The red honeycombs, red arrows and black cautions are also dry decals. |
 The lower side cautions are kit decals. |
 The reinforcement panel is depicted with dry decal. After dry decals are applied, the surface is painted. |
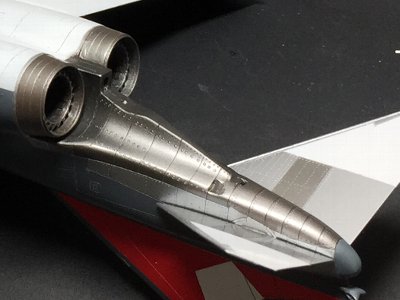
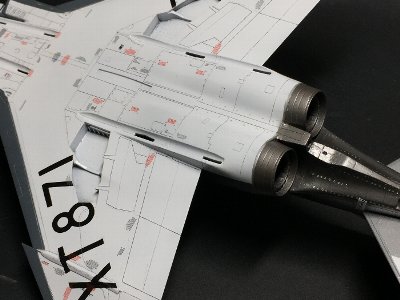
 See the 3D printed slit and nozzle. |
|
|
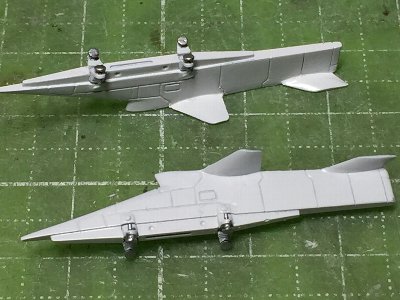
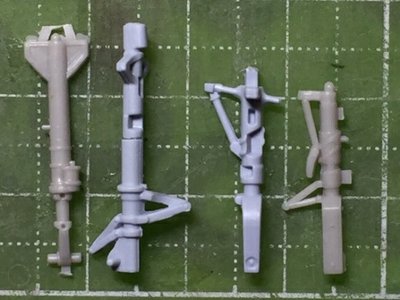 The gray parts are Hasegawa. The blue parts are Airfix. Hasegawa's main gear leg and covers are chosen. |
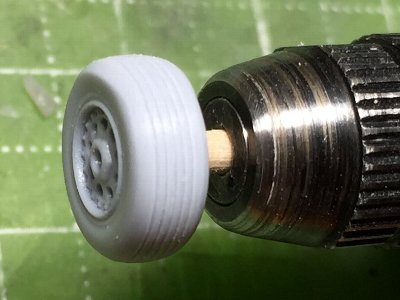 The wheel is from Airfix. Tread lines are engraved with a needle. |
 These covers are from Hasegawa. |
 The L shaped brass rod is inserted for reinforcement. |
|
|
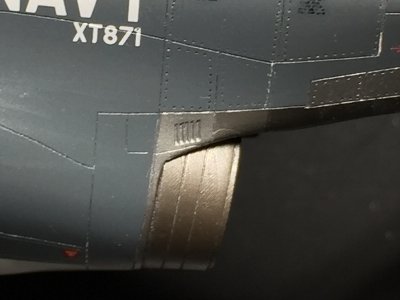
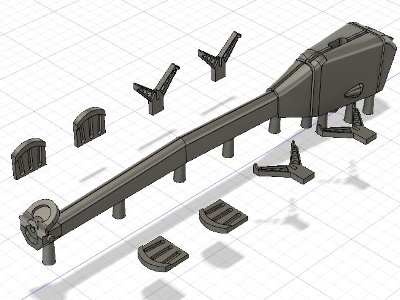 The tail hook and surrounding small parts are 3D printed. |
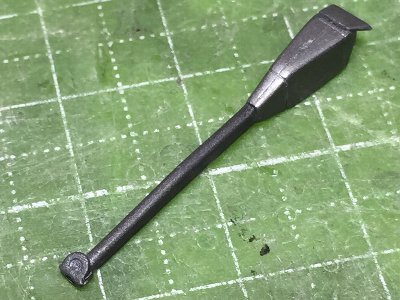 The tail hook is 3D printed and painted. See detail of the hook end. |
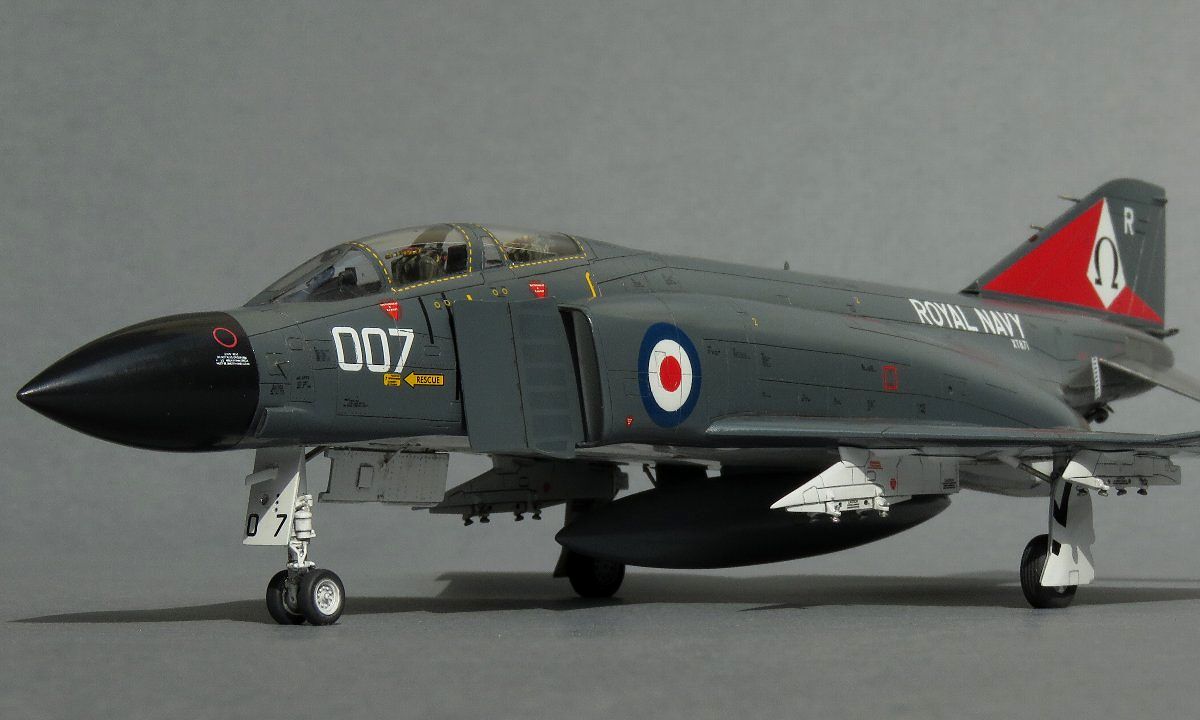
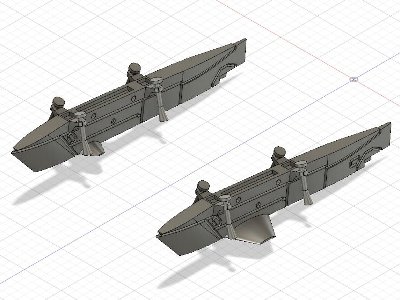 This is outer weapon pylon. |
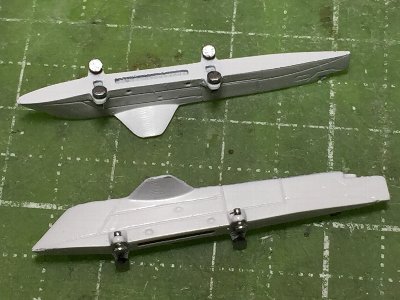 The outer and inner pylons are printed upside down. |
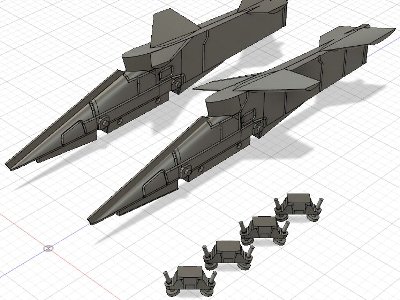 Inner pylon. The fins at the top of the tip are to ensure the correct shape for printing. |
 |
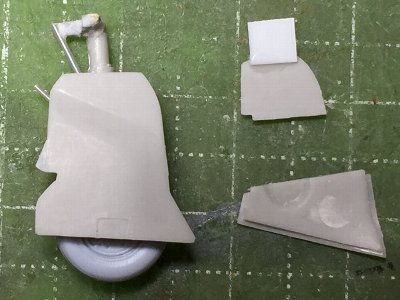
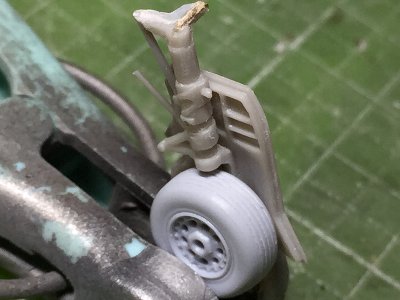
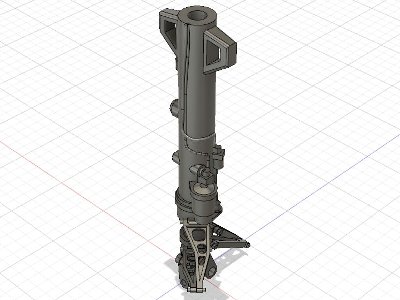 The gear leg of FG.1 is very thick. The kit parts are thin. |
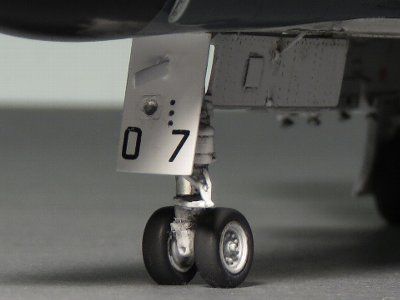 The front door is scrutchbuilt. The front wheel and rear door are from Hasegawa. |
|
FG.1 front gear datafile download
|
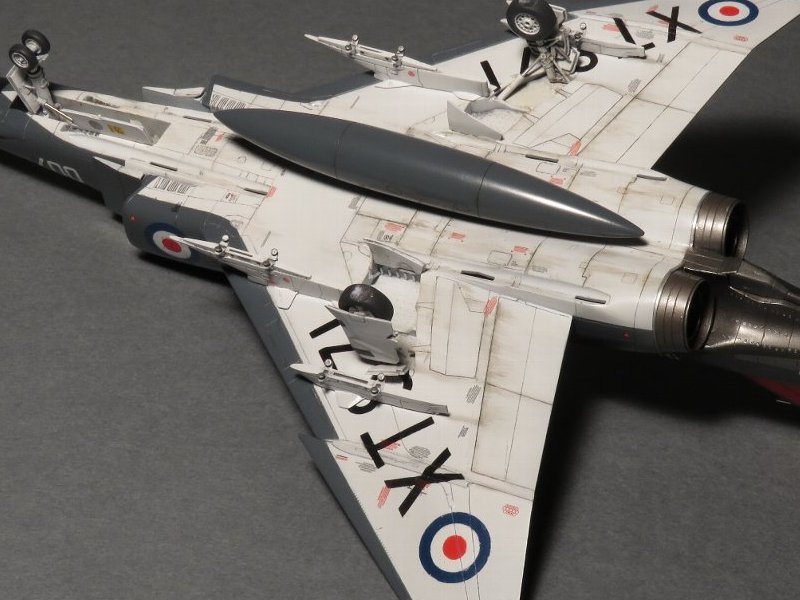 Weathering of the lower side is finished. The center tank is from the kit. |
|
|
 |
 |
 |
 |
|
|
|
|