 |
|
|
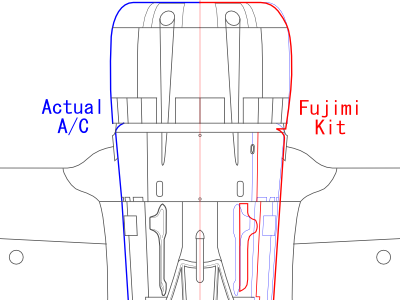
 This is the kit original fuselage. The firewall and cockpit are wider than actual aircraft. Therefore, the distance of gun blister is wide. |
 This is the kit original fuselage as well. The left is correct firewall cross section (cut out of my drawings). |
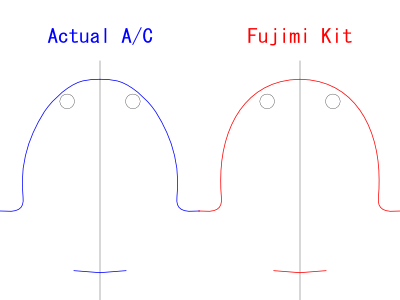 These two figures are cross section shape of firewall. |
 As for the kit, the cowl side is roundish and gun blister is outer side. |
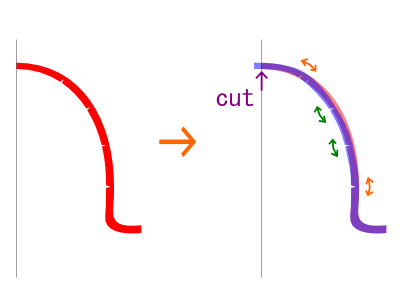 This is the plan for the surgical operation. Four cut lines are engraved inside of the front half of the fuselage. Then the top and bottom cut lines are bent outward. The middle two lines are bent inward. The extra portion of the fuselage top is cut off. |
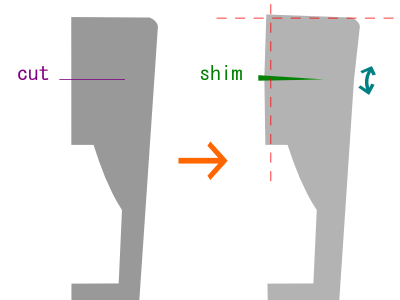 The fuselage is cut at the purple line. Then the cut line is opened and the green shim is inserted. The extra portion is cut at red dash lines. |
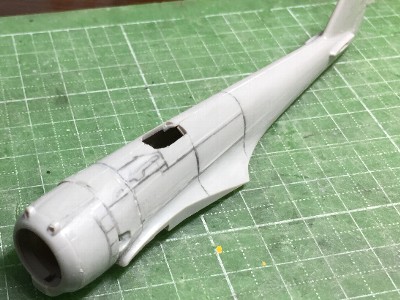 This is the corrected fuselage. The cowl is not yet corrected. |
 The inside is reinforced with plastic sheet. The rear fuselage is not so different. |
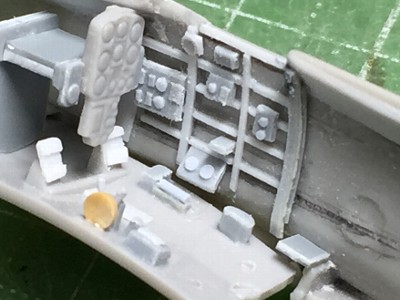 The cockpit was scruchbuilt. The instrument panel and the floor were from the kit. |
 |
|
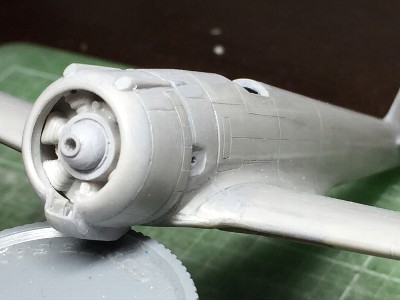
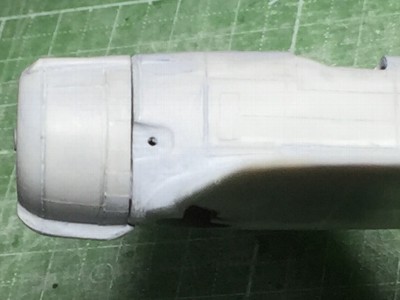
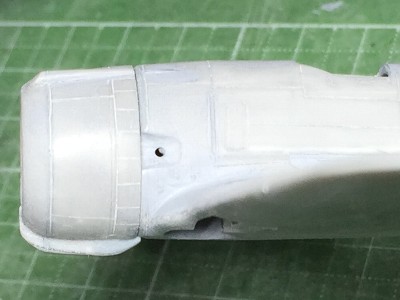
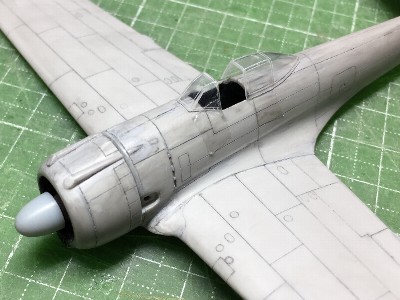
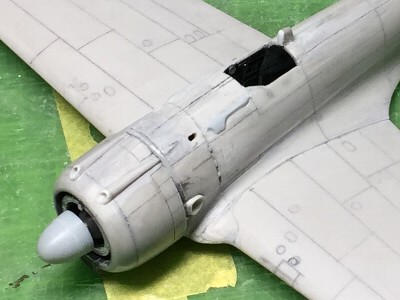
0.5mm (.02") plastic sheet was inserted between the cowl lip part and cowl side parts. Then the cowl lip was sanded roundish. The roundish cowl side of the kit was sanded to flat. 1mm (.04") plastic sheet was glued on the front of the fuselage. The cowl and fuselage shape were sanded to equate to my drawings. |
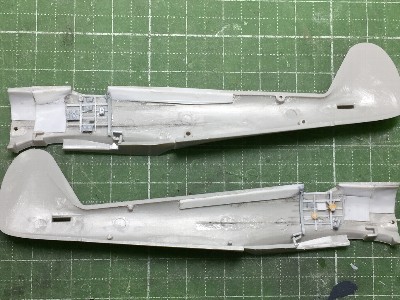
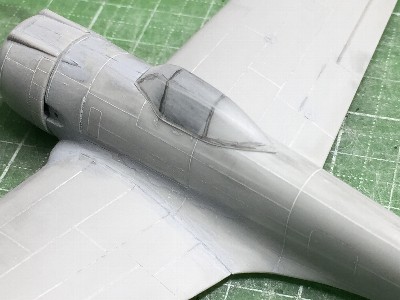
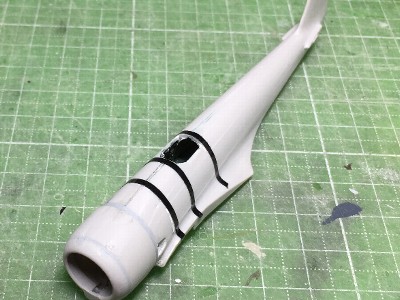 The cowl and fuselage were corrected. |
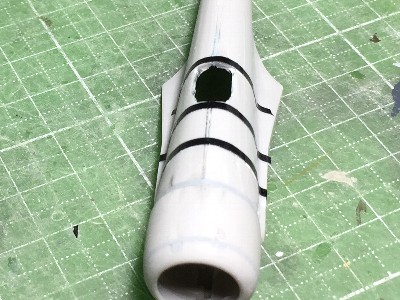 Note the cross section shape of fuselage. |
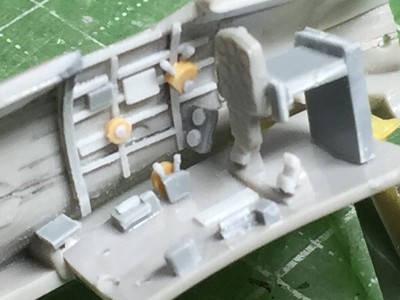
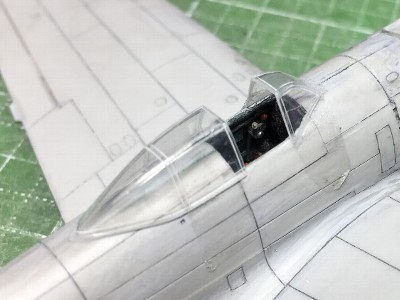
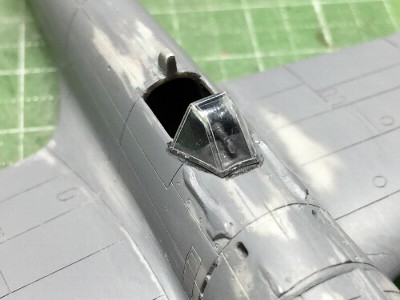
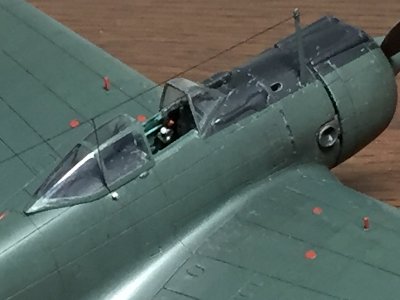
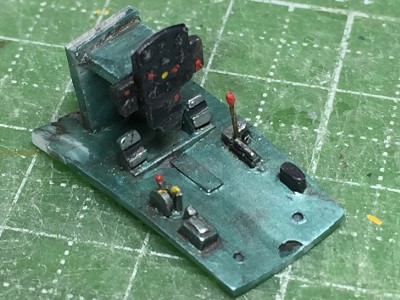 I painted the cockpit in Aotake-iro : clear greenish blue. But it is a mistake. According to the latest research, the cockpit, gear well and inside of the gear cover were painted in dark blue gray like US Navy sea blue. And at some unknown time point, it was changed to gray green. It is unknown that all of -I model were painted blue gray. |
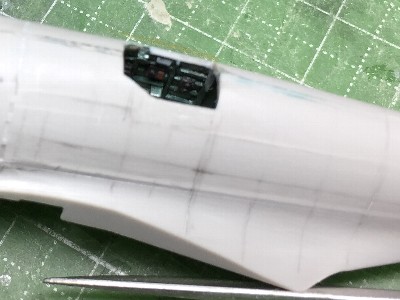 When the left and right half were glued together, the cockpit was almost invisible (sigh). |
|
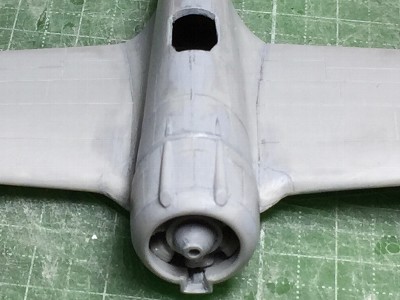
The cross section shape of wheel bulge was corrected. The bulge leading edge droops down as for the actual aircraft. On the other hand, the kit bulge is simply extended forward, thus the tire is not hided in front view. |
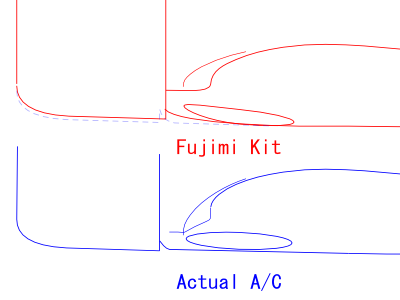 Note the lower line. The lower intake duct is omitted in this figure. |
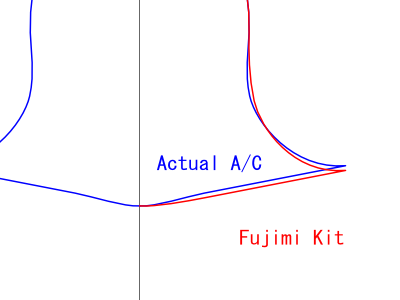 This figure shows #8 frame (the next front of fuselage divide frame). The center portion of the actual aircraft droops down (blue). But the kit is simple straight line. |
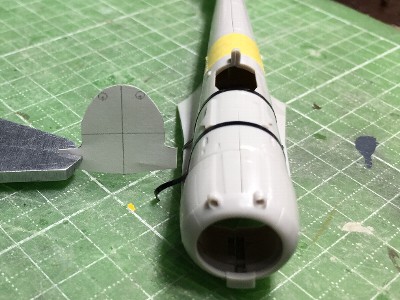
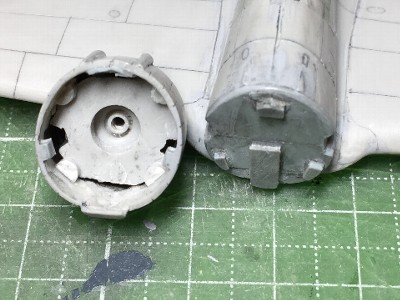
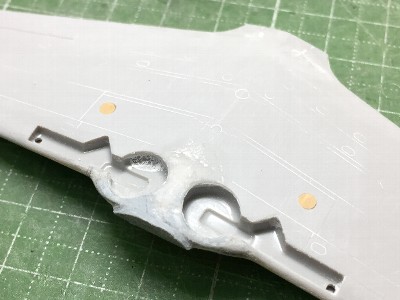 CA glue and plastic powder were put on the forward portion of the gear well. The yellow sprue is reinforcement to hold up the upper wing part. |
 The shape of the bulge was sanded. The radius of the bulge leading edge is rather small. |
|
|
 This is under correction. It was not yet finished. |
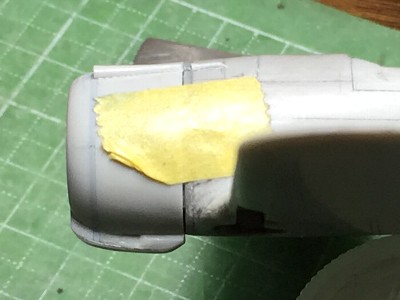
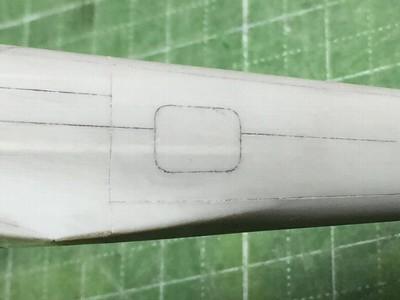 The fillet was corrected. The panel line of the fuselage door was engraved with the template cut by home use cutting machine. |
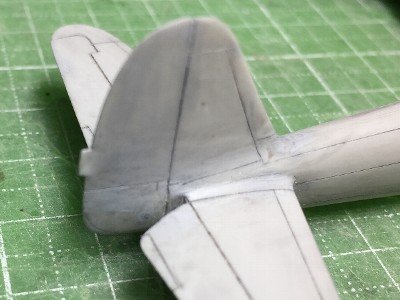
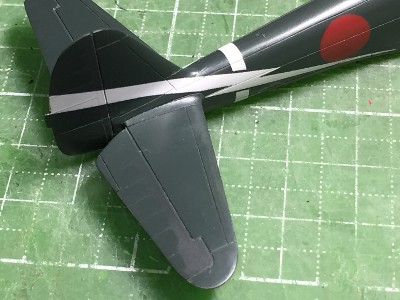
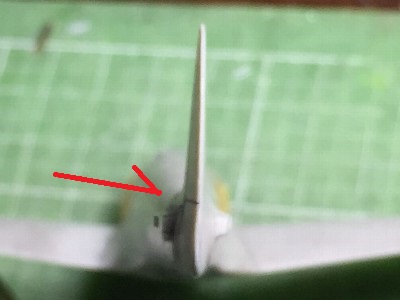 The kit fin was sanded to be half thickness. The red arrow portion should be dented. |
 The lower edge of the rudder was enlarged. |
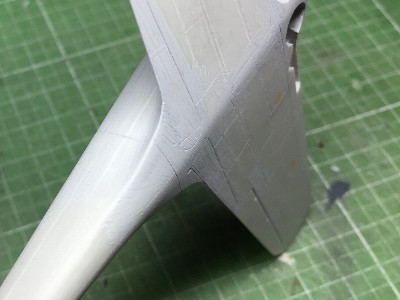
 The bulge was corrected. |
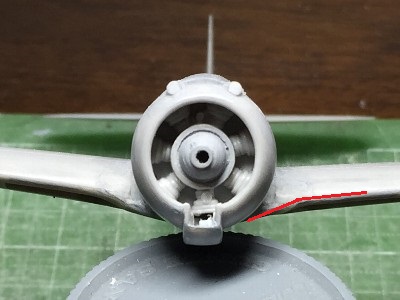 The leading edge is bent in front view (red line). The kit original is straight. |
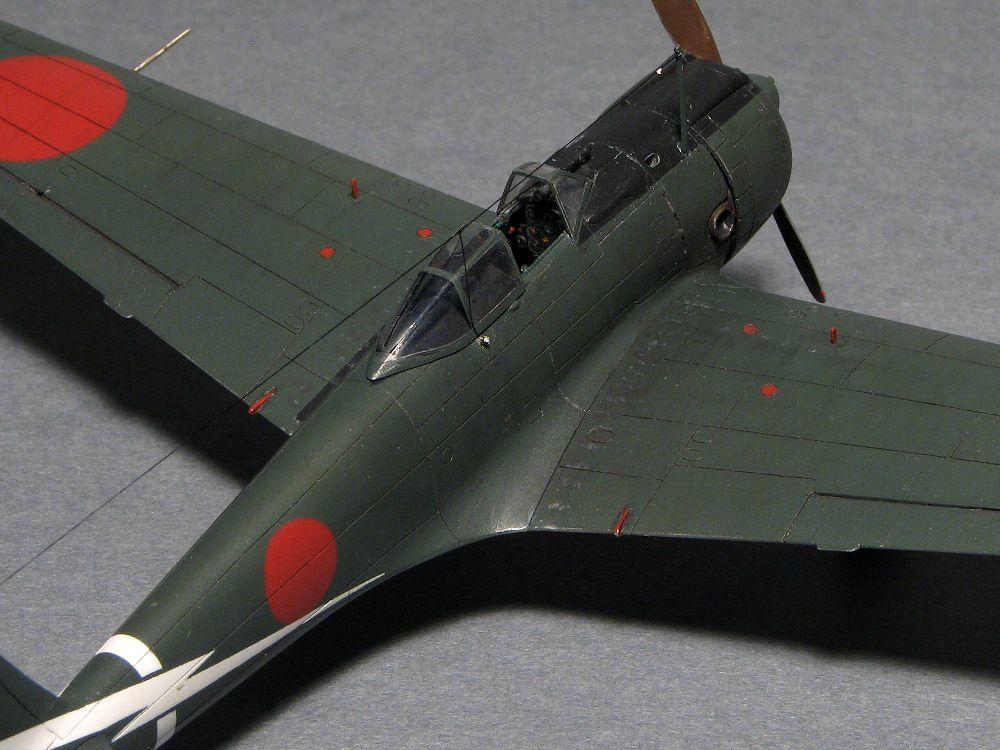
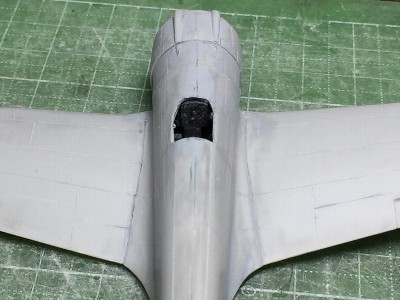 When it is looked from above and rearward, the bulge is almost invisible. |
 When it is looked from forward, the bulge looks so large. |
|
|
 This is before correction. |
 So the intake duct was cut out and shims of plastic sheet (darker gray) were inserted at the cut line. |
 After correction. |
 The construction of main body was almost finished. |
|
|
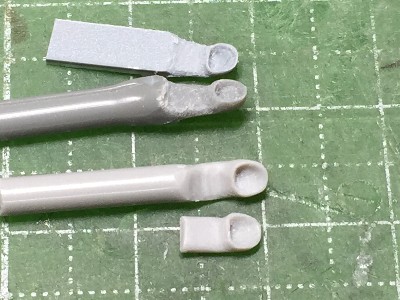
 This is kit original canopy. The horizontal portion of the canopy top is too long rearward. |
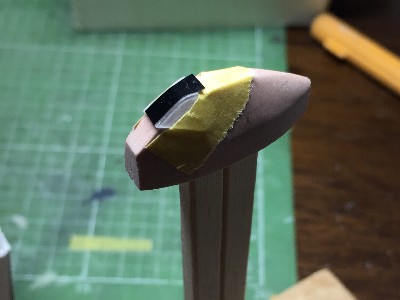
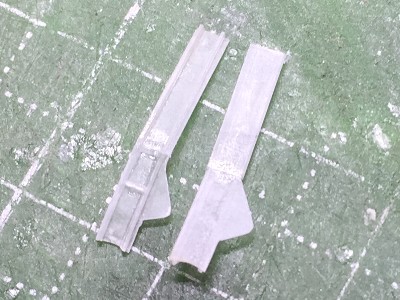
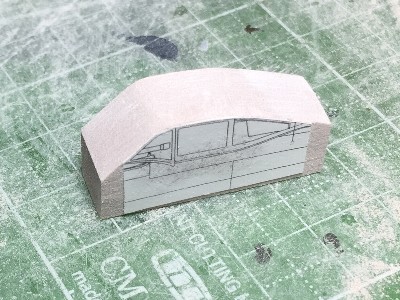 The wood mold was made of chemical wood. |
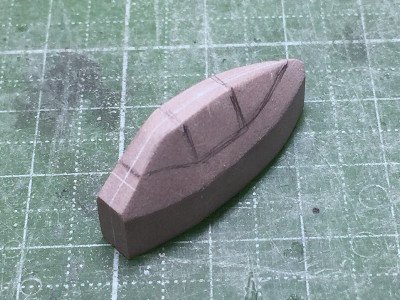 The wood mold was almost finished. The frames were drawn by a pencil to check its shape. |
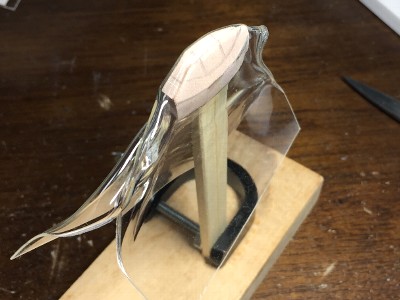 Styrene sheet was heated on the kitchen gas burner and pressed on the wood mold. |
 Styrene sheet was cut out and sanded. The shape of the wood mold was adjusted twice. |
 It was not easy to interface with the fuselage. So the wood mold had to be adjusted. |
|
|
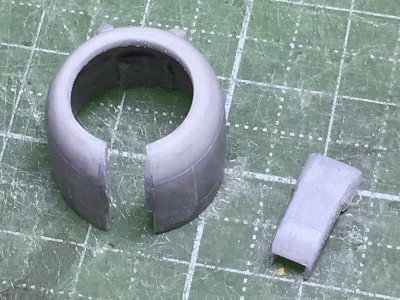
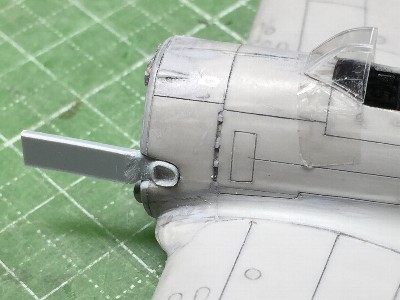
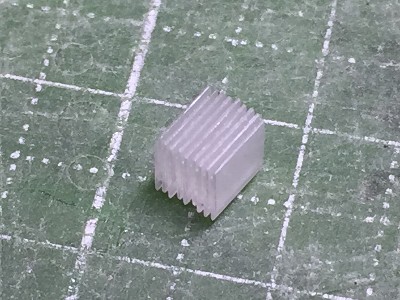
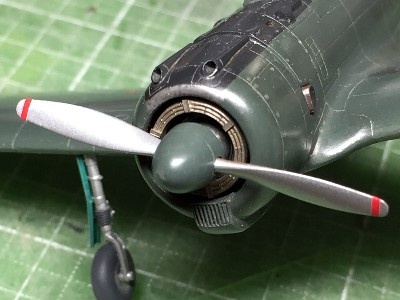
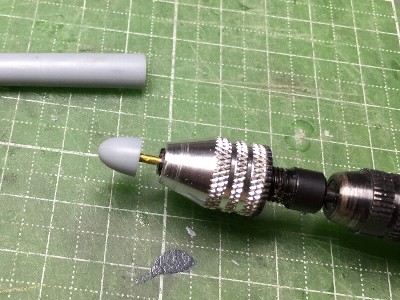 The kit spinner was poor. Thick plastic rod was sanded with hand router. |
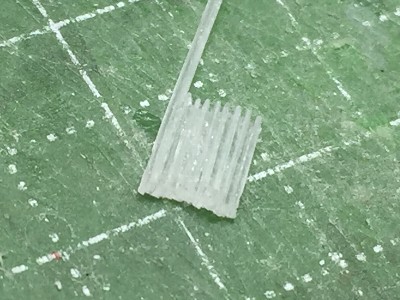 The intake louver was made of 0.2mm (.008") plastic sheet. Strips of plastic sheet were displaced each other. |
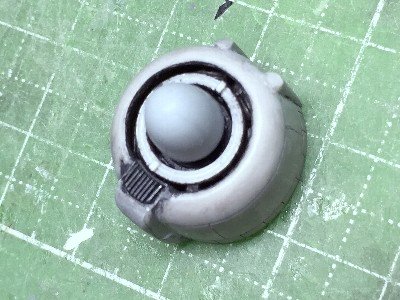 The louver was glued on the cowl. But this first trial louver was not good. So I remade it later. The circular oil cooler was from the kit. |
 Note the cross section of the cowl end is not a circle. It is rather an egg shape. |
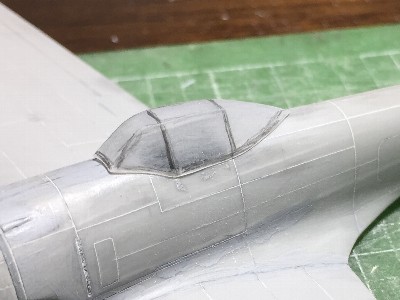
 The canopy was engraved and polished. |
 |
 The exhaust stack was made of plastic sheet or sprue. |
 The rudder tab was glued. |
 Detail works were almost finished. When the total outline image was checked, the spinner was a little large. |
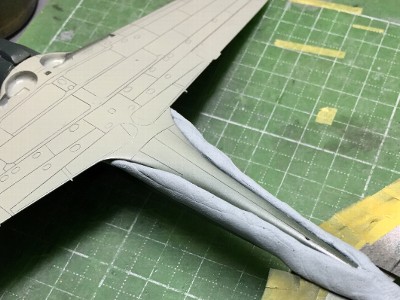
 The center of the lower wing of Ki43 is bent with sharp edge. |
|
|
 The wood mold was adjusted again. The frame was engraved with guide tape. |
 Oh, it's perfect. I feel so good. |
 The intake louver was remade as well. |
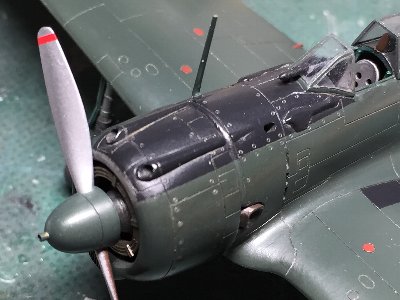
 Exhaust stacks were hand made. Ok, there is individuality but I don't mind. |
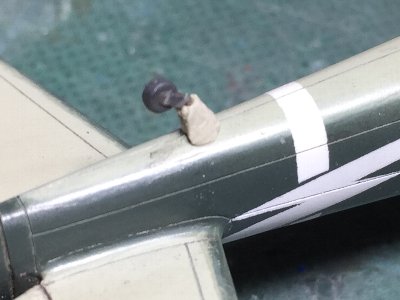
 The gun blister was made of plastic sheet. The spinner was shortened a little. |
 Rib tapes were custom made dry decals (red). |
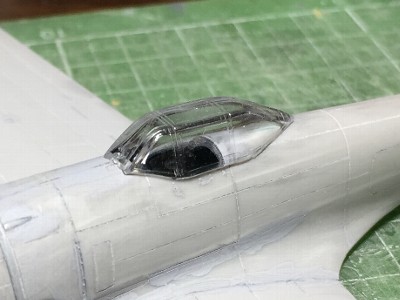
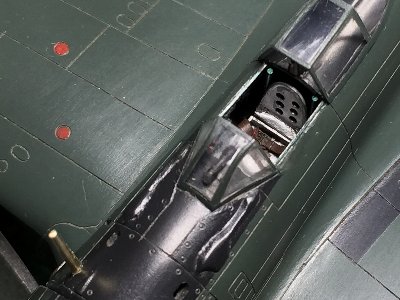
 The wind screen was glued on the fuselage with liquid cement. The gap was filled with putty. The latter half of the telescope style gunsight was set in the wind screen. I don't like drilling out the clear window. |
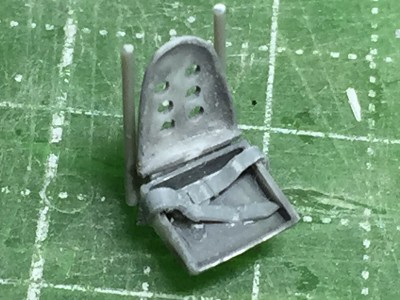 The pilot seat back was heat formed 0.3mm (.01") plastic sheet. The seat harness was from Finemold's Nano Series. |
|
|
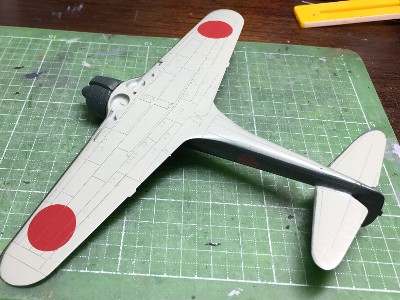
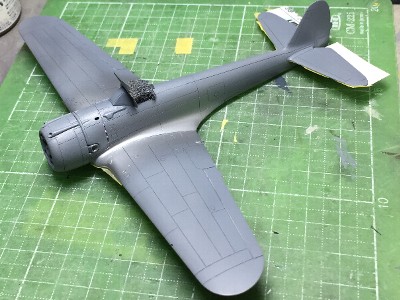 Mr.Surfacer was sprayed and the surface was polished. #8 Silver was sprayed for peeling off. |
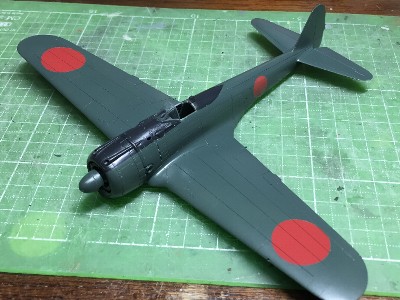
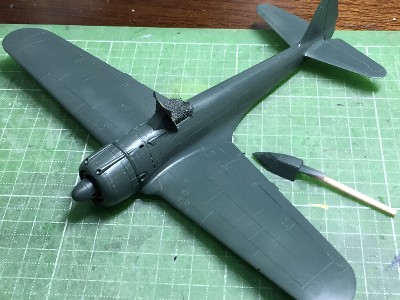 The under surface was painted in #128 Green Gray. Then, Dark Green was sprayed. |
 Demarcation lines were masked with Blu-Tac. |
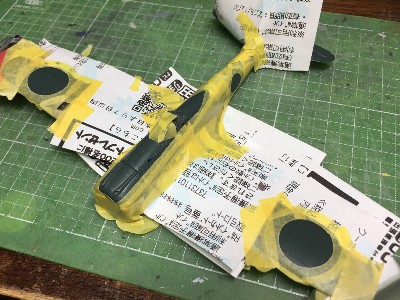 Red and black portions were masked. |
 Red and black were painted. |
 Dark Green of the wing leading edge were masked with paper and painted. |
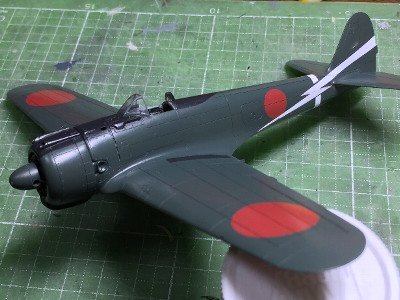 Black antiglare and white markings were masked and painted as well. |
 Rib tapes of elevator were depicted with dry decals. This time, an accident appeared on the surface of dry decals. The accident was due to the pigment of dry decals. |
|
|
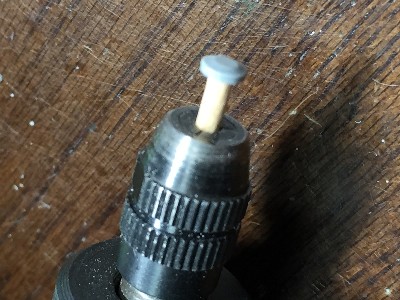 The wheel cap was made of 1mm (.04") plastec sheet. The rotary axis was toothpick. |
 0.3mm (.01") plastic sheet (white) was inserted in tire parts. The center is the Fujimi's tire. |
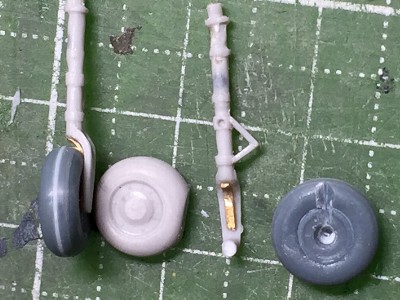
 The gear cover was made of 0.2mm (.008") plastic sheet. |
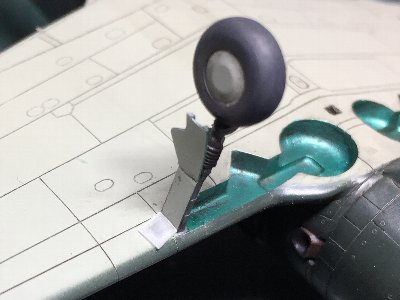
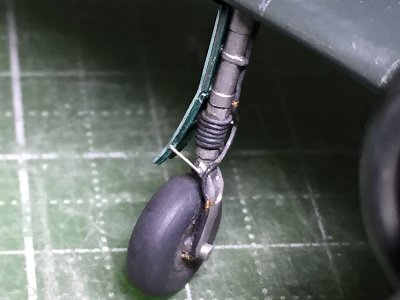
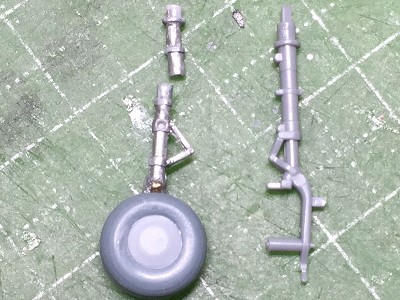 The gear shaft broke while working. So, only the shaft part was replaced for Tamiya Zero-sen. 0.6mm (.024") brass rod was inserted through the center for reinforcement. |
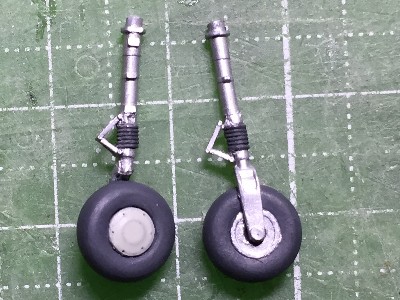 0.25mm (.01") lead wire was wrapped around the oleo. The gear shaft was painted in silver with flat clear. |
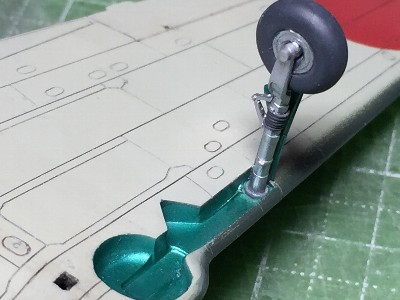 I painted the cover and gear well in metallic blue, but it is a mistake. The inside of the cover and gear well of ki43-I early production model were painted in dark blue gray. |
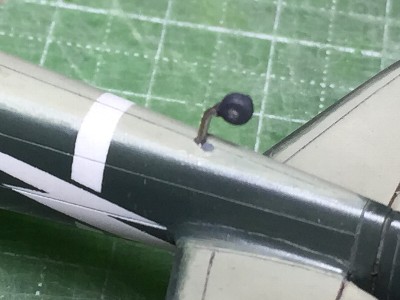 The tail wheel was from the kit. The shaft was 0.5mm (.02") brass rod. |
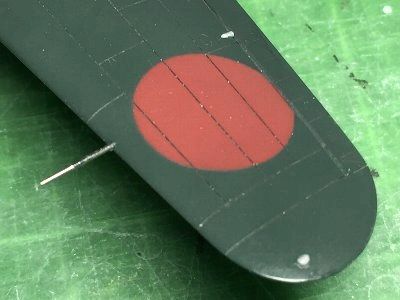
 The propeller blade was from Tamiya Zero as well. The color was the same as the gear shaft. Red lines were custom made dry decals. They were made at the same time as rib tape. Be careful that the back side of the blade was not painted in black but red brown. This fact is not known to so many modelers. |
|
The inside of the gear cover of some late Ki43-Is was not painted but natural metal. In this case, the gear well was still painted in Aotake. This color combination was succeeded to the next -II model. At some time in the production of -II, the gear well was changed to unpainted. These facts can be seen from the observation of documentary photos. And the transition of these paintings of the cover and well was the same for other Nakajima's IJA aircraft such as Ki44 Shoki and Ki84 Hayate. Ki43-I and -II were natural metal finish at the completion in the factory. Dark green and green gray were painted after the aircraft was delivered to the Army force. The area which the gun adjustment scale was painted at the front top of the cowl was unpainted at the 50th Sentai.
|
 The pilot seat was glued on the cockpit. This assembly was so deficult like a disentanglement puzzle. The antenna mast was made of brass rod. |
 The hook of the spinner was brass rod. The gun sight was made of extended sprue. |
 The upper portion of the cover was assembled. It was painted with a brush. |
 The fabric cover was made of epoxy putty. |
|
|
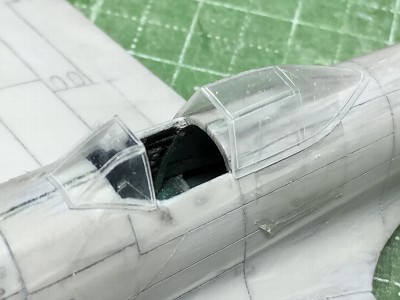
 The navigation light was made of clear sprue. It was heated with a cigarette lighter and was pressed to a photo etching template. The hinge rod cover was made of plastic sheet. |
 The brake line was 0.25mm (.01") lead wire. |
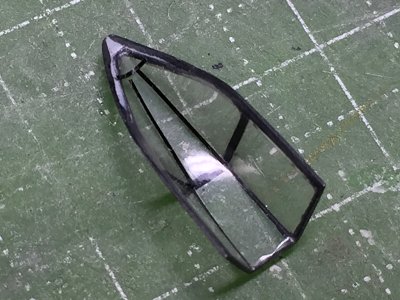 Inside frames of the canopy were depicted with thin strips of black cutting sheet. |
 The antenna wire was 0.08mm (.003") fishing gut. The slide hood was temporary fixed with wood glue. |
|
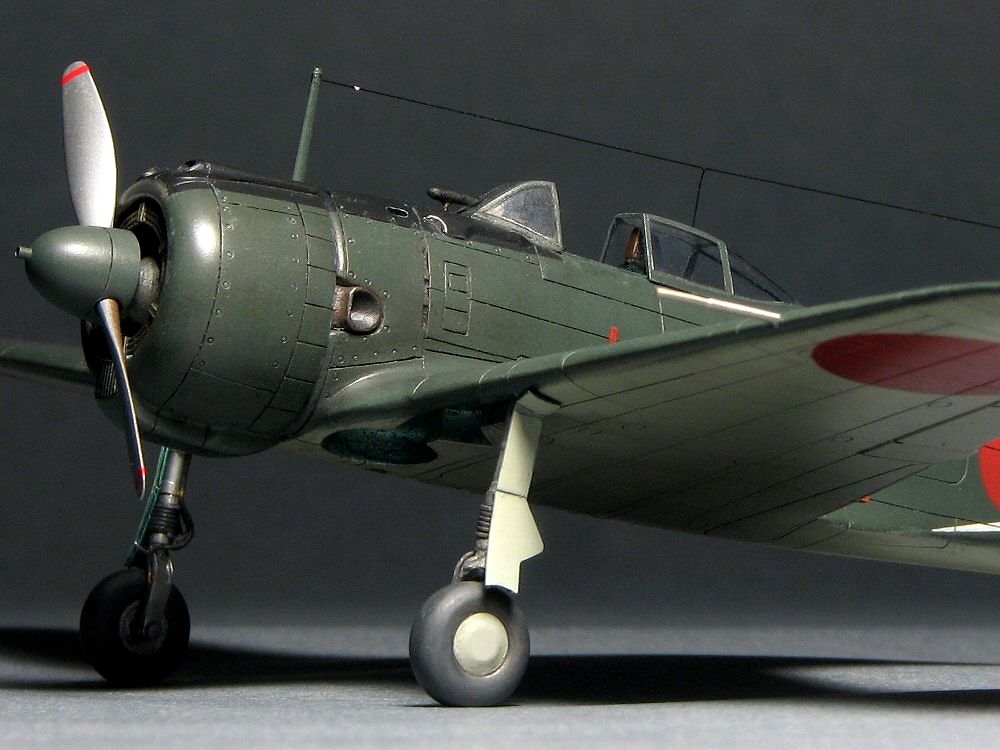
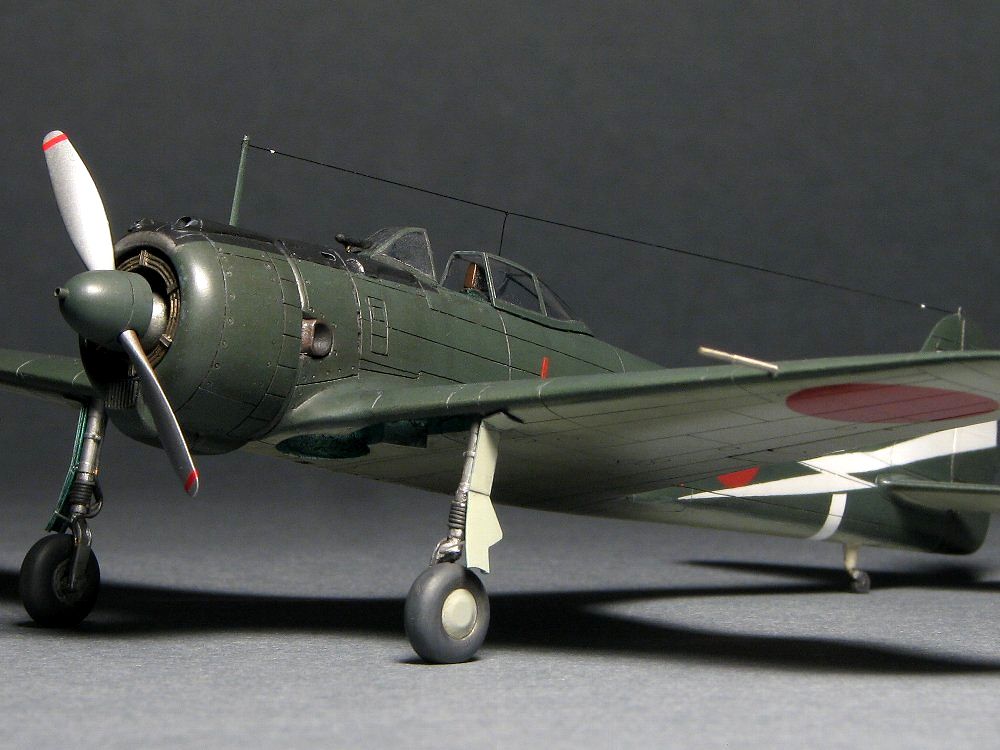
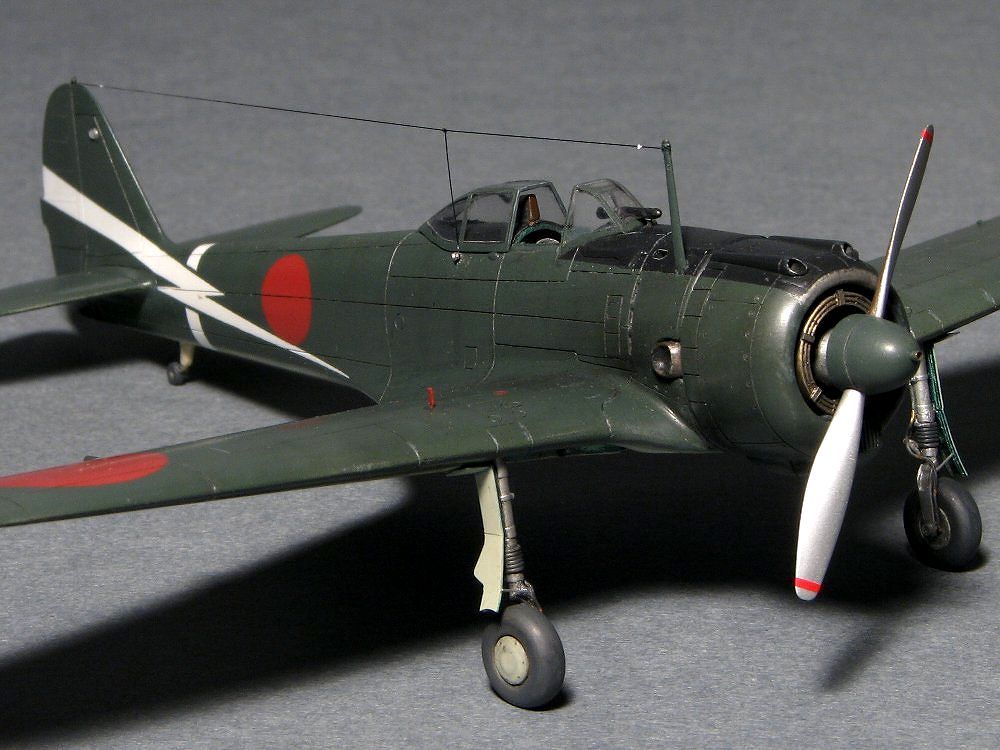
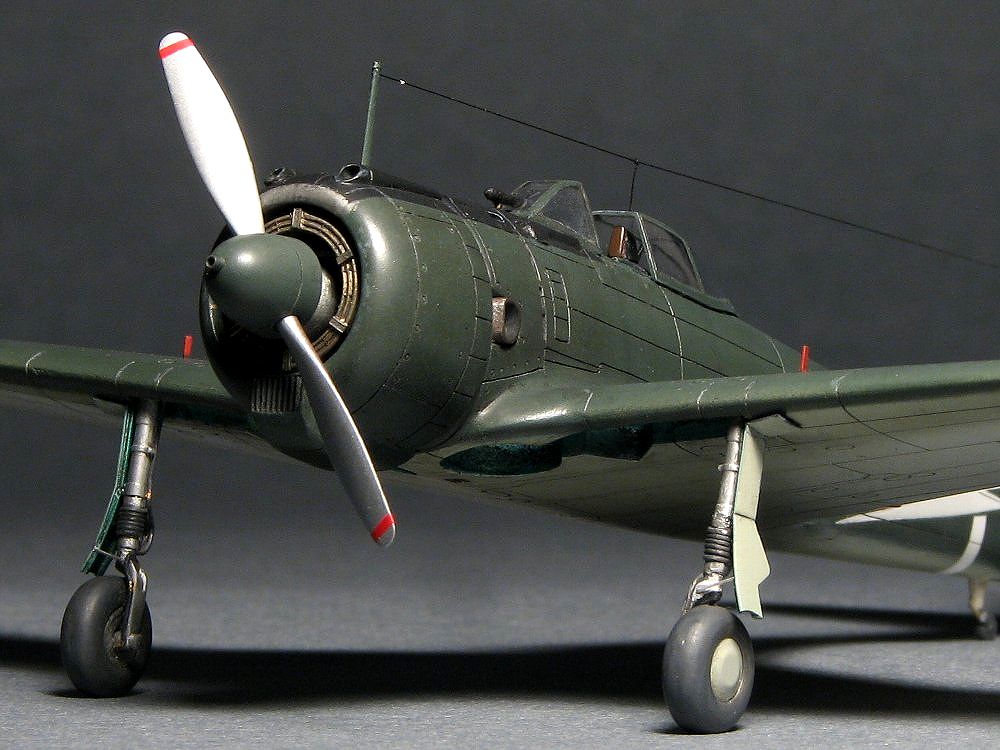
The 50th Sentai's Hayabusa at Tokorozawa base in photos was not war-weary but clean and fresh. So I assumed after they were sent to the front line. I added modest weathering of chipping and washing. |
|
|
|
|
 |
 |
 |
 |
|
When it is seen through the lens of the camera, the image of the actual aircraft is expressed well. I like the rugged, simple but beautiful appearance of Ki43-I model very much. The correction works of the cowl and canopy led to its appearance, I felt my efforts were well rewarded. After the completion, I knew that the cockpit, gear well and inside of the gear cover should be painted in dark blue gray. Ok, no problem, I will repaint them someday.
|